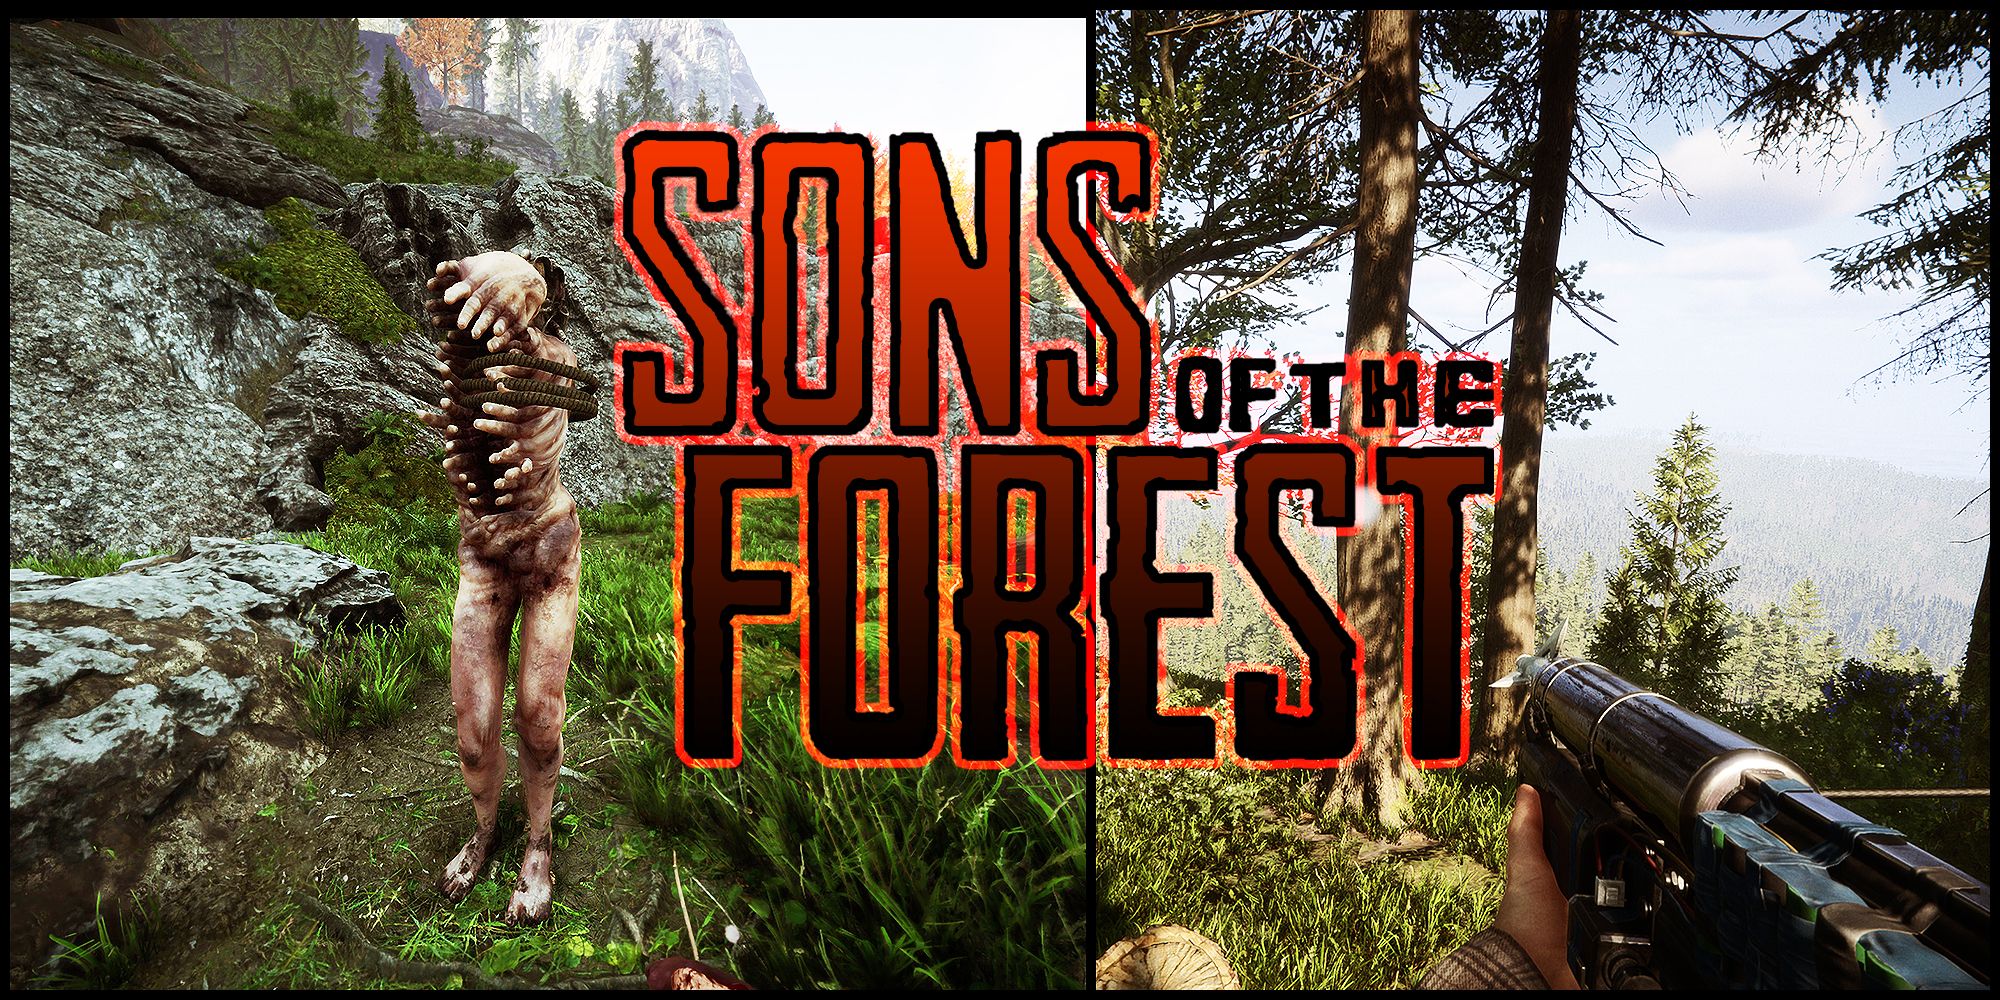
When descending the snowy peaks of the mountains or crawling through the dense forest can be somewhat disheartening when you look to check your GPS to discover that you miles away from your destination.
The Rope Gun is the solution to this problem providing the player with the ability to create ziplines to and from a specific location. Not only is this tool a must-have for new players, but it is also required to gain access to specific caves and locations for other items that can be found scattered throughout the woodlands in Sons Of The Forest.
Zipline Requirements
Even though some zipline are already constructed and ready to use in certain spots, you will still require the Rope-Gun to be able to use them. Several other vital items are needed to deploy your very own ziplines and here’s what you’ll need.
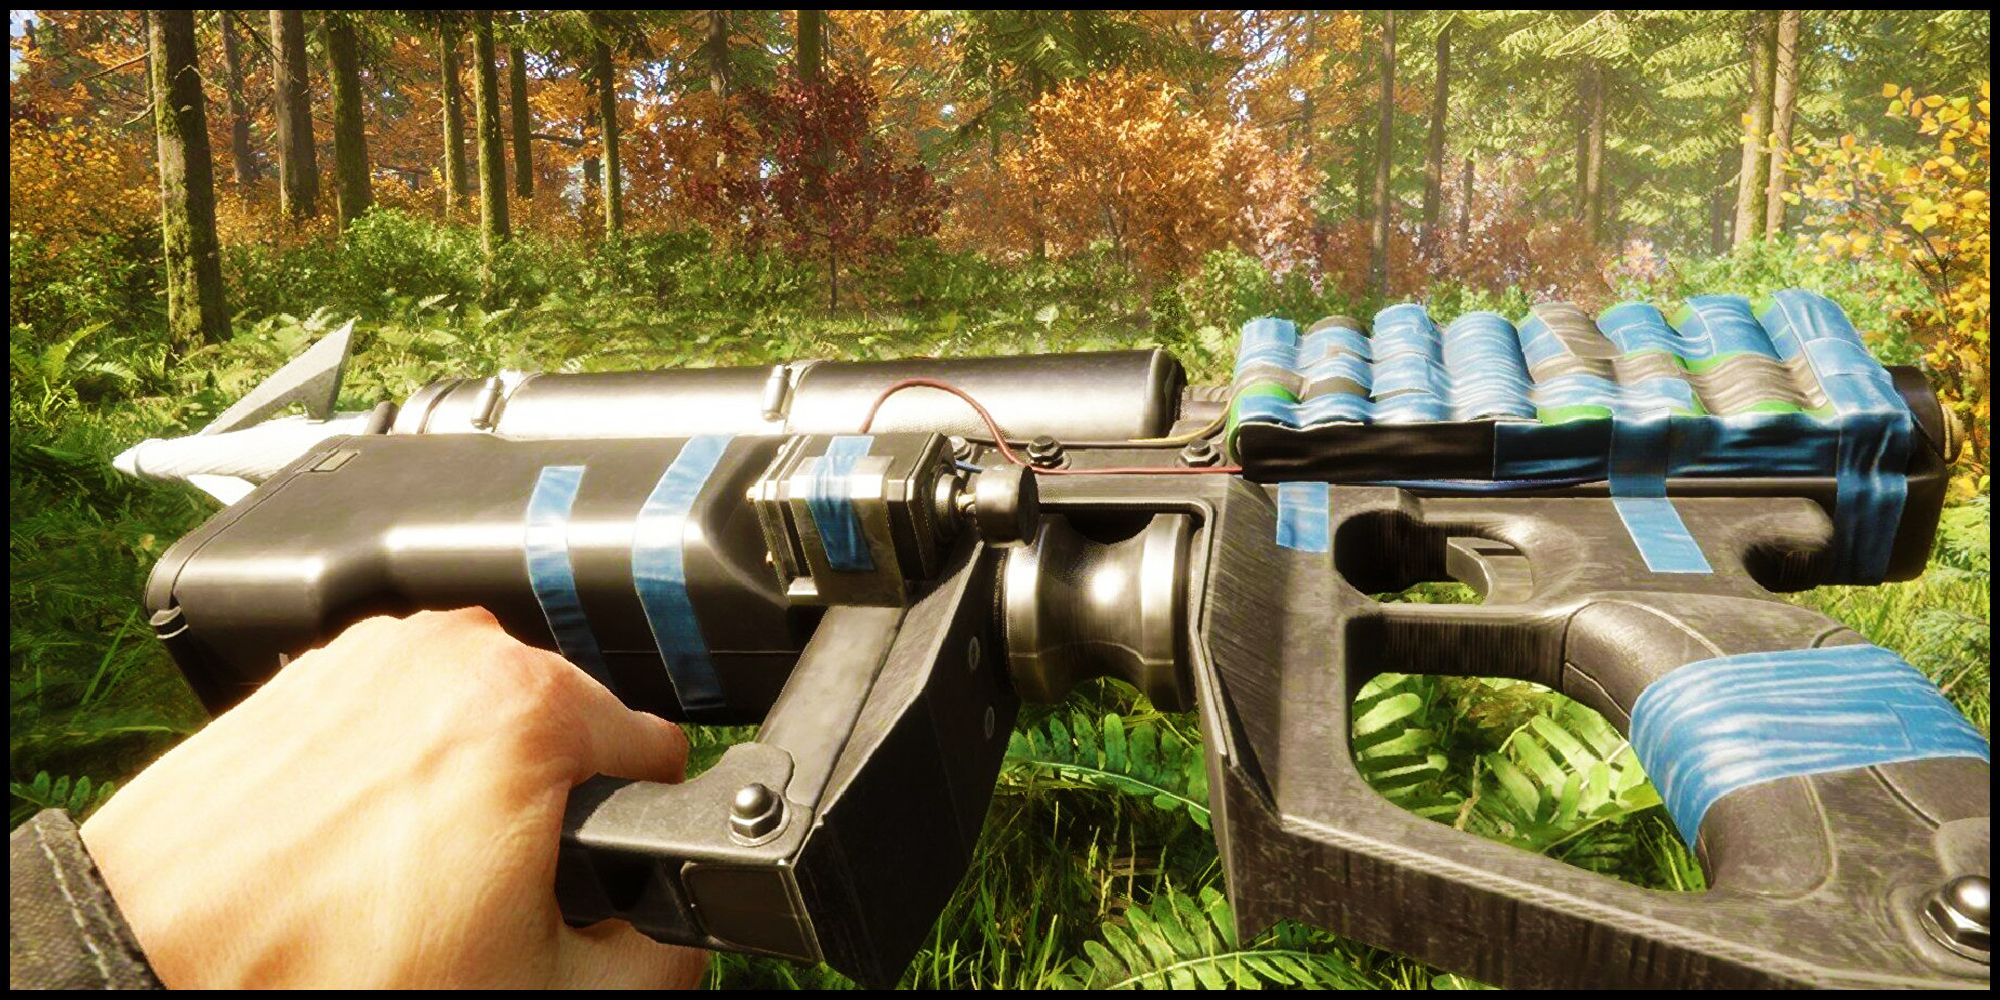
Rope-Gun
The first required tool is the Rope-Gun. This can be found in one of the caves that are scattered throughout the forest.
Rope
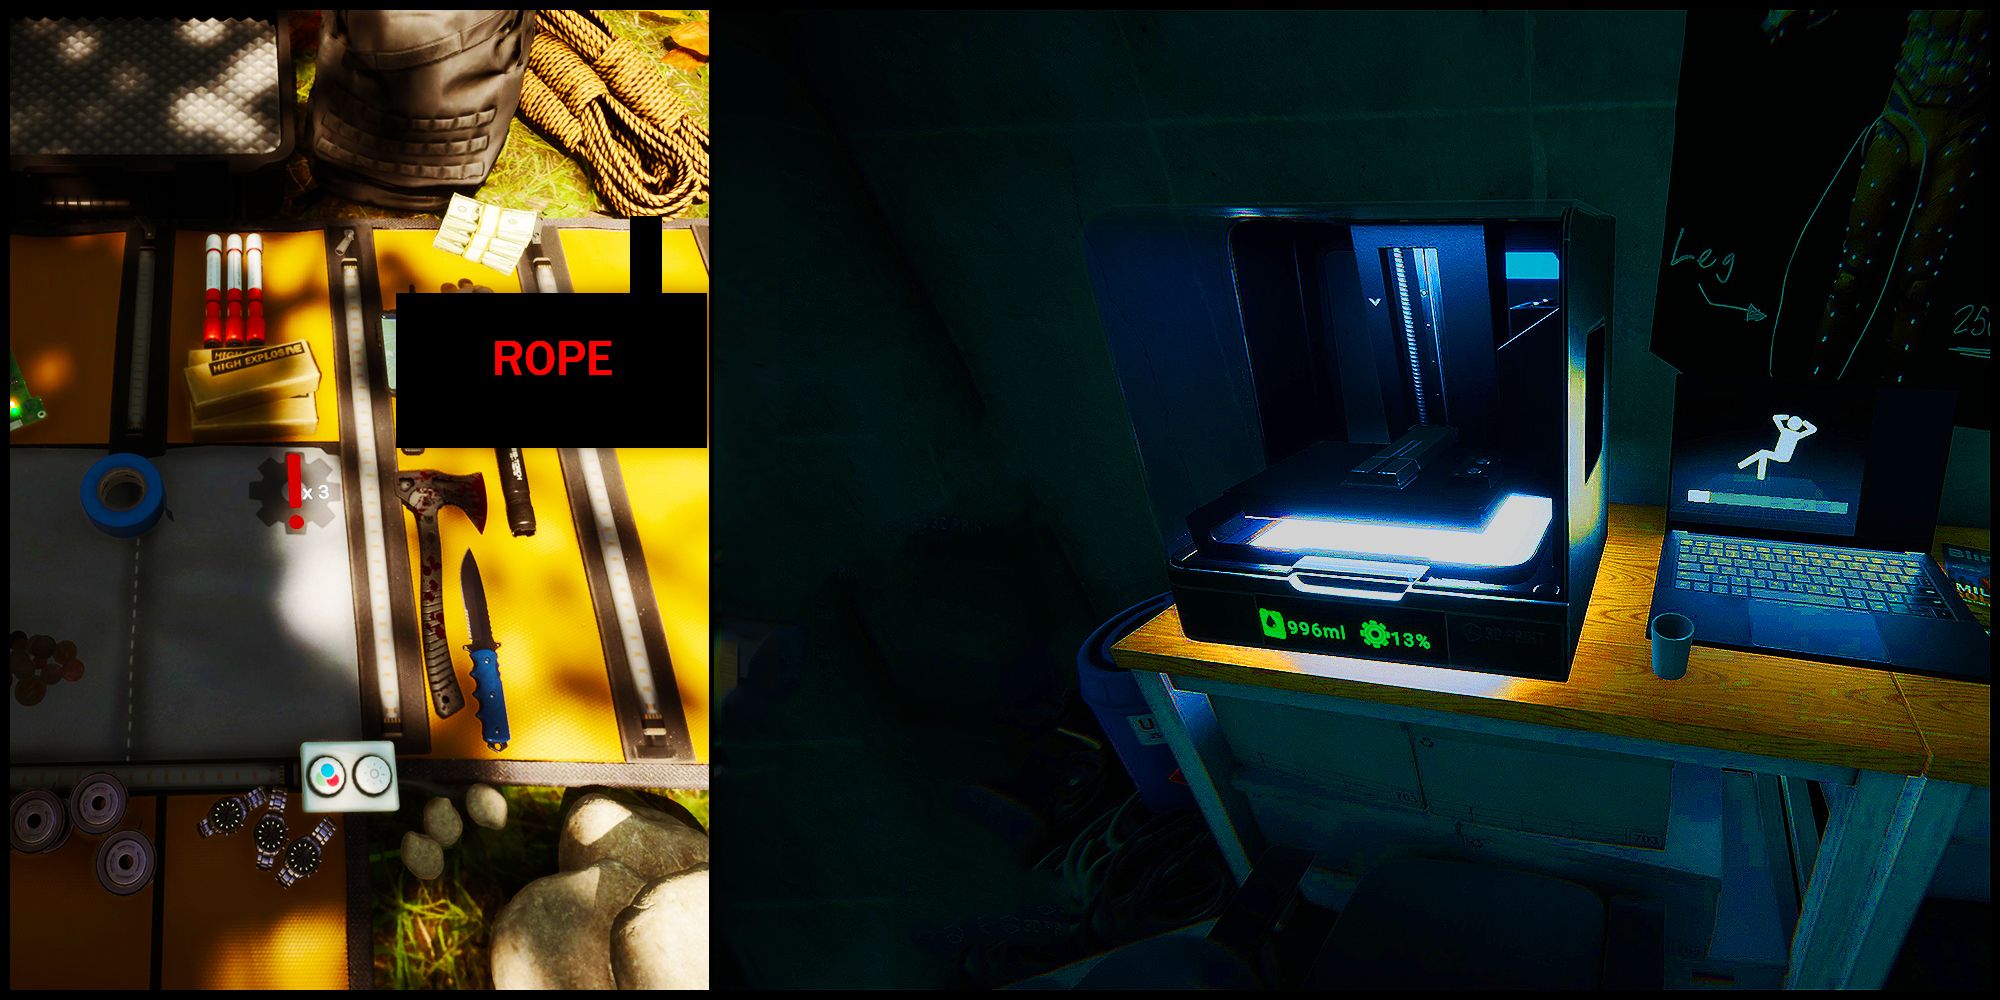
Can be found in a wide variety of locations. Check outside of caves or on the right side of the corpse that holds the Slingshot.
Grappling Hooks
Grappling Hooks can be printed from any 3D printer. To print Grappling Hooks you will need to acquire 3D printer resin. This can be found in a multitude of locations all over the map and can vary.
How To Make A Zipline
Once you have gathered all the necessary items and goods you will be able to make your very own zip-lines on the fly when on your travels. This process is fairly easy, and it’s extremely useful for quickly descending from higher terrain swell as climbing. This is also perfect for when then players find themselves overwhelmed by the enemy and require a quick extraction from the situation by using a pre-built zip-line.
3D Printing Grappling Hooks & Rope
The most important step to creating a zip-line is crafting the grappling hooks that will be fired from your Rope-Gun. These grappling hooks can be printed by using the 3D printers that are found hidden in caves and other locations.
To create them with the 3D printer you will also need 3D printer resin, this consumable item can be randomly found scattered around the map. Once at the 3D printer, simply select the grappling hooks from the printer’s menu, then proceed to print as many as you can. This will depend on how much 3D printer resin you have in your inventory.
The second part of the zipline is the rope. This can be found scattered throughout the map randomly, this also depends on the player’s difficulty settings and surroundings as to how often and where exactly. Stock up on as much rope as you can before trying to create a zipline to ensure you will be able to craft sufficient hooks as you may lose some when using the ziplines.
Stock up on as much 3D printer resin and rope as you can. This allows you to print not only grappling hooks but many other essential items.
Crafting The Zipline
To combine the rope and 3D printer grappling hooks into a zipline, simply access the inventory and combine the rope with the 3D printer hooks. Print as many as you desire to prove you have sufficient materials to do so.
First Tethering Point
All zipline will require a total of two tethering points for you to be able to not only create the zipline but then use this it to quickly transport yourself from point to point. The first part of the process is to equip the Rope-Gun from the inventory.
Once you have the rope-gun selected and loaded, aim at your intended first tethering point, and fire the rope-gun. If the hook has successfully been attached, you will then be able to proceed to attach the second tethering point.
Be sure to attach the first tethering point high enough for the player’s body to clear for a safe landing and reduce the chances of unwanted injury and lose their unsaved progress.
Second Tethering Point
Once you have successfully attached your first point, find a suitable location for the second point to be attached to. We recommend that you do the second point closest to you a short distance above the player’s head.
This ensures that you can easily attach yourself to the zipline and successfully transport yourself from point to point. If this has been done correctly, the zipline prompt will appear. Simply press the interact button to attach yourself to the zipline.
Using The Zipline
Once the zipline has been deployed correctly, the player will now be able to quickly transport themselves from each tethering point fast and efficiently.
It’s important to note that all the deployed ziplines can be collected and returned to the player’s inventory. Simply approach either of the tether points and when the detach prompt appears, proceed to press it to collect the zipline.


