What do you need to know when starting Kerbal Space Program 2? Kerbal Space Program 2, the sequel to 2015’s smash hit space flight simulator, has just launched into Early Access. Whether you’re a long-time Kerbal Space Program fan curious about what the sequel has to offer or an absolute beginner to the series, there are a few things that are worth knowing right from the start as you embark on your KSP2 journey.
1. Take advantage of the new and improved tutorials
Gaining proficiency in Kerbal Space Program can feel almost as complex as becoming a rocket scientist in real life. There’s a lot of theory to wrap your head around if you want your space missions to be successful, even if your crew in this game does happen to be composed of little green cartoon people.
Luckily, KSP2 includes a thorough tutorial system that I cannot recommend enough. When you begin the game, head to the Training Centre from the initial Kerbal Space Center map, and you’ll have the opportunity to complete four in-depth, multi-part tutorials. These tutorials begin with a fun informational video before taking you through several practical phases, and can be completed and repeated at your leisure.
These are real-world lessons in aerospace engineering, delivered via the aforementioned cute cartoons, and you will genuinely gain a basic understanding of the principles involved. More importantly, you’ll learn how to play the game! Cool.
Of course, you will immediately forget the tutorials the moment you exit the Training Center and are faced with your first “real” build project. Don’t worry though, because not only are the tutorials replayable at any time, but below I’ve recapped the most important points to get you started (and added a few more that aren’t apparent until you get hands-on in the VAB).
2. Remember the four core components of a successful rocket build
In all likelihood, it’s going to take a few runs of trial-and-error before the rockets you design are really up to the job. However, if you want to skip the part where your first half-dozen creations blow up on the launchpad, just remember that there are four essential components to a basic rocket in KSP2.
You need a command module to house your crew, a fuel tank, an engine, and a parachute to help you bring the whole lot back down safely at the end of the flight.
Within these categories there are lots of decisions to make — ranging from deciding on the size and capacity of each module to more complex choices about the type of engine you want to use. And naturally, because this is KSP, there are loads of other extras to get to grips with over time, many of which you can start experimenting with right away if you’re feeling brave. But for proof of concept and a good rule of thumb, remember the Big Four.
3. Check your reports ahead of launch
It’s not all all about tinkering; sometimes in KSP2, you need to do a bit of admin, such as paying attention to what your Engineer and Trip Planner have to say about your current build. Your first trip to the Vehicle Assembly Building (VAB for short) can feel overwhelming, but even if you elected to skip the tutorials, help is at hand. Not only will you take a quick tooltip tour of the facility on your first visit, but KSP2 has kindly added a couple of notional boffins to your build team.

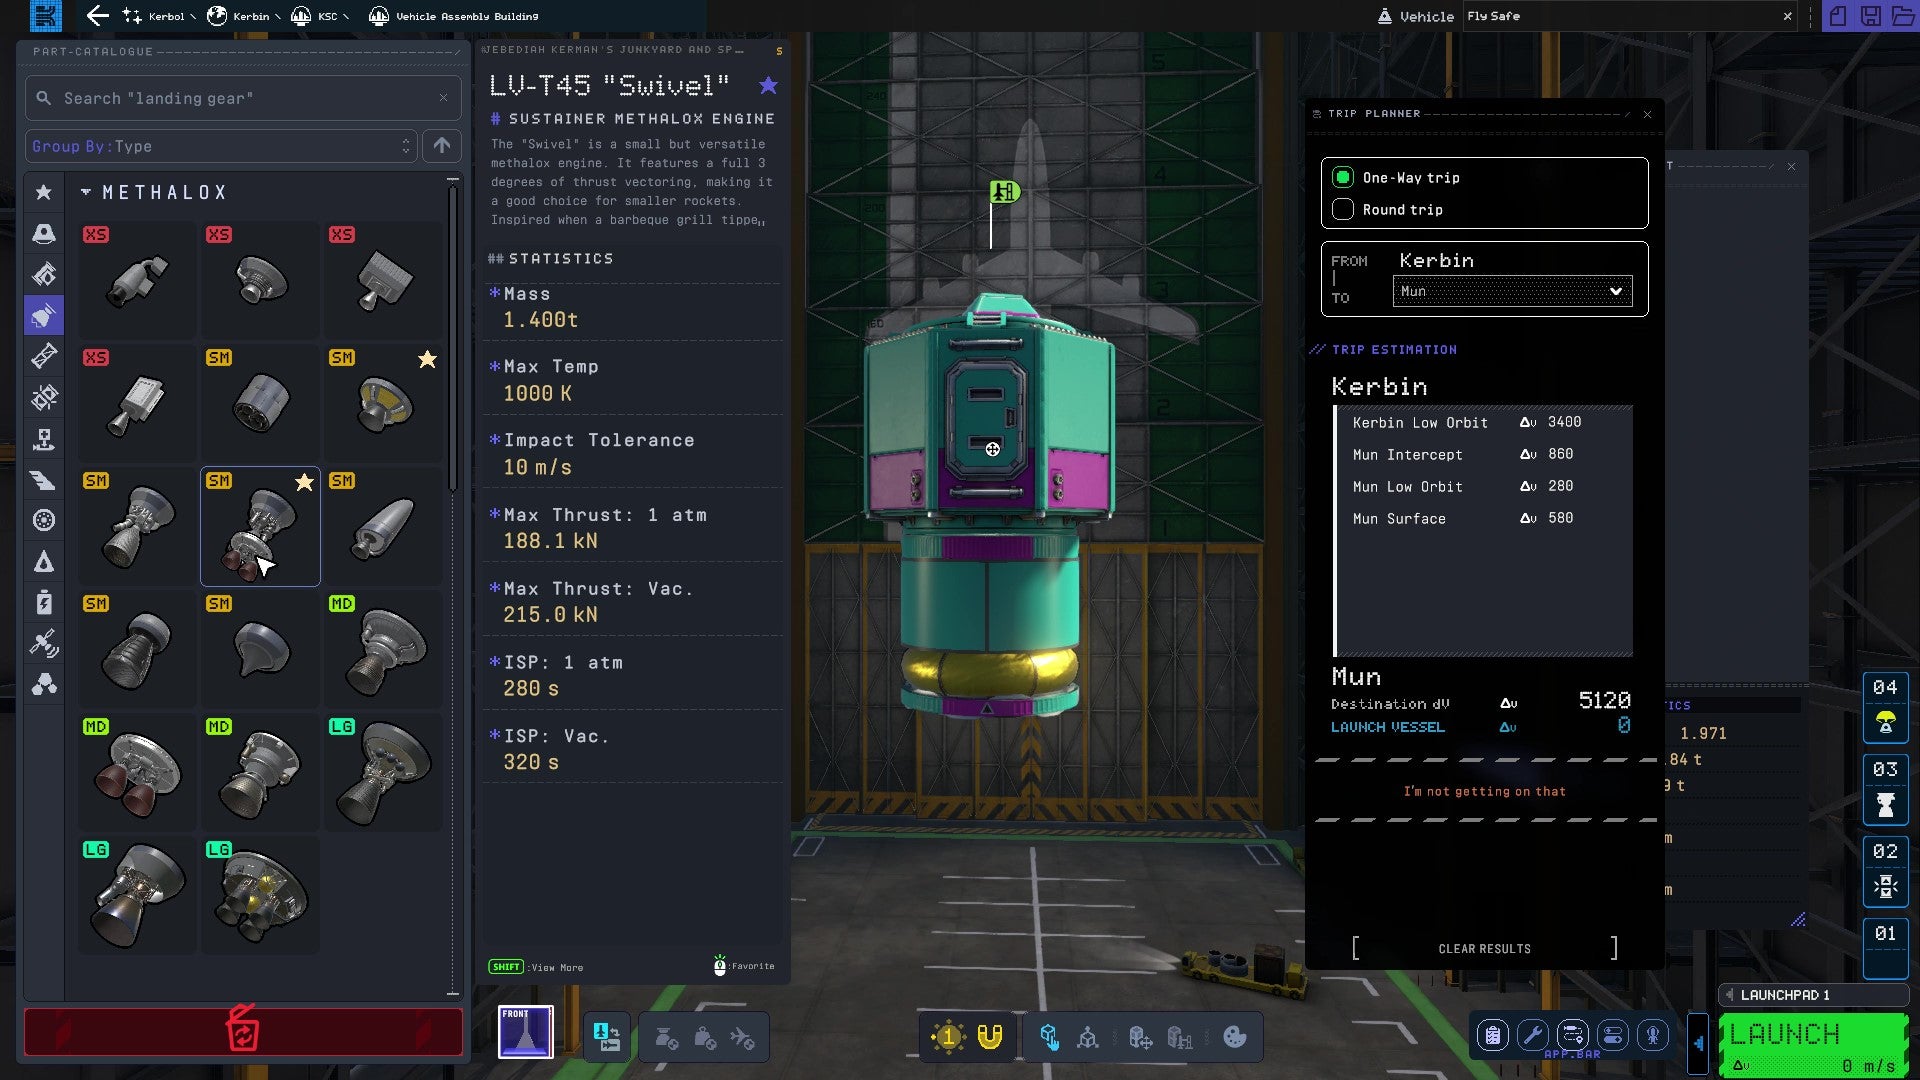
These unseen but vital characters communicate with you via notes you access from the panel on the bottom right-hand corner of the screen. This is where you can view the Engineer’s Report and Trip Planner. The former keeps a running tally of the maths behind your build, and imparts key info like whether you’ll be able to achieve lift-off (hint: you’ll need a thrust/weight ratio of 1 or higher!). The latter comes into play once you pick a destination, helping you to work out the probability that your rocket can reach what you’re aiming it at.
4. Save project components you like for easy merging later
As you progress through KSP2, you’ll probably develop some go-to combinations of rocket parts that you want to use again and again. What’s more, you’ll be building more complex vehicles, which will require you to keep track of more moving parts (literally). Luckily, KSP2 lets you save a build at any stage and — even better — merge an earlier saved build project into your current work-in-progress.
So, for instance, if you know that you’ll basically always want to use that particular command module with a tried-and-tested parachute for its occupants, you can connect them together and save the whole lot as a single project for ease of replication later.
Merged projects can also be used to work on multiple vehicles side-by-side, incidentally. The green flag atop your rocket on the VAB screen indicates what the game considers to be the current “main” rocket — that’s the one that’ll be transported to the launch pad if you hit the “launch” button.
5. Be extra sure to set up your stages properly
Take it from someone whose first post-tutorial launch saw the parachute deploy at the same moment as the engines: KSP2 does not hold your hand when it comes to staging. When you’re assembling your vehicle in the VAB, be sure to pay attention to the stacked menu in the lower right hand corner of the screen. This is where you determine the stages in which the rocket will deploy on launch.
Remember that stages stack from the bottom of the screen upwards, so the first stage that will deploy is the lowest from your point-of-view. Helpfully, they’re numbered for your convenience. You can add a stage by clicking on the “+” icon next to an existing stage (this introduces a stage that will activate after the current one).
Oh, and good news: you can edit your vehicle’s stages even when it’s on the launchpad. Just remember that during flight, each new stage is activated by pressing the green “Go” button, which replaces the “Launch” button once your mission is underway.
6. Keep your eye on the navball during flight
There’s a daunting amount to keep an eye on in KSP2’s flight screen, but the navball in the lower left hand corner stands out, and for good reason. While there are a lot of moving parts that do require your attention during a flight, the navball can provide you with an important warning if something is about to go very wrong.
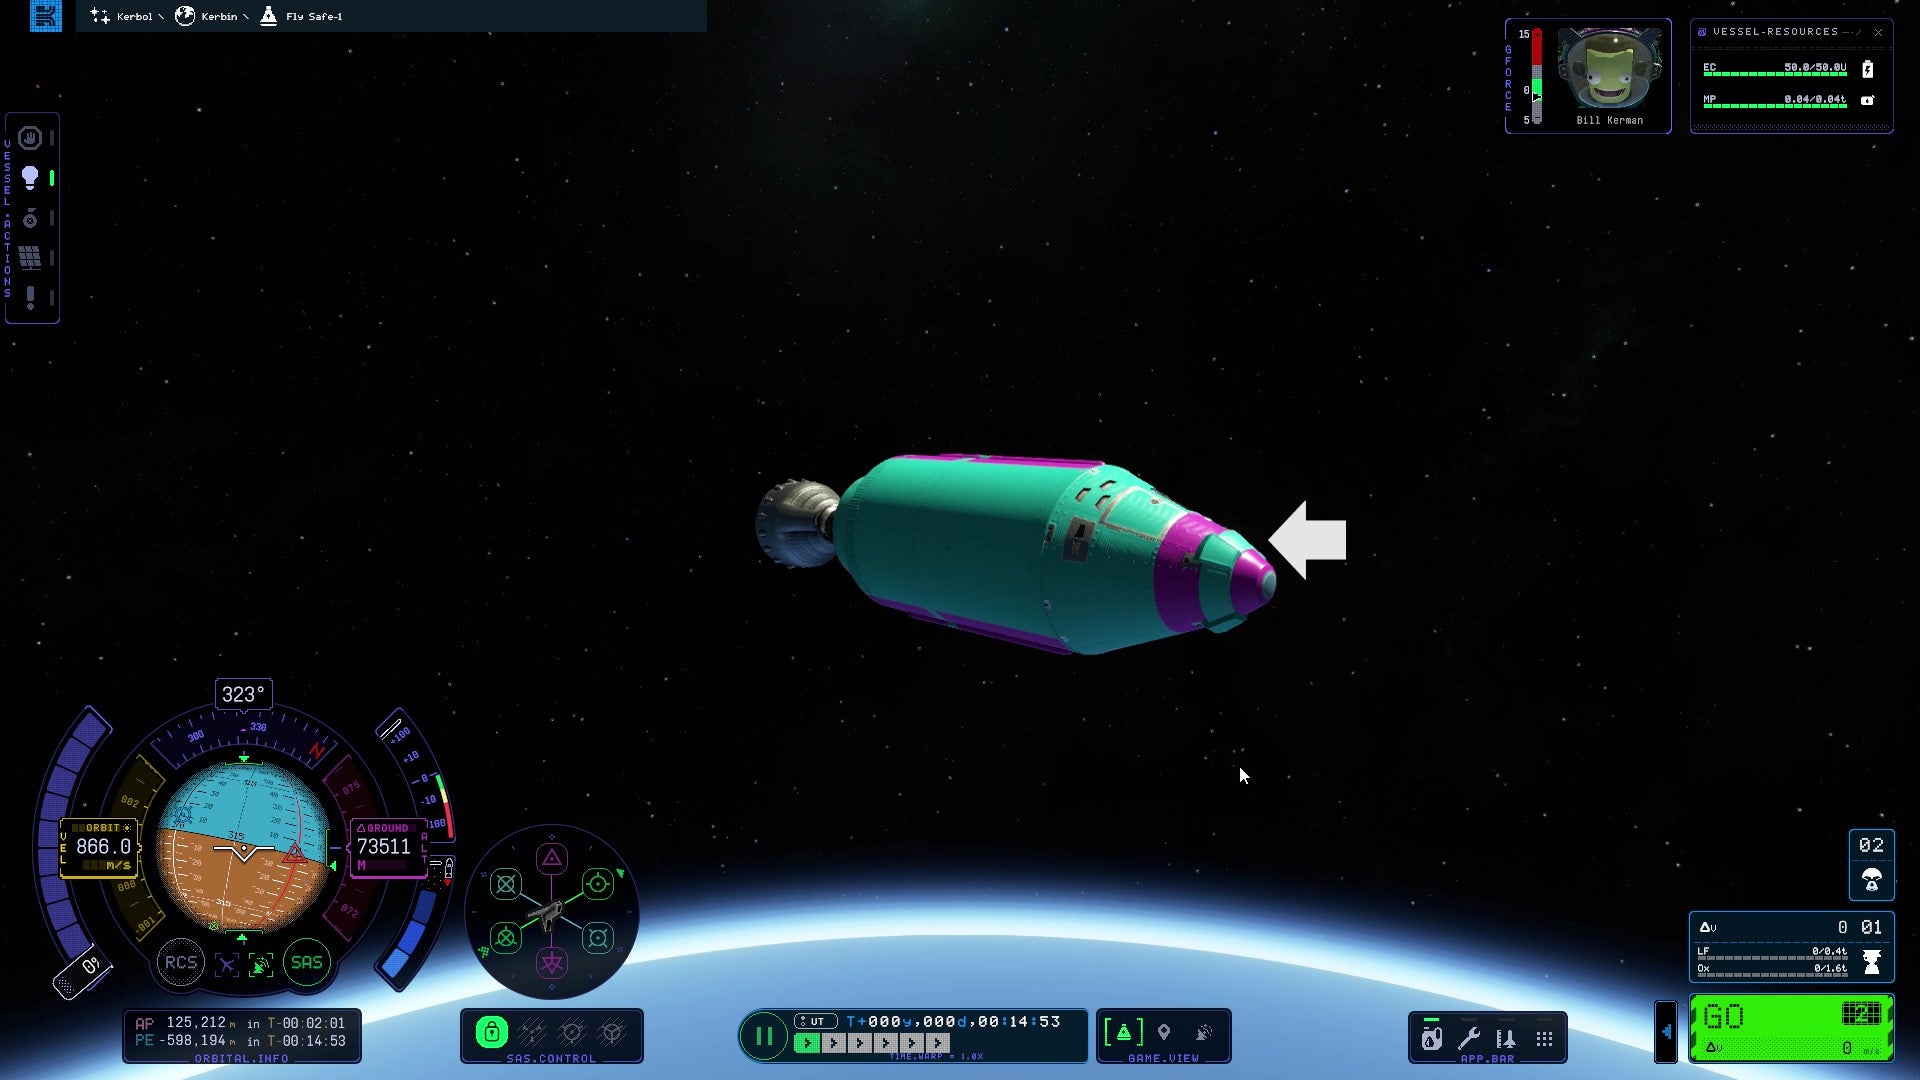
When you’re in orbit around a planet, the navball is split into two halves: a blue hemisphere representing the sky, and a brown hemisphere representing the earth. If the navball appears solid brown, that’s because your craft is in a nosedive! Pull up, pull up (using the “W” key!) to avert disaster and give yourself at least a little more time to work out what’s going on.
7. When planning a manoeuvre, your actions affect the opposite side of your orbit
If you stick with the tutorials all the way to the end, you’ll learn a lot about orbital theory. One of the key pieces of information to take in, though, is that any change you make to your vehicle’s trajectory once you’re in orbit will affect the opposite side of that orbital path. Furthermore, you’ll almost always want to adjust both sides of your orbit if you want to keep circling that planetary body.
Also worth noting: if the yellow line denoting the projected orbit isn’t a circle and instead terminates in three exclamation marks, that means that your vehicle is going to land on the body it’s orbiting, rather than continue its rotation. This might be what you want! Or it might not. Hope you packed a parachute!
8. Don’t worry if success takes time
Here’s a bit of perspective for you: the saved pre-made rockets in the VAB get quite an iffy report from your engineer and trip planner, even if you’re only aiming to take them for a quick jaunt from the KSC base to Kerbin’s Mun. It suggests that even the devs struggled playing their own game at times, and that’s OK! Rocket science is hard, and Kerbal Space Program 2 aims to emulate that reality thoroughly.
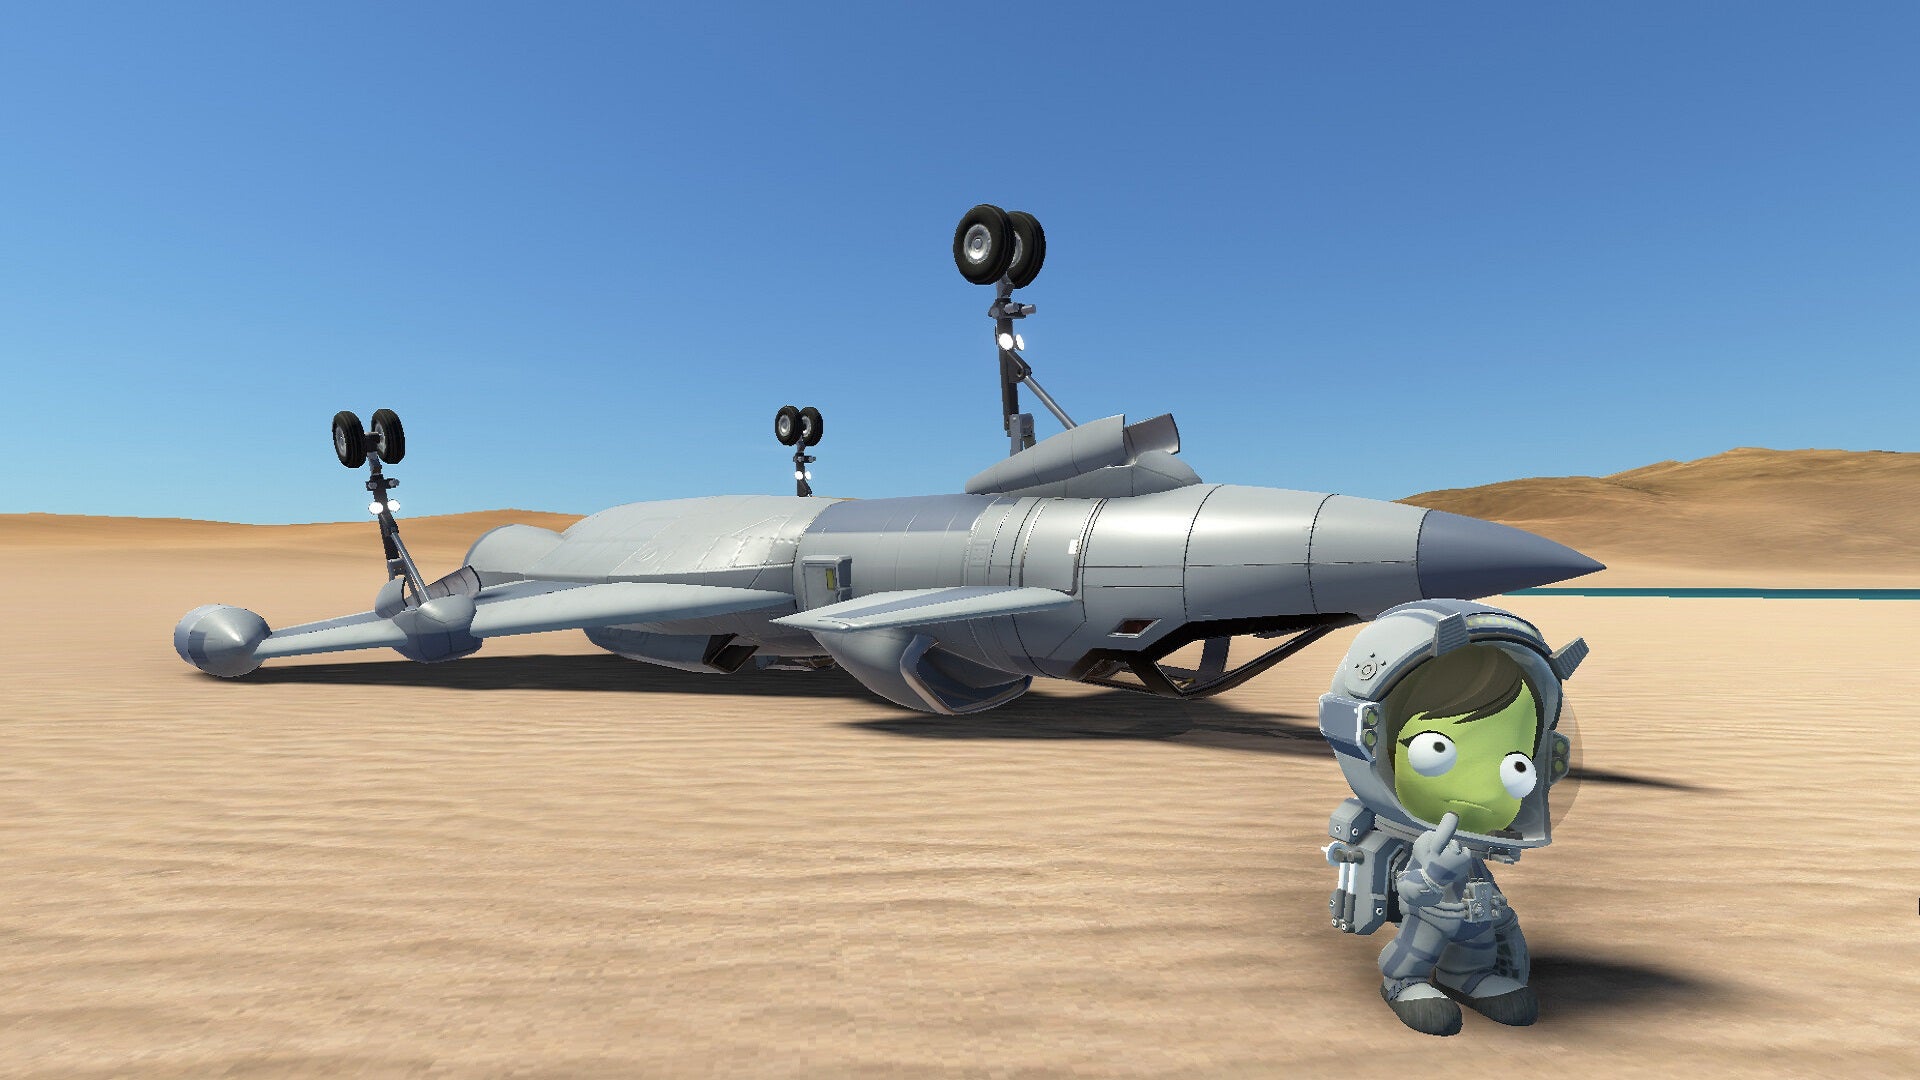
What’s more, the point of the game is arguably what you learn from your own experimentation. Enjoy the process! Even if you’re terrible at first, you can always appreciate the goofy cartoon rocket crashes and beautiful scenery when you admire Kerbin from space. Trust me, this advice comes from first-hand experience.
Now you’re ready to leap into KSP2, you might also like our guide to building your first successful rocket in Kerbal Space Program 2!
