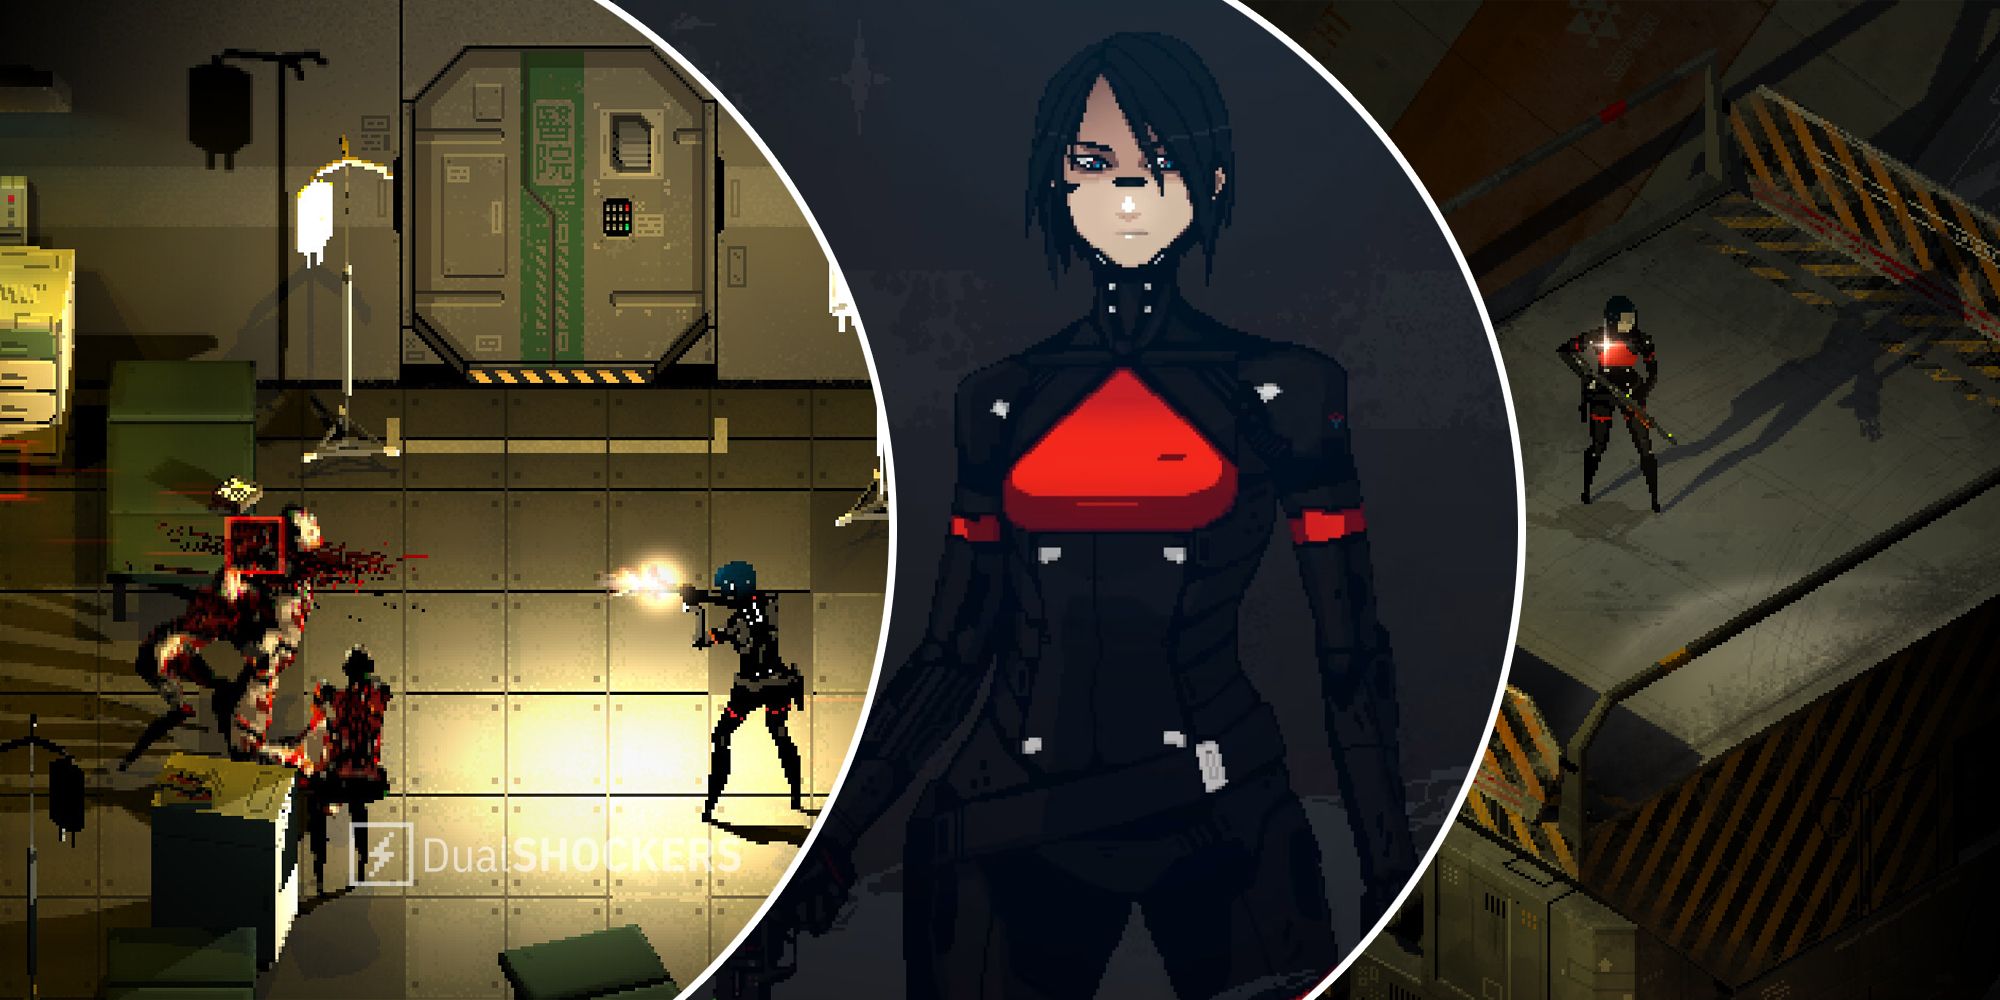
SIGNALIS is a retro-inspired survival horror game available now on PC, Xbox One, PlayStation 4, and Nintendo Switch. This is Part Two of the SIGNALIS Walkthrough. If you’ve just started the game, be sure to check out Part One of our SIGNALIS walkthrough which covers the opening hours of the game.
By this point in SIGNALIS, you should be familiar with the darkly lit corridors and labyrinthian maps it has to offer. There will be quite a few more enemies in this section than in the previous one, but keep in mind that running past enemies while grabbing what you can is often the best tactic. As in the Silent Hill series, the ending you unlock in SIGNALIS will be generated based on your play style. Do not fret on your first playthrough though, as the best ending cannot be unlocked the first time around.
Sierpinski Base, Third Floor Hospital
From the end of Part One of our SIGNALIS walkthrough, we last left off in the Protektor Elevator, on a one-way trip to the third floor. Once on the third floor, head East and take the North door in the long East Corridor. You’ll find a Save Room in the Reception, as well as a Shotgun and a storage box. The room above hosts a Card PC we will come back to later. For now, head South to the East Corridor again and run to the door on the bottom right, avoiding the enemy.
Here you’ll find a locked door that requires multiple key cards we’ll be collecting. Head left into the West Corridor and left again into the Protektor Bathroom to grab a Pump Room Key. Go back into the corridor and then into the room above the bathroom, called Store Room, to grab a Repair Spray and the Socket Wrench Handle. Back in the corridor again, head to the bottom right to enter the Pump Room. You will find a terminal with a water level puzzle, and two memos to read. The lower memo lays out the exact method to solving this puzzle, so follow it closely.
Flooded Corridor

With the water lowered, head back to the Protektor Bathroom, Northwest of the Pump Room, and drop down into the newly accessible area. Grab the Water Key and the Repair Patch when you land in the Flooded Bathroom, then exit via the door on the right. After entering the Flooded Corridor, directly across from you will be a Save Room, so run through to the Flooded Office to avoid being attacked.
Here you can save, make room in your inventory, and grab the Disposable Stun Rod along with the Examination Room Key. Back in the Flooded Corridor, the room on the bottom right contains 10mm Ammo and a Blank Key. The room across from this Flooded Store Room will lead to Pipes, a room with a ladder that takes you back to the West Corridor on the third floor. From here, you can insert the Water Key into the S-Lock in the Waiting Room to free up inventory space, then head to the East Corridor on your right and take the top right door to the North Corridor.
North Corridor

From the North Corridor, take the top left door that requires the Examination Room Key and grab the 10mm Socket inside. Any mechanic can tell you this is the most valuable socket in a ratchet set. The 10mm Socket can be combined in the inventory menu with our Socket Wrench Handle to open a vent we’ll come across later. The next room over, Imaging, hosts an X-ray machine with several items to inspect. Take a moment to inspect each item and note that the fourth item is a key embedded in a rock. Activate the X-ray during the inspection by toggling the image mode on the monitor and examining the key pattern.
After examining the X-ray of the key, head back to the Office above our Save Room in Reception and insert the Blank Key into the Card PC. We’ll need to draw the pattern from the key in the X-ray onto the Blank Key. The pattern will need to be exactly the same, so make sure to account for the line of dots not shown on the key you’re copying.
Vent Room

With a newly printed key in hand, we can head back down to the Flooded Corridor via either the ladder in Pipes or by dropping down in the Protektor Bathroom again. From the Flooded Corridor, the door in the top left will lead to a Sleeping Ward, and there will be several items to grab, but be careful as you will be swarmed quickly by enemies coming out of the floor. The items available here are 10 Ammo, 12mm Ammo, a Repair Patch, and a Video Cassette. The door in the top left leads to a Vent Room, and here we can use our 10mm Socket Wrench to remove a vent and obtain the Air Key. This room also contains a memo and an Autoinjector.
Subway Video Cassette

Make your way back up to the third floor and insert the Air Key in the S-Lock in the Waiting Room to free up your inventory. Head East to the East Corridor and take the door directly across from you to the South Corridor. The first room in the top left has a memo and a TV to view your Video Cassette. Using the Video Cassette will transport you to a subway train, where you’ll simply need to walk down to the person on the train and obtain the Gold Key that appears where they were sitting. After the video ends, go back to the Corridor and head into the next room over, via the top middle door, to obtain an Autoinjector.
Sword Wall Safe

The next room in the top right will have a Disposable Stun Rod and another Wall Safe, this time with a Sword. The Sword Frequency is 245.000, which will give you a combination of 78893. Now you will also need to read the SWORD memo we received in the Waiting Room to transcribe this code into letters, which tells us that the Wall Safe code is ZFFKB. Inside the safe is an Eidetic Module and an Incinerator Room Key. Back in the South Corridor, you can enter the room on the bottom middle of you want to stock up on health and ammo, however it is a tight room with two enemies that will make this difficult.
Incinerator Room

Now that we have the Incinerator Room Key, head to the North Corridor and into the Morgue. Run to the Incinerator and use the key to enter. Inside will be two Thermite Flares on the left, and a terminal that controls the Incinerator against the wall. You will need to rotate the dials for each element here to increase or decrease the amount depending on which indicator is lit up after pulling the lever on the right. Rotating to the left is up, rotating to the right is down. The solution for CO2: Five turns to the left, GAS: Five turns to the right, and O2: Eight turns to the left. Look inside the Incinerator and grab the aptly named Fire Key.
S-Lock Surgery

We now have all the keys we need to open the S-Lock in the Waiting Room. Head there and insert the remaining keys, noting that the Blank Key that we made on the PC will go in the Earth Key socket, notated by a Triforce symbol. Inside Surgery is a save room, complete with a storage box, three sets of ammo, and a Repair Patch. At this point, be sure to load up on guns and heal yourself. When you’re ready for a fight, drop down from the middle of the room.
Boss Fight: Replika Mynah

After dropping down, a boss encounter will begin. Ammo will be scattered around the room and the boss will take periodic shots at you which can be easily dodged by running. Other enemies will spawn over time, but you’re better off avoiding or crippling them as they are slow and more will spawn if they’re killed. Wait for the boss to take a few shots, and they will eventually drop to their knees. The face shield in their suit will open up and pour blood. This is your chance to run up and fire shots into their only weak spot. Be careful not to approach too closely as you will suffer damage simply by getting too close to the boss, even when they’re immobilized. After about six or seven shotgun rounds to the face, the boss encounter will end. After a brief cutscene, you’ll wake in a classroom. Leave the room and head down the hallway to finish the scene.
