Solitary Path is the Companion Story for Yinlin released alongside her banner in Wuthering Waves.
As you journey through the Solitary Path quest, you’ll learn more about Yinlin and her history in Wuthering Waves. It’s quite a long quest and at one moment you’ll even need to know the Solitary Path password to continue your adventure with Yinlin.
So follow our Solitary Path walkthrough for Wuthering Waves to learn how to enter the correct password in Solitary Path.
On this page:
How to start Solitary Path in Wuthering Waves
The Solitary Path Companion Story for Yinlin was released on Thursday 6th June 2024 in Wuthering Waves and automatically starts when you first login.
You’ll receive a call from Chixia about a mysterious Séance Society and a number of disappearances. Just make sure you answer her call to properly start the quest!
If Solitary Path does not start automatically for you, it’s worth checking to see if Wuthering Waves is properly updated.
Solitary Path walkthrough for Wuthering Waves
Your first task in the Solitary Paths Companion Story for Wuthering Waves is to visit a spot near the northern road leading out of Jinzhou.
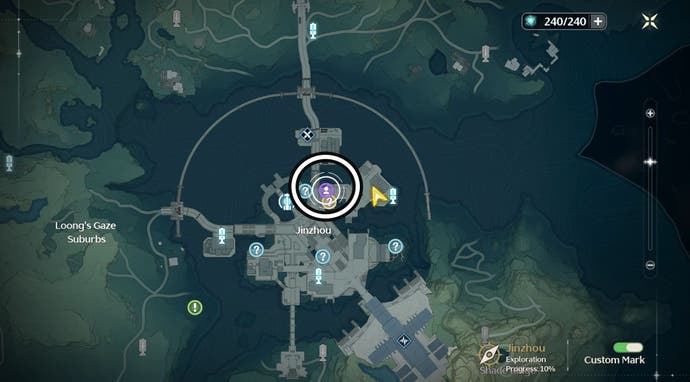
There you’ll find a man and his daughter. Talk to them and then watch the following cutscene before cleaning up the two spots to hide the fact there’s been a fight as requested. Once done, you’ll enter another cutscene.
You’ll now need to meet with Yinlin out in the wilds. She can be found east of Qichi Village and west of Tiderise Cliff – roughly in the middle. If you’ve unlocked the Huanglong-Central Plains Resonance Beacon, then use it to fast travel to her location. She’ll be standing under a tree not far from the beacon!
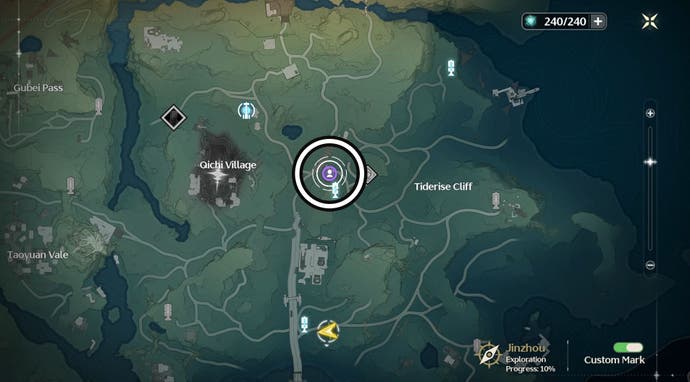
Once again talk to her and sit through another cutscene. When that’s over, you’ll need to head to a spot just north-east of your location. You should be able to find it easily by following the marker on screen, but here’s a map if you’d like the exact location:

You’ll be greeted by another cutscene upon arrival. When that’s over Yinlin will – finally – give you something to do which isn’t standing around and talking.
Follow Lirong in Wuthering Waves explained
You’ll need to follow Lirong to progress further in the Solitary Path Companion Story of Wuthering Waves. Thankfully unlike other side quests which have involved some form of stealth, like Secret Investigation, you don’t need to worry about staying too far behind Lirong or him really noticing you at all.
Instead, simply run behind him, sprinting if needed, until he reaches his destination which isn’t too far away. You’re basically there once Lirong climbs down the big root!
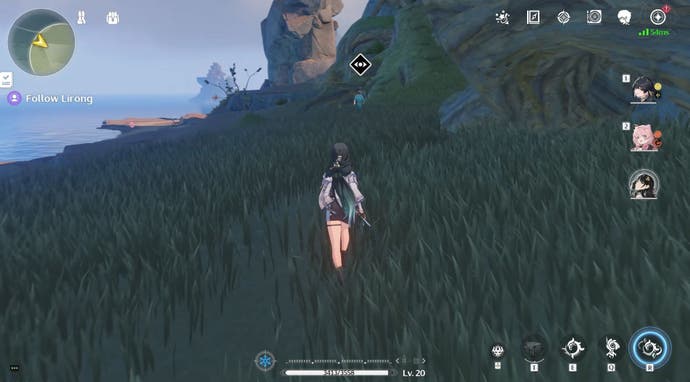
If you are worried about being spotted, then keep a good distance and sprint when a warning about leaving the quest area appears. You’ll have 10 seconds to get within a good distance of Lirong, which you can easily do by sprinting. Solitary Path will reset to this section of the quest if you do fail, so don’t worry about losing too much progress.
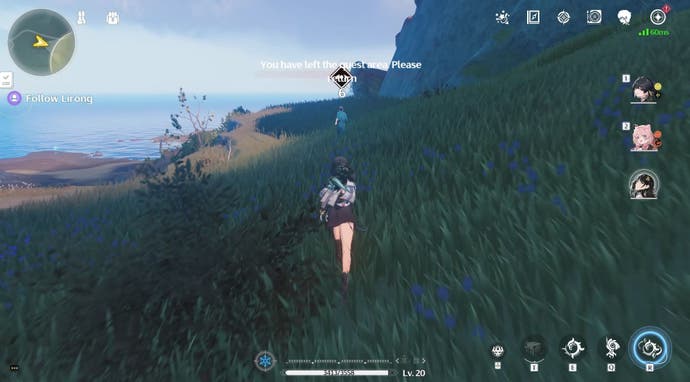
After Lirong arrives where he’s hidden the puppets, head to the bush highlighted by the marker and get ready for another cutscene. Don’t drop your guard though because you’ll need to defeat two Fractsidus members once the quest is completed.
Once they’re defeated, Yinlin will ask you to collect three sets of puppets from around the area. These puppets can be found:
- Near a glowing plant on the left-hand of the gully. Most likely directly behind you after the cutscene ends.
- In front of a tree on the right-hand side of the gully. Again near a glowing plant.
- Sitting on a rock near the entrance of the gully near a glowing plant on the right-hand side.
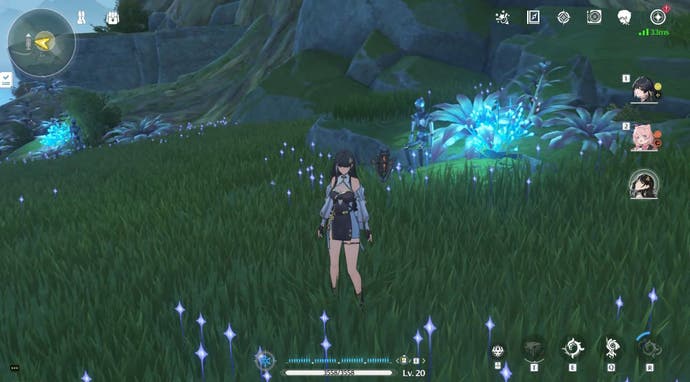
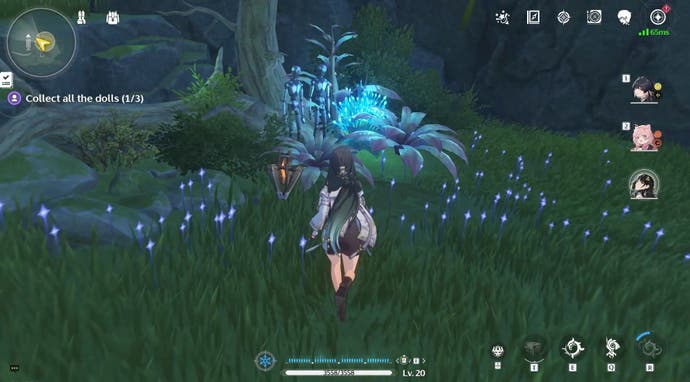

With those puppets collected, head over to Yinlin and talk to her. She wants to visit a safe house and you’ll soon find yourself north-west of the Tiderise Cliff. While the location of the safe house is on your map, you can use the scanner to find wolf markings which will lead you to its location.

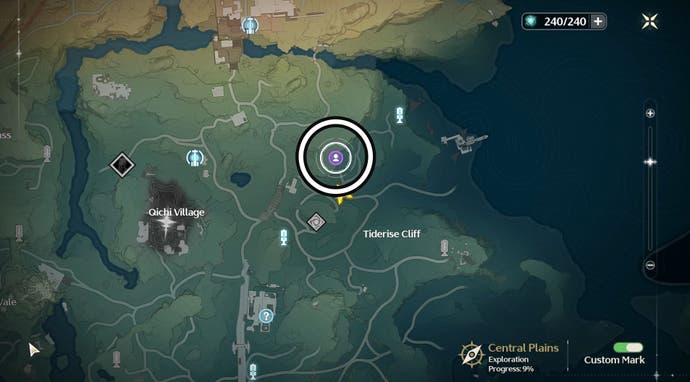
When you arrive, however, you’ll discover the safe house is locked using a password. I wonder what it might be…
Enter the correct password in Solitary Path of Wuthering Waves explained
To enter the correct password for the safe house in Solitary Path of Wuthering Waves you first need to know what the password is. Luckily we’ve already solved it for you!
The password for Solitary Path is 4123. The password corresponds to the number of purple plants growing around the safe house. (Though if you talk to Yinlin, she’ll just tell you what it is…)
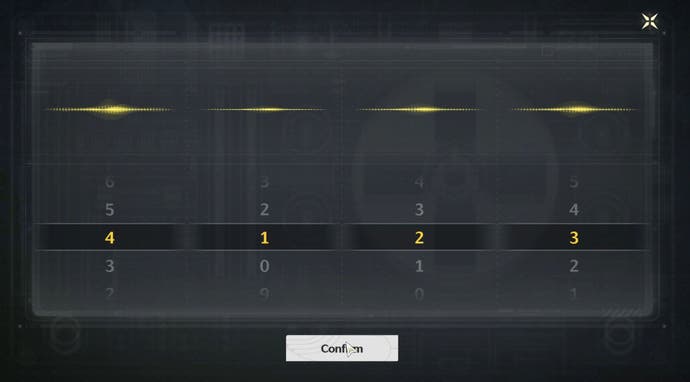
You can enter the password by going to the box on the cliff face where a purple marker sits and pressing the ‘Investigate’ key, then all you need to do is select the correct numbers.
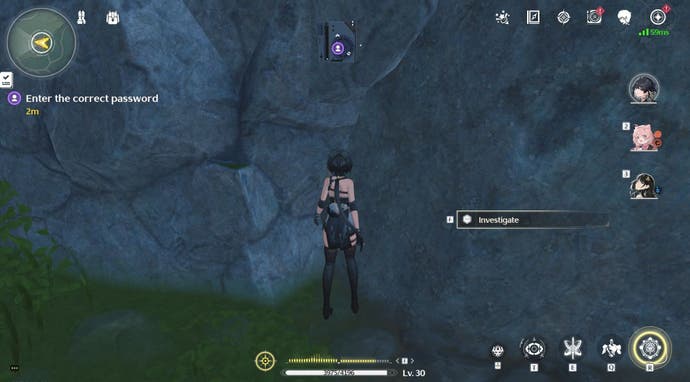
Now the safe house is open head inside for, you guessed it, another cutscene.
How to send a frequency signal in Wuthering Waves
Upon waking up during the Solitary Path quest in Wuthering Waves, you’ll find that you’ve been captured. The first thing you need to do is interact with the box and the files on the chair.
After doing so, you’ll need to send a frequency signal to Chixia by interacting with the tablet atop of the box you investigated to start a mini-game.
Sending a frequency signal is quite easy (and fun in my opinion). All you have to do is watch the bars moving across the screen and, when they come to the one in the middle, either tap quickly for a short bar and hold down for a longer one. You don’t need to reach 100% for the signal to be sent – I passed the mini-game with 91%.
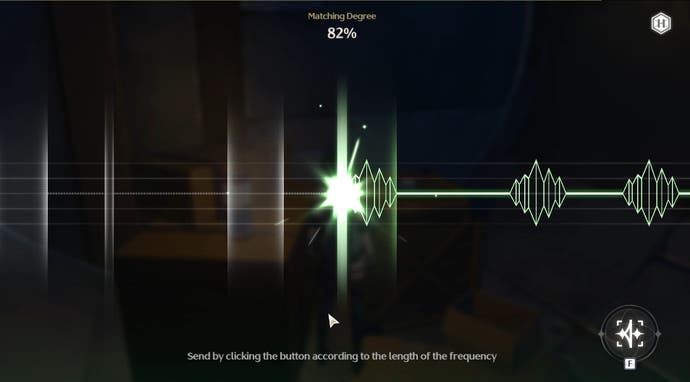
With the frequency sent, Yinlin will open the door so head outside and talk to her. She will then ask you to talk to three people at the camp atop the hill.
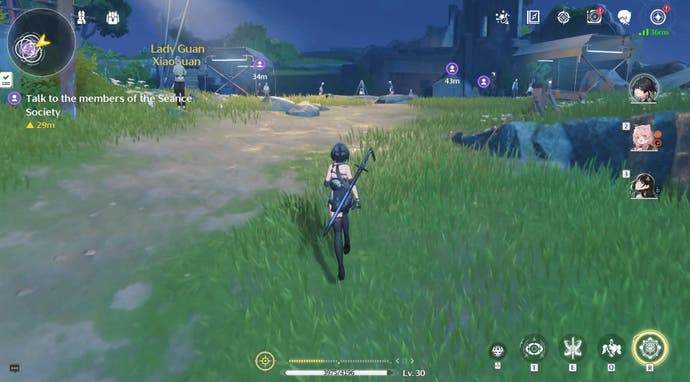
Once you’ve finished talking to them, Yinlin will then ask you to talk to a man standing behind the ruined building near a tent. You can easily find him by going around the building or climbing up the staircase and dropping down to the other side. Look for the tree as he’ll be close by!
The man’s name is Quxiu and you’ll need to talk to him. After sitting through all of the dialogue, investigate the four sparkling objects in the tent to get a better of what’s going on with the Dollmaker and learn some of Yinlin’s backstory.
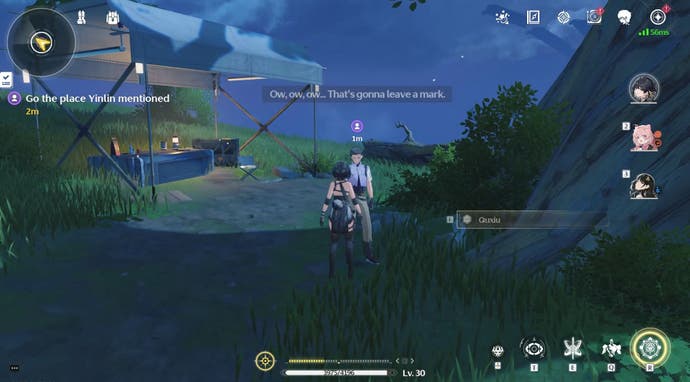
With reading time completed, head back to Quxiu and talk to him before talking to Yinlin who’s standing a little way up the hill.
After this conversation, you’ll find yourself fighting a number of Tacet Discords. You’ll have control over Yinlin who we recommend using not only because she’s at Level 40, but it will give you a chance to experiment with her playstyle if you plan on trying to pull her.
With the fight won, you’ll be rewarded with another cutscene and, after that, head to the glowing portal near the camp to enter the Puppets Factory.
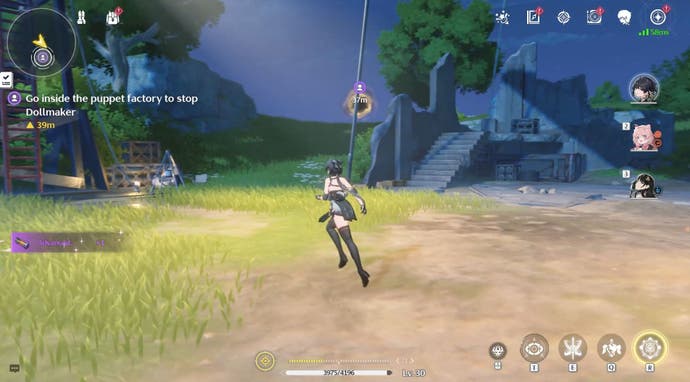
Puppets Factory in Solitary Path of Wuthering Waves explained
The Puppets Factory is the dungeon you’ll explore as part of the Solitary Path Companion Story in Wuthering Waves. We recommend playing Yinlin for the majority of this storyline as it’s an excellent opportunity to learn her playstyle if you’re planning to, or already have, pulled her. She’s also Level 40 which can be quite handy if your other Resonators are at a lower level. (Depending on your Rank, Yinlin’s level could be lower or higher.) Just don’t forget to change Resonators when needed!
Your journey through the Puppets Factory begins, of course, with a cutscene. When it’s finally over, head up the stairs directly in front of you and interact with the circular device in the top right-hand corner of the room. This will allow you to control Yinlin’s puppet Zapstring!
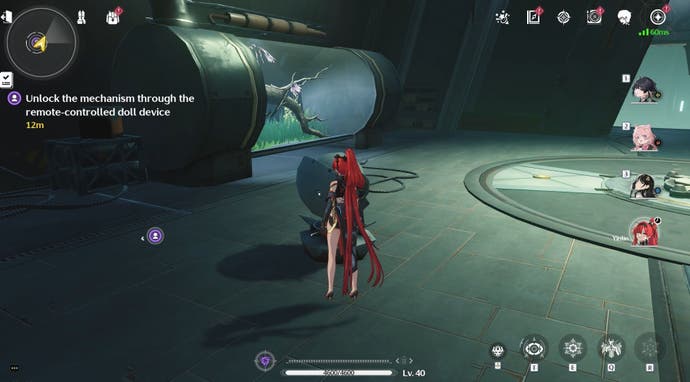
You need to place Zapstring on the button in the centre of the room to disable the lasers blocking your path. Once Zapstring is in place, exit back to your Resonator and continue down the corridor. Don’t worry about Zapstring, it will appear when needed!
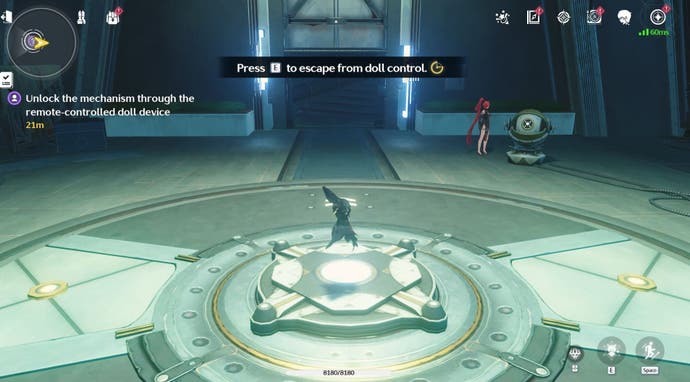
When you reach the end of the corridor, you’ll have to fight a collection of exiles before continuing on your way. Though you’ll quickly find your way blocked by another set of lasers, thankfully Zapstring can fit beneath them but you’ll need to reach the device that will let you control it first.
Look to your left to find a cylinder-shaped room containing the device you need, but this entrance is blocked by lasers too! To access it, you need to place the nearby cube onto one of the two buttons and then stand on the other. This will bring down the lasers, but, if you step off the button, they will go back up.
Instead, while staying on the button, you need to use your Utilities to grab the cube from inside the room and place it on the button you’re standing on. What companionable cubes…
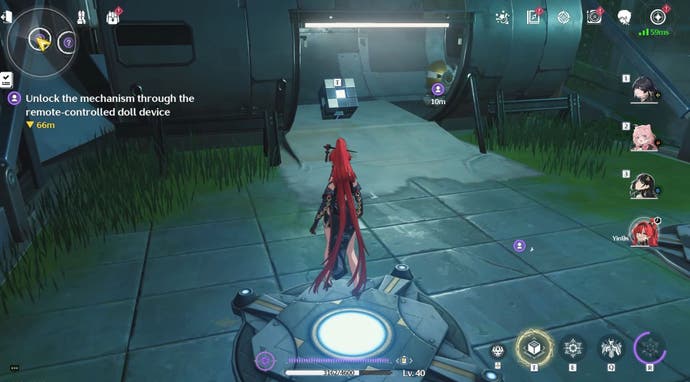
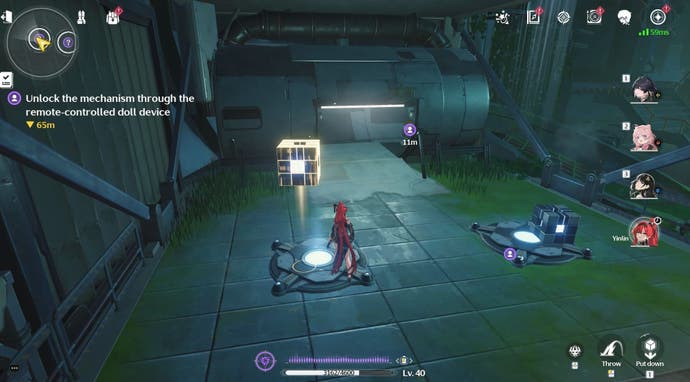
With the lasers now safely down, you can enter the room and interact with the device to control Zapstring. Send Zapstring beneath the lasers and follow the path until you reach another button. Place Zapstring there and then return to your Resonator who can now safely continue.
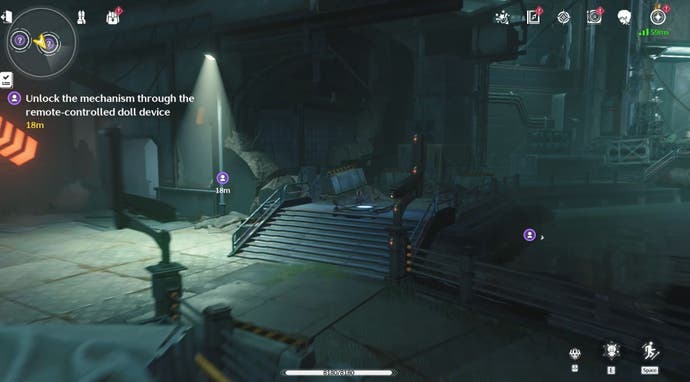
Keep following the path, defeating the enemies you encounter and dropping down a hole, until you reach another room full of lasers. Here you’ll once again have to use Zapstring to disable the lasers by sending it beneath the first set to stand on the nearby button.
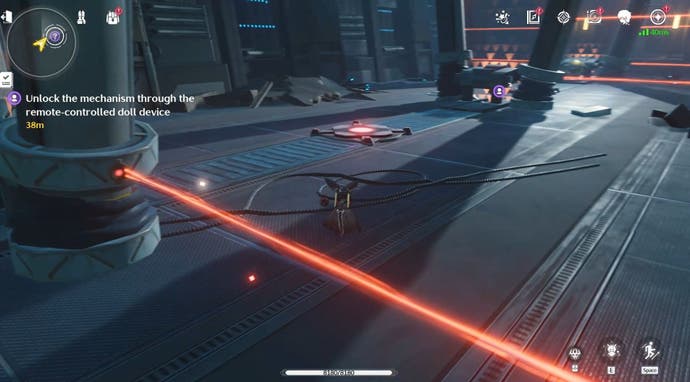
After that, head past the lasers and to the next doll manipulation device. Now all you need to do is place Zapstring on the button directly behind you to proceed to the elevator.
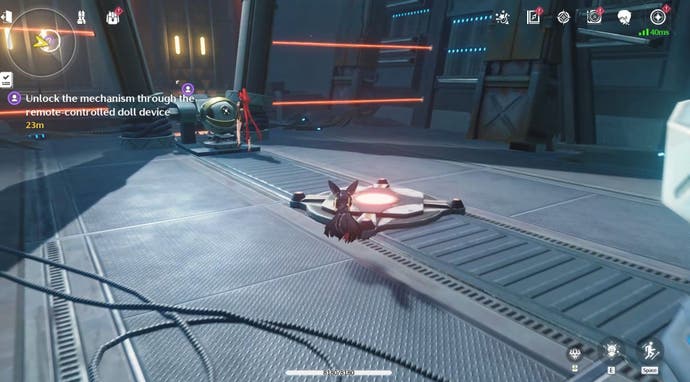
After a quick elevator ride, Yinlin will task you with taking three pictures to serve as evidence of the Dollmaker’s crimes. You will need to photograph:
- The robot in the bottom-left hand corner.
- The PC terminal.
- The puppet in the top-left hand corner.
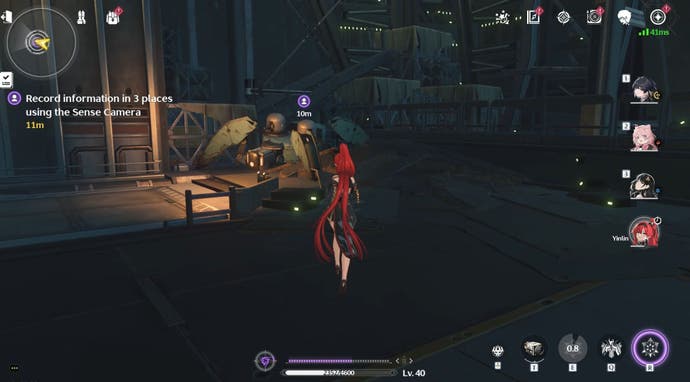
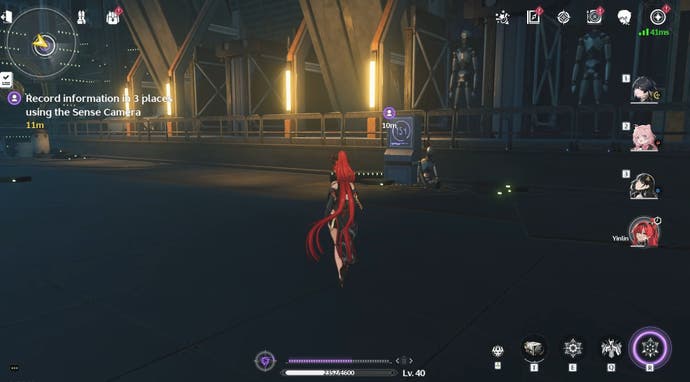
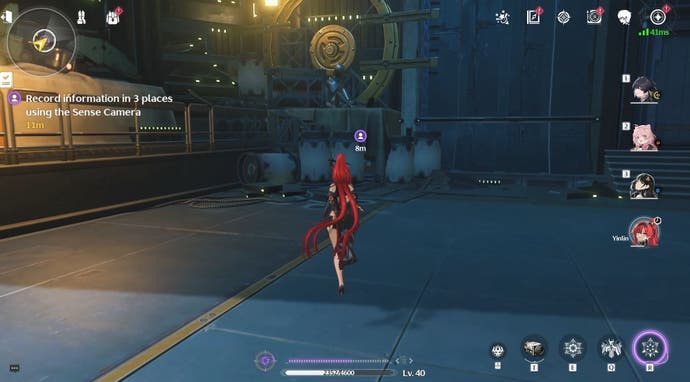
With these photos taken, you’ll now have to defeat a group of enemies and another set after you go through the door. Then time for another elevator ride – stay on your toes though as you’ll be attacked again during this journey.
When the elevator reaches its destination, there’s only one door left between you and the Dollmaker’s lair. Be ready for more cutscenes and fights with human enemies before you face the boss of Solitary Path.
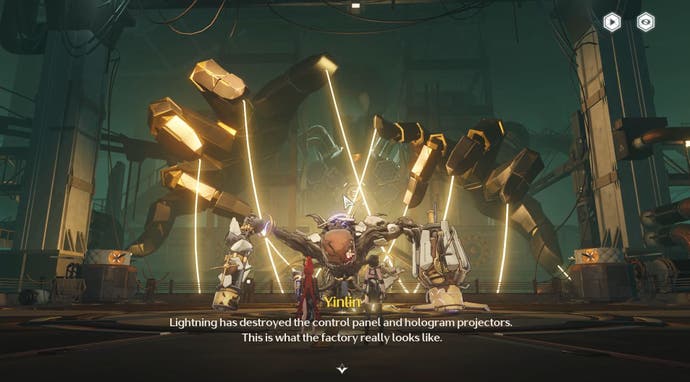
How to defeat the Mech Abomination of Wuthering Waves
Defeating the Mech Abomination is your final challenge in Wuthering Waves and, for me, it was at Level 30.
The Mech Abomination is an Overlord Class Echo with the Electro Attribute. Due to this it has increased RES to Electro damage, so it’s best to avoid using Electro Attribute Resonators against it which includes Yinlin. Still don’t avoid her completely – this will be your last time to use her if you haven’t pulled Yinlin and you can always use her as a damage sponge.
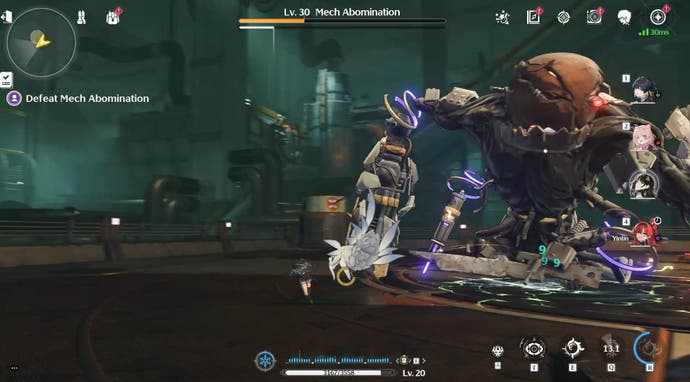
Try your best to avoid the Mech Abominations spin attack, while also focusing on making it break and taking full advantage of when it’s stunned. Just make sure your team is packed with your strongest Resonators who are not Electro.
After completing Solitary Path, the Mech Abomination can be refought for the cost of 60 Waveplates.
How to complete Solitary Path in Wuthering Waves
With the Mech Abomination defeated and cutscene watched, you return to Jinzhou for the final part of Solitary Path in Wuthering Waves. After talking to Chixia, you’ll receive another anonymous message. I wonder who it could be from…
If you use the scanner you’ll notice that the city has been graffitied with the same wolf markings you followed to find the safe house. These wolves will lead you up the stairs to the left of Chixia and along a walkway to a gazebo where you’ll find Yinlin.
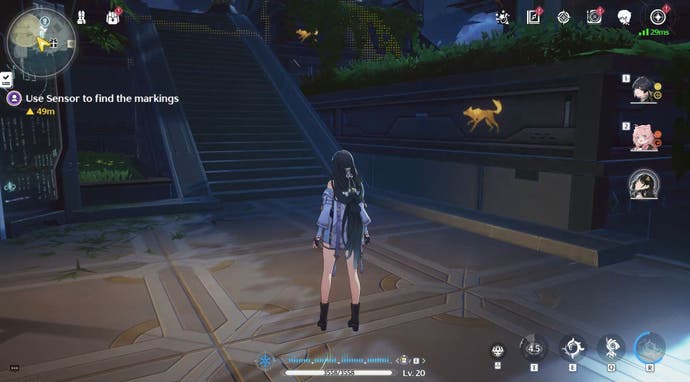
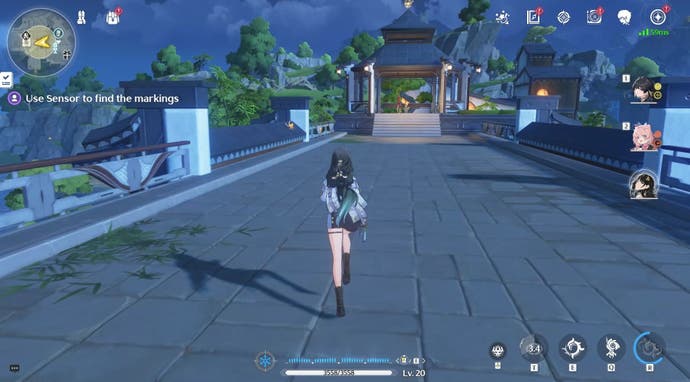
Now all you have to do is talk to Yinlin and watch (or skip) the final cutscene to complete Solitary Path!
Solitary Path rewards in Wuthering Waves
For completing the Solitary Path Companion Quest in Wuthering Waves you’ll be rewarded with:
- 2000 Union XP
- 100 Astrite
- 6 Advanced Resonance Potion
- 3 Advanced Energy Core
- 28,000 Shell Credit
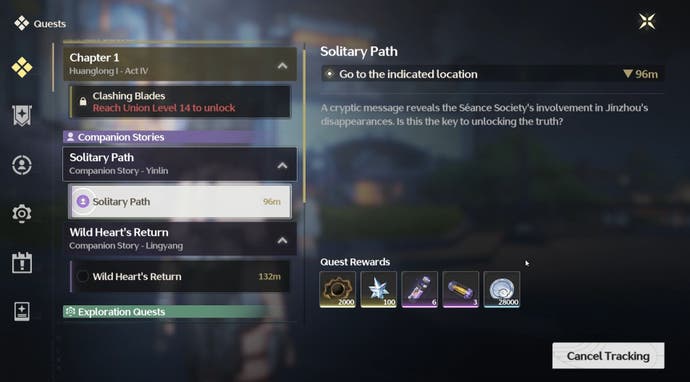
Completing this quest will also earn you the ‘Dance in the Laser Light’ and ‘Keeper in the Darkness’ trophies along with an additional 20 Astritie once these achievements have been claimed. (For some reason the quest is listed as ‘Solitary Crusade’ in both trophy descriptions. Don’t worry about it.)
Hope you enjoyed Solitary Path!


