After putting in 20–30 hours of gameplay, you’ll finally be ready to take on the challenges of one of Hogwarts Legacy’s most dangerous regions, Manor Cape. On this narrow peninsula, you’ll encounter high-level enemies, explore dangerous treasure vaults, and complete five Merlin Trials.
While you may be familiar with the core mechanics of some of the Merlin Trials, these five will challenge you more than ever before. This guide will walk you through how to complete the trials as effectively as possible.
Sinking Torches Trial
Starting on the northern side of the peninsula, you’ll find the first trial on the grounds of the Manor itself. From the West Manor Cape floo flame, head north, moving up the cliff face until you reach the Manor at the top. You’ll find the trial near the hedge maze.
The goal of the trial is to light all three of the torches before they sink into the ground. You’ll need to do this quickly and in the right order. After starting the trial, get on top of the large boulder that is right next to the mallowsweet altar. From this vantage point, you’ll be able to see the first torch that is right next to the altar, and the second one on the hill to the west, near a gazebo. The third torch is by the stairs that lead down to the hedge maze.
Start by lighting the torch closest to the altar by casting Confringo. Next, quickly turn around and cast Confringo at the torch next to the gazebo. You should be able to reach it from where you are. Finally, hop down from the boulder and run towards the final torch. Keep an eye on it as you make your way to it, and as soon as it becomes highlighted, fire Confringo and light it.
Push The Boulder Trial
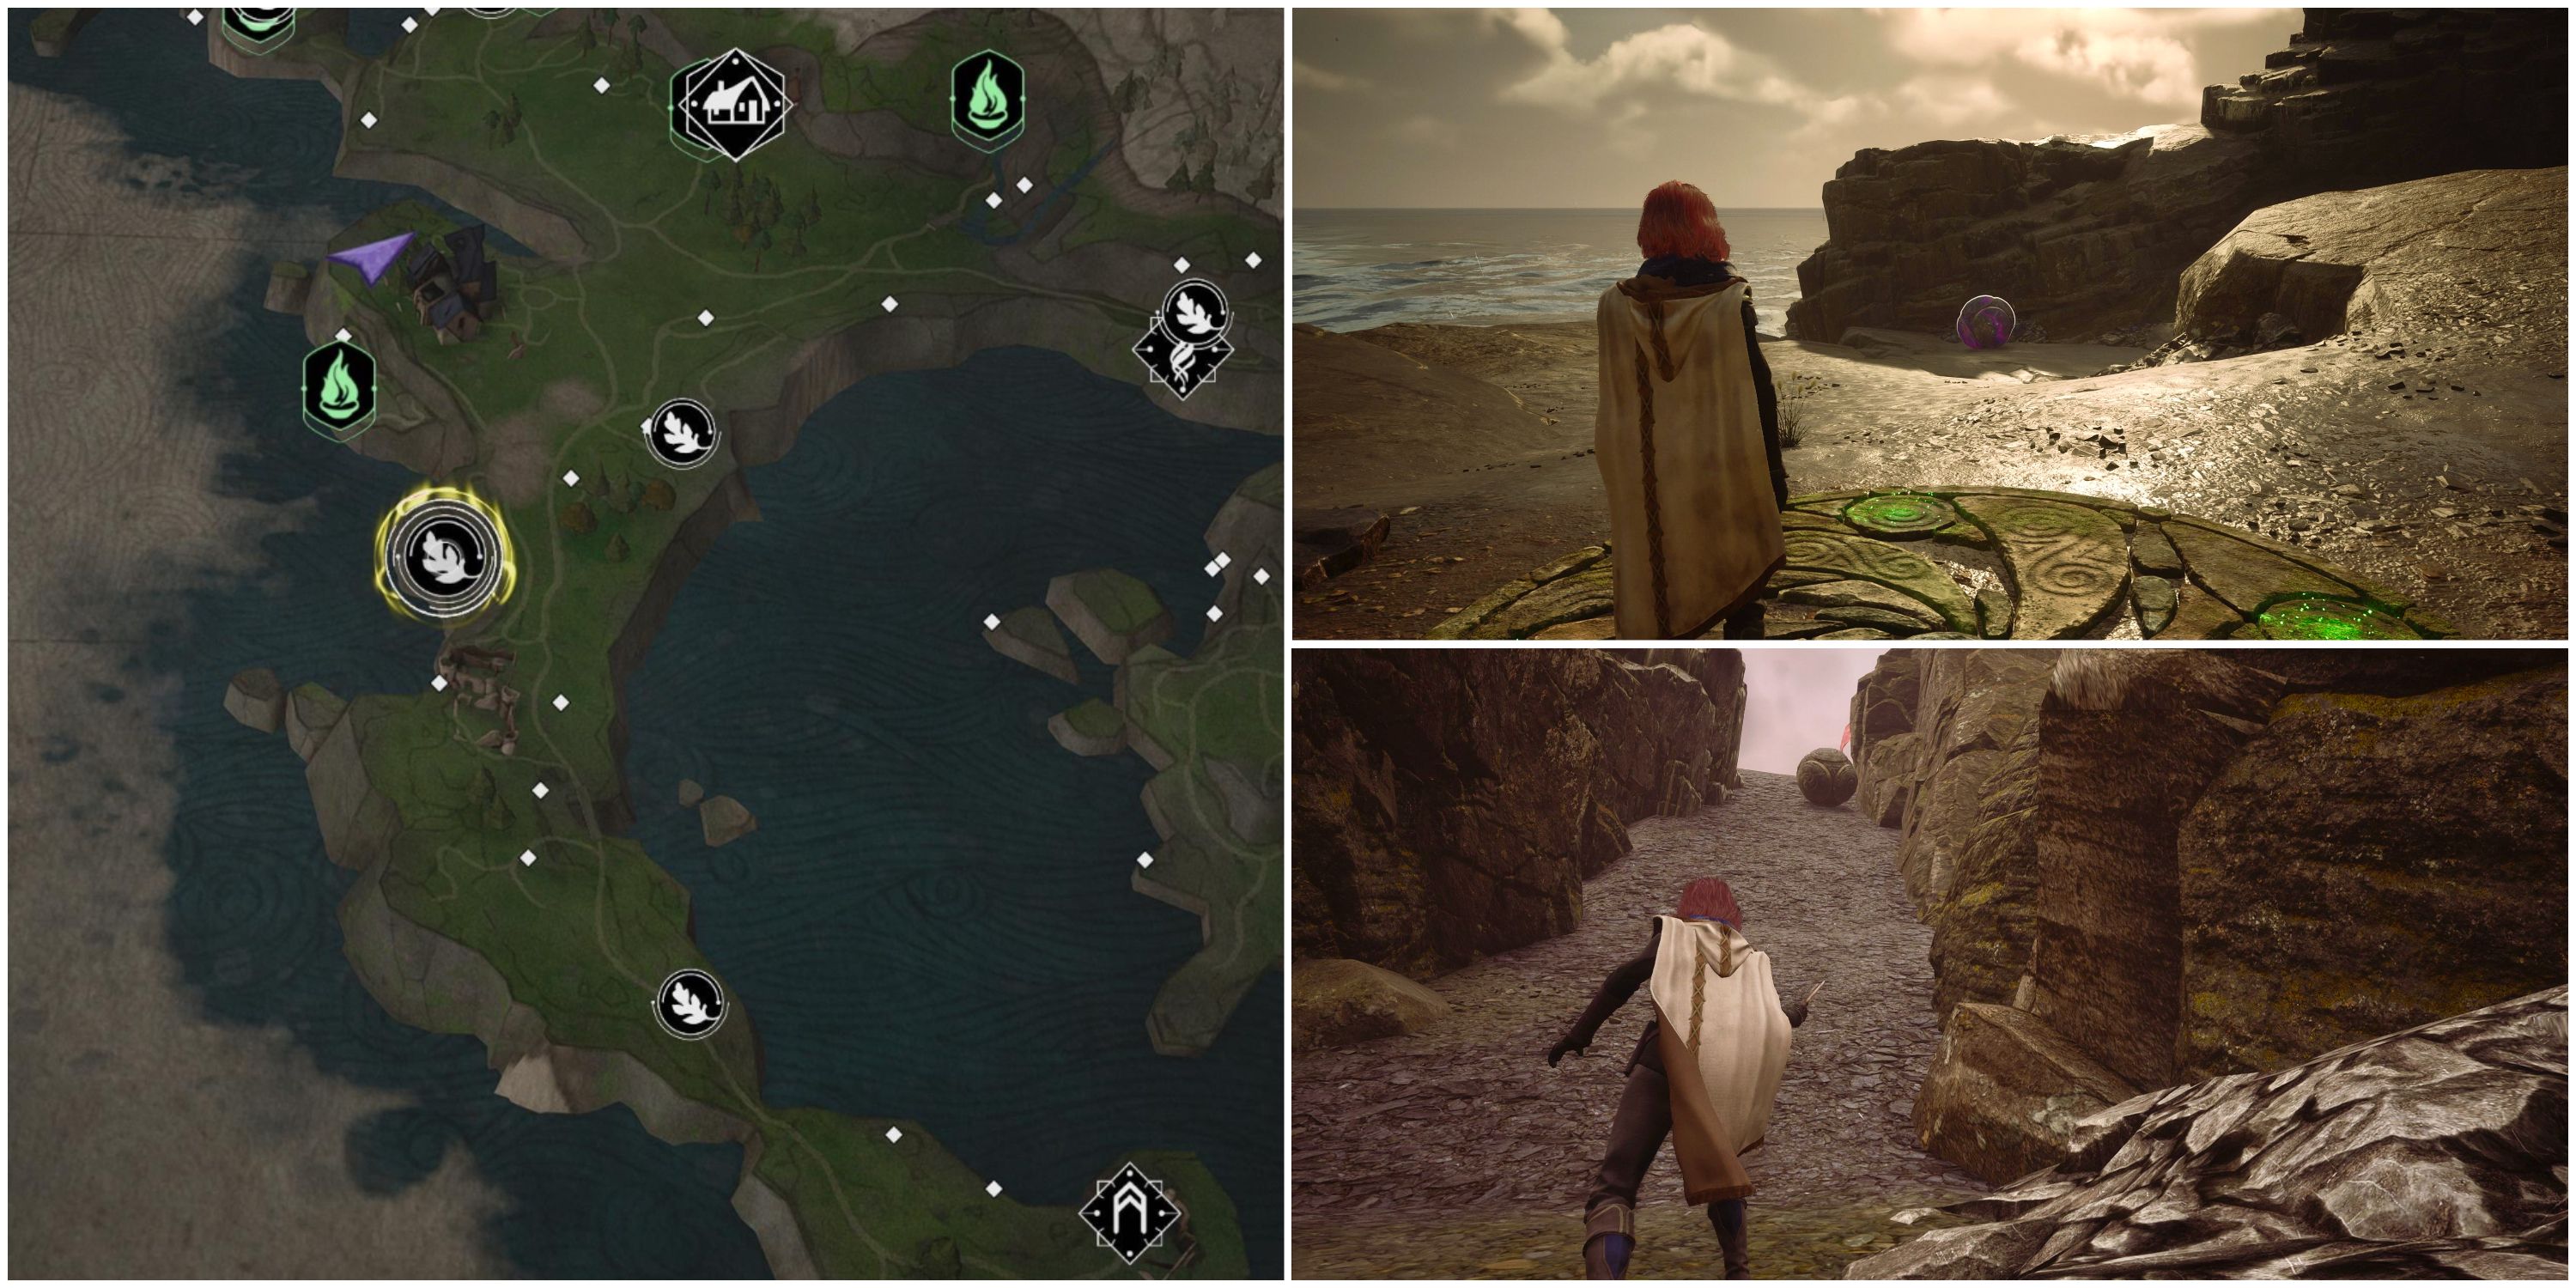
The next trial is located directly south of the manor. From the mallowsweet altar, face west, and you’ll find a giant spherical boulder near the shoreline. To solve this trial, you’ll need to repeatedly cast Depulso at it to push it up the hill and into the basin at the top.
You won’t be able to walk up this hill, and getting even remotely close to it will cause you to slide back. At first, it may seem impossible to get the boulder up the hill, but if you cast Depulso as fast as possible, you’ll steadily push it to the top. Each time you cast it, you’ll take a slight step forward, so you may need to quickly reposition a few times throughout this process. Just be sure to do so quickly and resume casting Depulso to prevent the boulder rolling all the way back down the hill.
Flipping Stones Trial
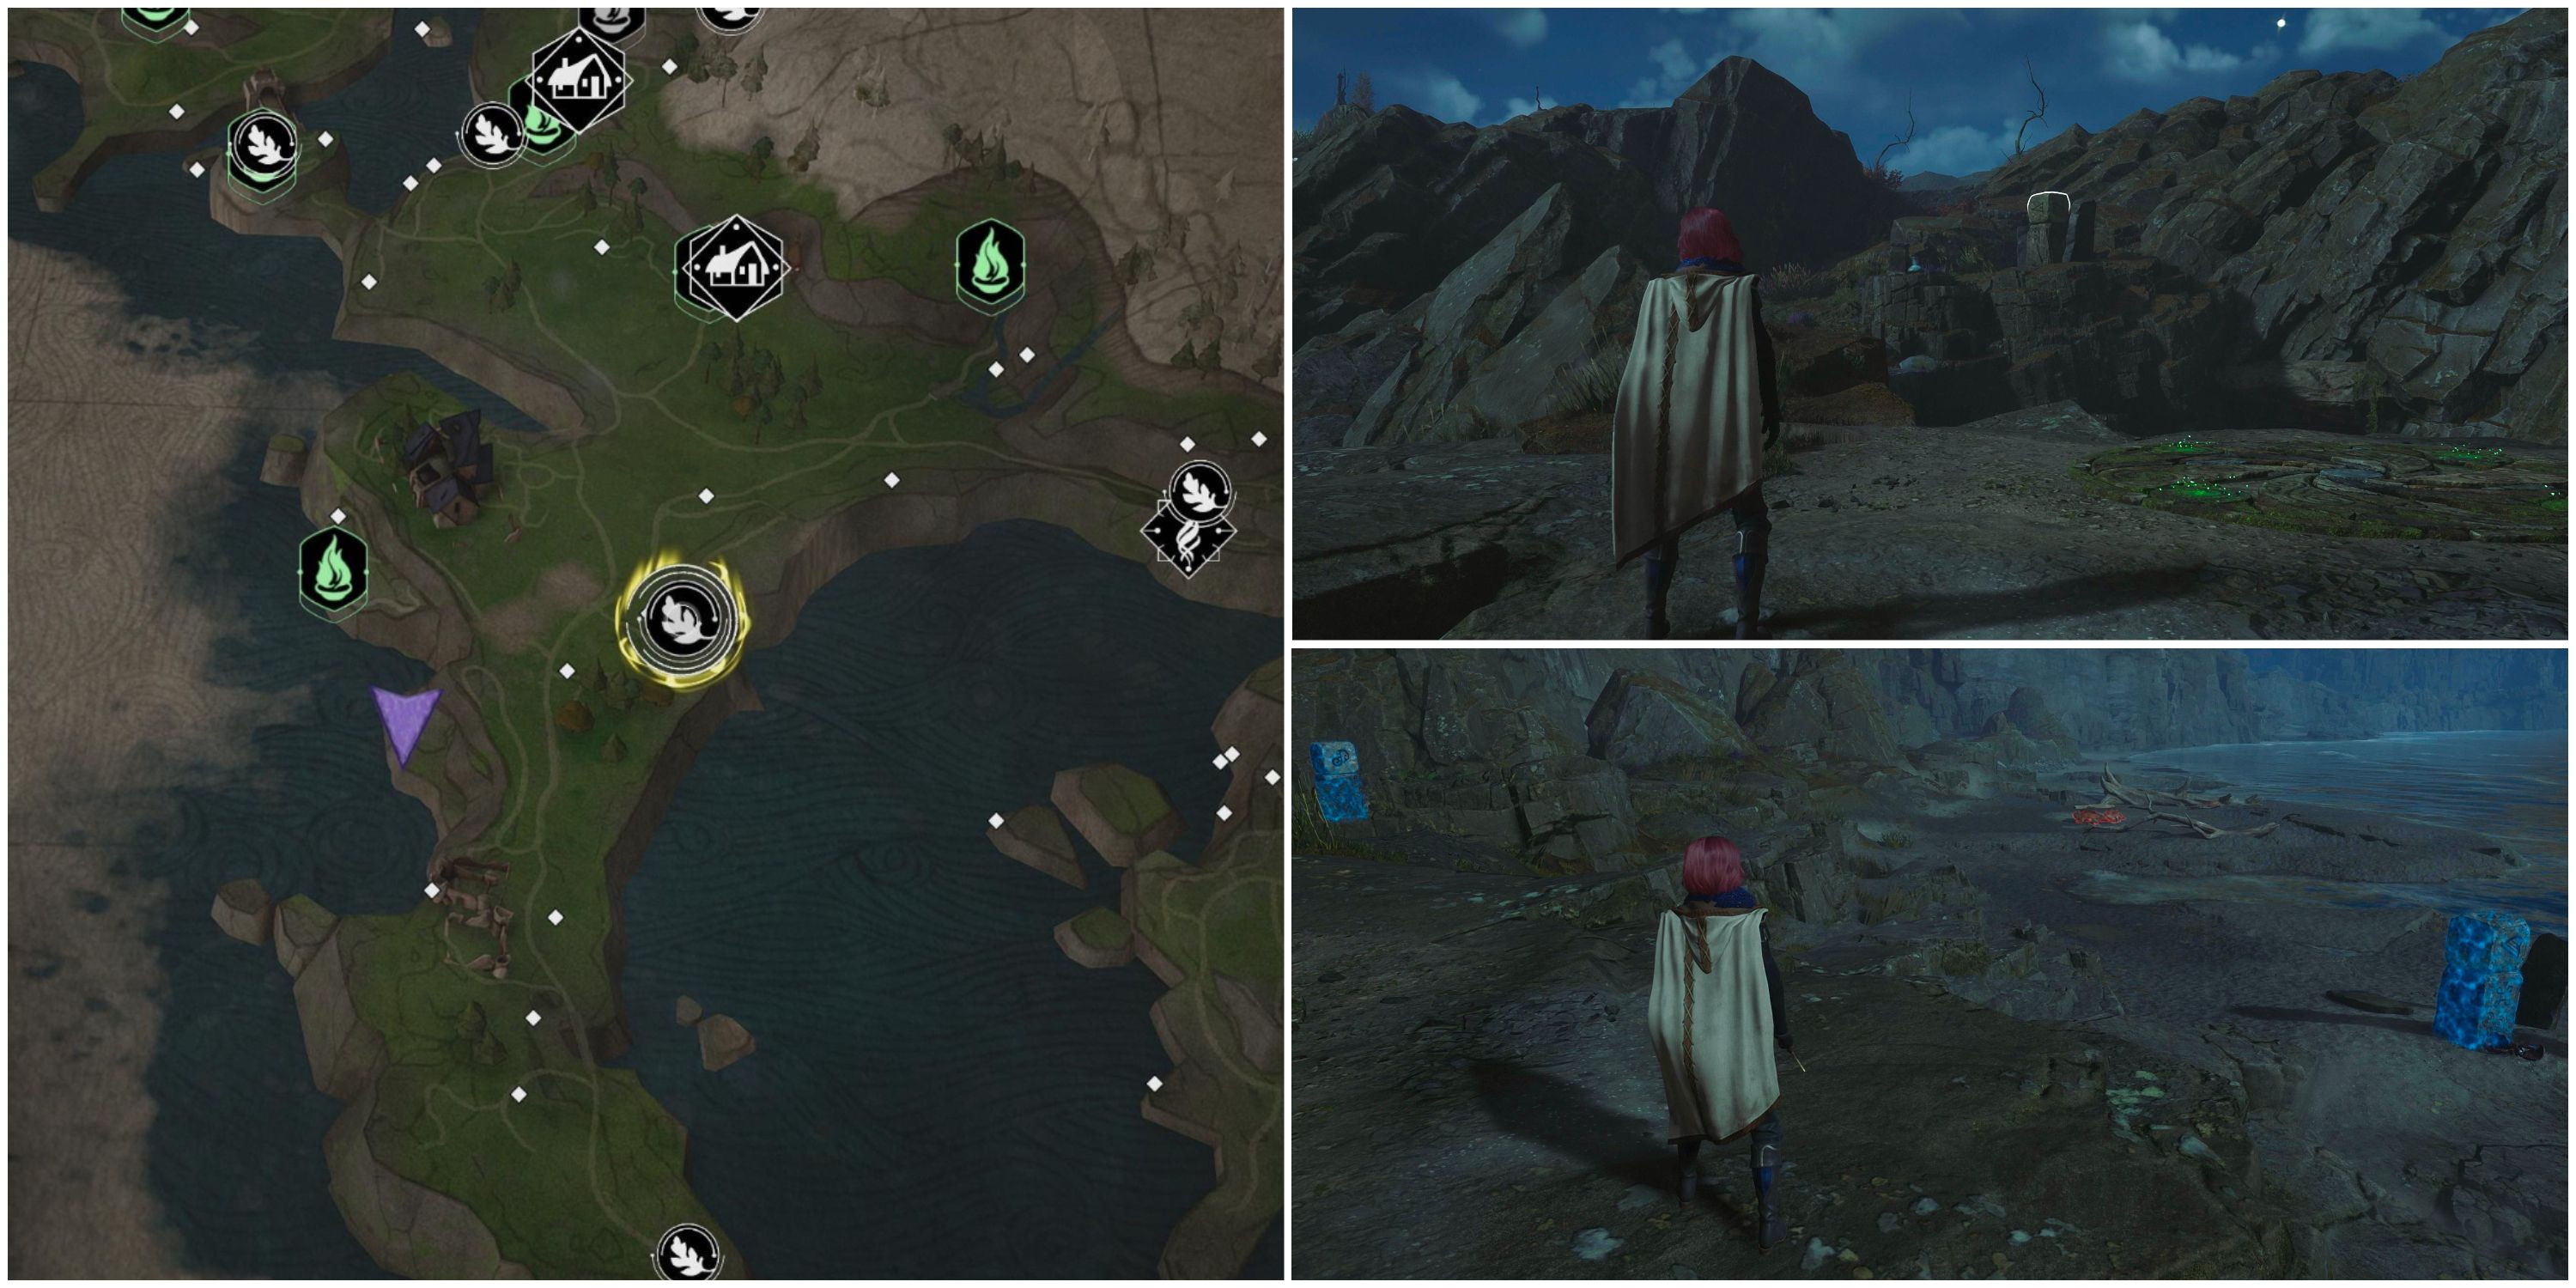
The next trial is southeast of the Manor. This time, you’ll need to cast Flipendo to rotate the top stone piece on the three pillars surrounding the trial. The goal is to align the runes on the top stone with the pillar’s base. These runes will have to match on each side, but also in the direction they are facing, so you’ll need to cast Flipendo from all sides of the pillars to solve the puzzle.
The first pillar on the beach and the one on the mountainside to the west are pretty straightforward. The third pillar which is against a rock wall, closer to the shore, is the trickiest of them all. When you first approach it, it appears that all sides of each stone have the same rune, but getting them aligned in the right direction seems impossible. There is actually one unique rune on this pillar, so focus on aligning that one rather than the others, and you’ll solve it in no time.
Moths To A Flame Trial
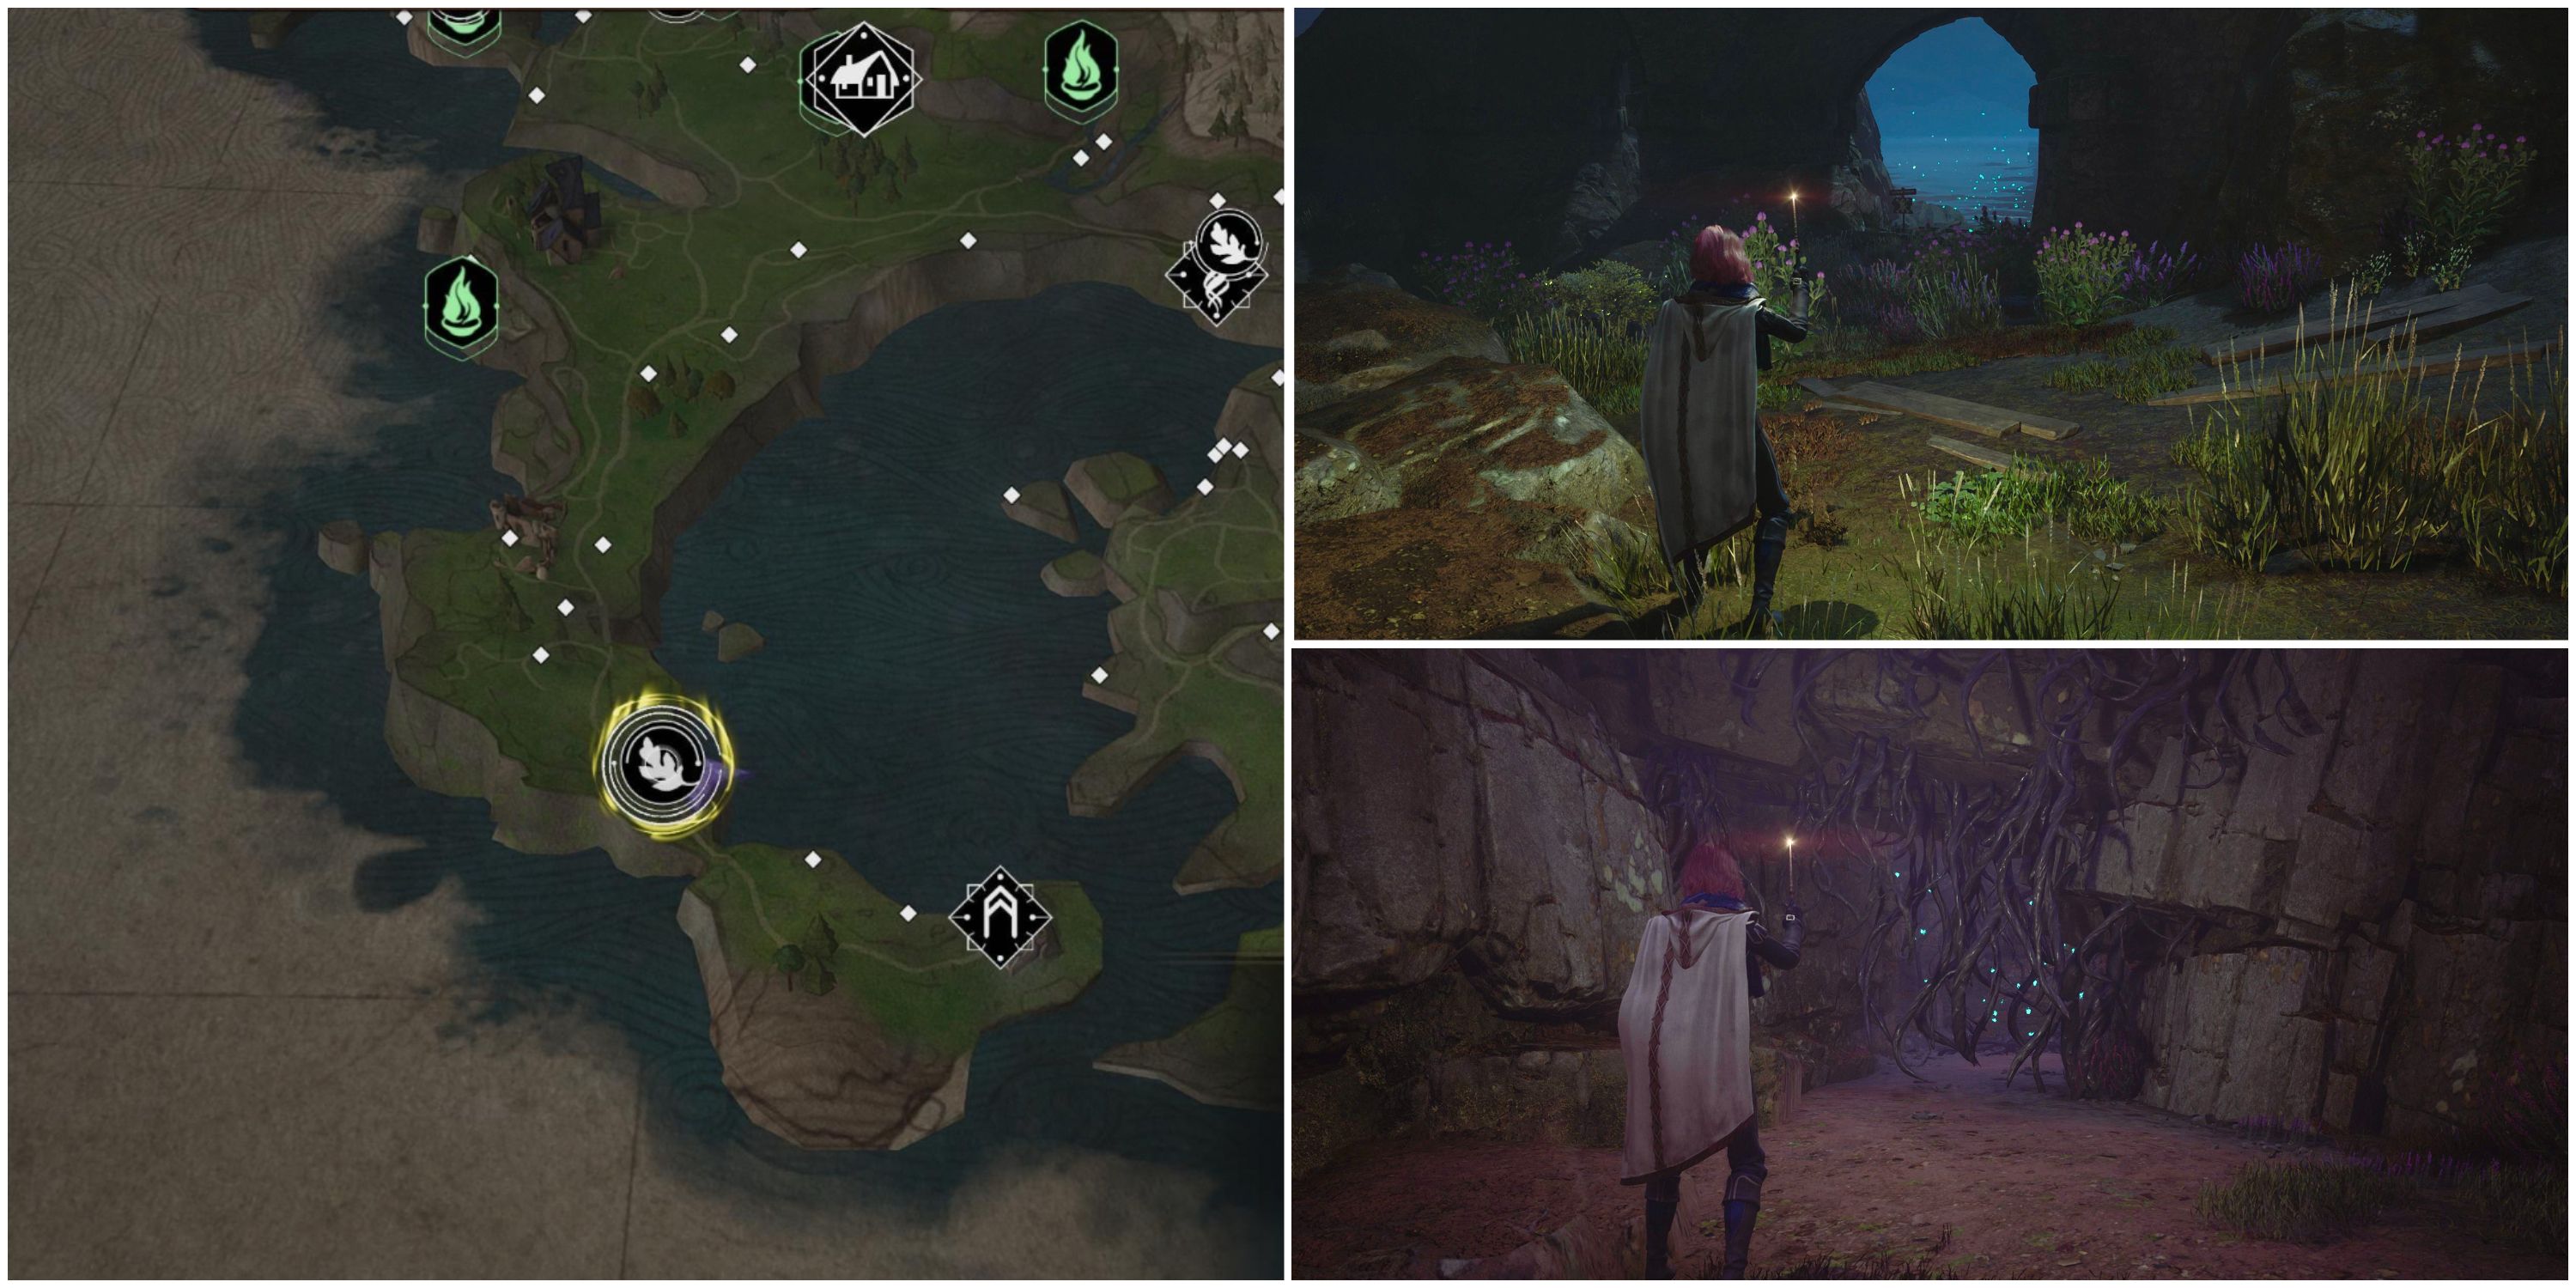
Heading farther south down the peninsula, you’ll find the next trial just northwest of Henrietta’s Hideaway. To solve this trial, you’ll need to cast Lumos near each of the three groups of moths and bring them back to the pillars surrounding the trial. The first group of moths is right next to the mallowsweet altar, with the pillar in the same line of sight.
To get the second group, drop down the ledge near the altar, and you’ll find them under the nearby bridge. When you make your way back up the ledge you dropped down, you’ll temporarily drop the moths. Just cast Lumos again when you are at the top, and you’ll grab them again. Then take this group to the pillar located on the side of the road.
The final group is hidden under the dead tree next to the altar. Jump back down the ledge and turn left. Cast Lumos to move the devil’s snare tendrils and grab the moths. Hop back up the ledge and bring them to the pillar that is next to the tree.
Destroying Pillars Trial
The final trial is located next to Henrietta’s Hideout. Before you can attempt the trial, you’ll need to defeat a very tough group of dark wizards. There are a few 25-30 level enemies here, as well as a level 35 boss that can KO you in one hit. Ensure you are prepared to face this level of enemy before attempting this trial.
After defeating them and activating the trial, you’ll need to destroy five stone pillars using Confringo to complete the trial. Each of the pillars is either near the mallowsweet altar or around the back of Henrieta’s Hideout. If you are having trouble finding them, just cast Revelio, and they will be highlighted in blue.


