The Empowered Godsbane Blade in Dragon’s Dogma 2 is key to the story and true ending. Obtaining this legendary blade unlocks the post-game content with the most formidable monsters. Let’s go over the steps needed to get the Empowered Godsbane Blade in Dragon’s Dogma 2.
How to Get the Dulled Godsbane Blade
The Dulled Godsbane Blade is a key story item you receive during the main quest “Convergence”. The first step to acquiring the Empowered Godsbane Blade is to obtain its precursor, the Dulled Godsbane Blade. To do this you need to complete the following quests:
- Complete the main quest “Convergence”.
- This quest becomes available after completing “Flickering Shadows”.
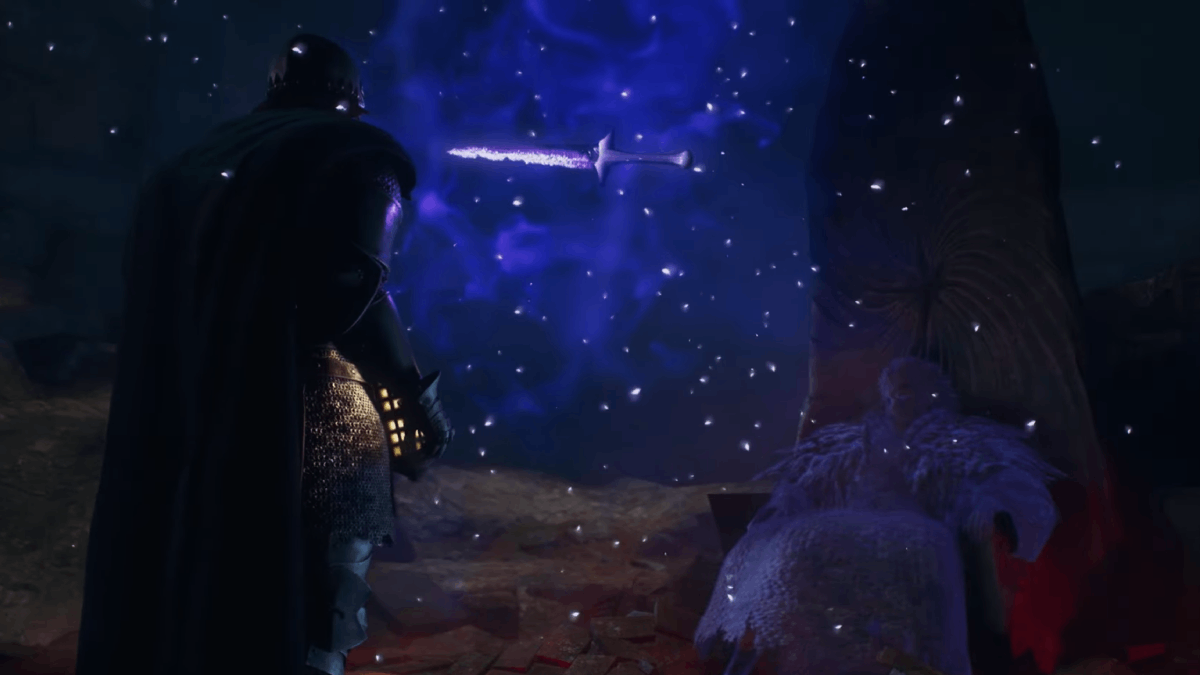
- As you explore the newly emerged structure near Harve Village, prompted by the Rivage Elder’s tale, you’ll encounter Rothais, the Mad Sovran.
- During your interaction with Rothais, he presents you with the Dulled Godsbane Blade.
How to Get the Empowered Godsbane Blade
With the Dulled Godsbane Blade in hand, travel back to Bakbattahl and the Forbidden Magick Research Lab. Locate Ambrosius within the Lab and present him with the blade.
Ambrosius reveals the blade requires a specific material for restoration: 15 Wyrmslife Crystals (WLC). These rare materials can be obtained through various means:
- Defeating the Lesser Drake: This guaranteed source resides in the Dragonsbreath Tower southwest of Bakbattahl. Ten Wyrmslife Crystals await the victor. Refer to the “Tips for Beating the Lesser Drake” section below for details on this encounter.
- Enemy Drops: All Wyrmlike enemies with a resemblance to the Dragon have a chance of dropping lots of Wyrmslife Crystals. If you can slay one in the wild, you’ll likely be able to complete the quest.
- Exploration: Keep an eye out for hidden chests and glowing crevices throughout your travels. Wyrmslife Crystals might be concealed within.
Once you’ve collected 15 Wyrmslife Crystals, return to Ambrosius at the Lab. After presenting the crystals, Ambrosius will restore the blade’s power, granting you the Empowered Godsbane Blade.
How to find the Lesser Drake
Before you challenge the Lesser Drake, seek guidance. Return to the Reverent Shrine and ask the Oracle where the dragon resides. She’ll mark Dragonsbreath Tower on your map, pointing you in the right direction.
Stock up for the fight in Bakbattahl. Grab healing items and your Camping Kit for a pre-battle buff. Consider switching to a class that excels at targeting weak points, like a Fighter, Thief, Mystic Archer, or Archer. These skills will be crucial against the drake.
For a smooth return after the battle, set a Postcrystal in Bakbattahl. Additionally, grabbing a Ferrystone allows for teleportation back to the city upon using it.
Now for the journey. Head west from Bakbattahl, then take a south turn at the first road split. Keep your eyes peeled for enemies – Battahl’s dangers include poisonous Saurians, Harpies, and the occasional Griffin soaring in the skies.
As you travel, roughly halfway between Bakbattahl and the Tower, you’ll encounter a three-way road split. Refer to your map – the northern path leads directly to the Tower. Stay on this course.
As you approach the tower’s base, an NPC named Marthe might warn you about the dangers ahead. This signifies you’re on the right track. Cross the nearby bridge to proceed onto the path to Dragonsbreath Tower. You can also find Medusa’s cave on the path to the top.
Rest and buff up at the campsite before the final climb. Upon the tower you will find, Sigurd, the Mystic Spearhand, who will offer to join your party.
Tips for Beating the Lesser Drake
Conquering the Lesser Drake is your key to obtaining a significant amount of Wyrmslife Crystals. Here are some pointers for this battle:
- Recommended Vocations: Classes that excel at targeting weak points are ideal. Consider Fighter, Thief, Mystic Archer, or Archer.
- Exploit the Weak Points: The Lesser Drake’s weak spots are the boils scattered across its body. Focus attacks on these boils for maximum damage.
- Danger Zones: Avoid close proximity to the drake, especially directly in front of or beneath it. It utilizes fire breath attacks and slams that can inflict heavy damage in these areas.
- Acidic Threat: The drake can spit acid from its chest, causing damage over time. Be cautious even when clinging to its side.
- Beware the Claws: The drake raises its claws before swiping or slamming the ground. Maintain distance when you see this animation.
- Tail Spin: During rage moments, the drake might spin its tail in a 360-degree attack. Fighters can utilize their shields for defence.
- Crumbling Pillars: The arena contains crumbling pillars that can be brought down on the drake by attacking their bases. However, this tactic can also harm you and your pawns, so use it with caution.
- Bursting Boils: If you manage to destroy all the boils simultaneously, the drake will fall prone, allowing for a concentrated attack on its underside. Utilize this opportunity for maximum damage.
By following these steps and defeating the Lesser Drake, you’ll be well on your way to acquiring the Empowered Godsbane Blade.
That’s all you need to know on how to get the Empowered Godsbane Blade. For more information, learn how to get Dragon’s Dogma 2 True Ending and the best Port Crystal locations. Plus learn how much of the fast travel is paid.
