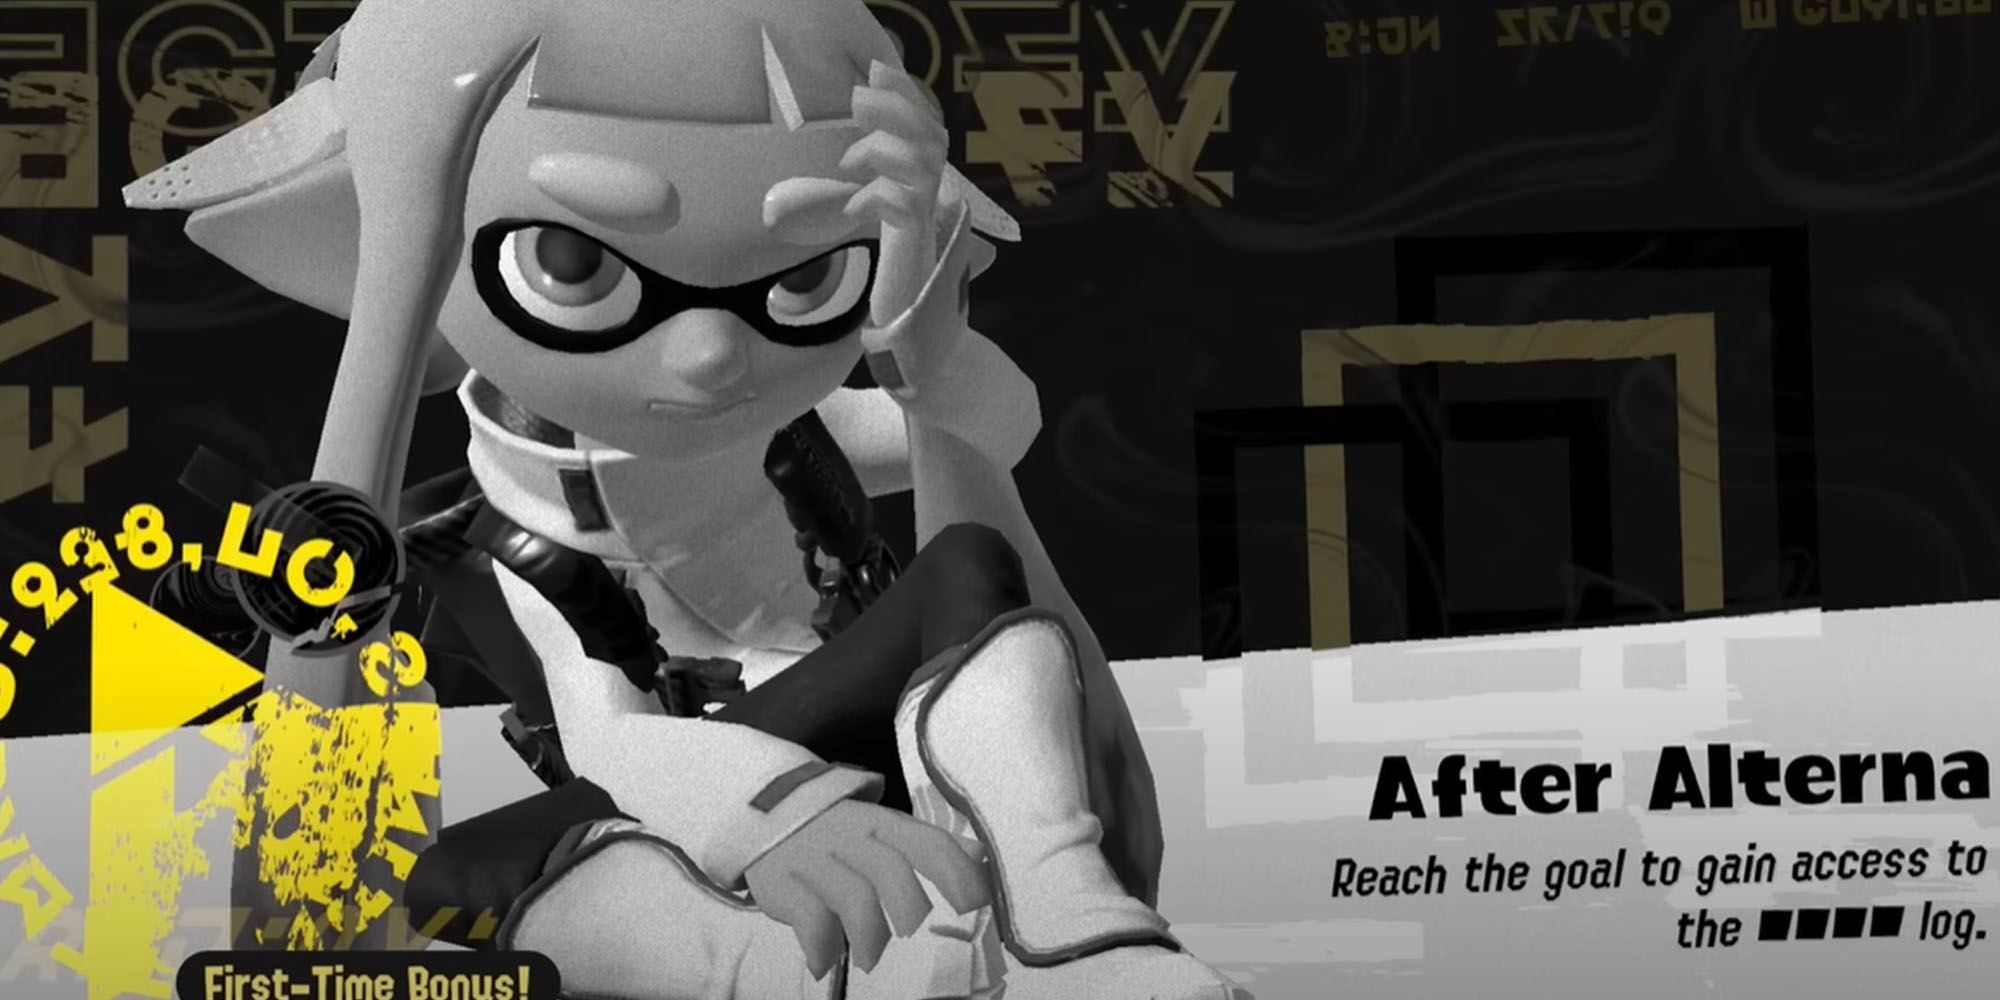
Splatoon 3’s Return of the Mammalians campaign contains a secret, post-game level. To unlock the level, you’ll have to have beaten Return of the Mammalians as well as completed every level across Alterna. After doing this, you should receive a notification that a secret, “special kettle” has been unlocked – the kettle is located near the Squid Sisters’ Camp, on the narrow peninsula. Be warned, After Alterna will challenge your knowledge of Splatoon 3’s mechanics, from the most basic info to the most advanced techs. Sit down and strap in, because you are going to be here for a while.
After Alterna is split up into four sections. Each section has a checkpoint at the beginning, so once you clear a section, don’t worry too much about dying. You can still pay some Power Eggs to continue from a checkpoint should you run out of lives. Completing After Alterna will reward the player with a whopping 3333 Power Eggs, as well as access to the log.exe, the Teddy Band equipable item, and a new Badge on the player’s Splat Tag. The log.exe contains a lot of juicy information on Mr. Grizz, so this log entry is a must-have for the lore nerds out there. The Teddy Band is a three-star head item that grants the XXX ability, which dramatically lowers ink usage in the last stretches of battle.
Completing Section 1
The first section of After Alterna tests your movement skills. It begins with a simple platforming puzzle with some Octarians stationed on the platforms. Take them out and make your way across the platforms – be careful not to fall in the water. There are some crates containing Power Eggs – they’re not necessary to grab, but After Alterna costs a whopping 333 Power Eggs to enter (and respawn if you run out of lives), so being able to make back the Power Eggs you spend is always nice.
You will come across several rotating octagonal barrels. Ink them to give yourself more distance while jumping. Getting past these platforms will bring you to a longer, larger rotating octagonal platform with two Octocommanders at the end. Octocommanders can quickly kill you with their miniguns, so throw Little Buddy in their line of sight to distract them while you make your way across the platform. Try to throw Little Buddy towards the right side of the platform, as Little Buddy can fall off the rotating platform and the Octocommanders will spot you. Quickly take the Octocommanders out and jump onto the next platform.
Always ink the ground beneath you before making a jump. You can jump farther in Swim form than in Kid form, especially with a running start. Inking your destination, if possible, helps as well.
Take the dash panel to the next part of the level and deal with the Octarians. There will be a wall with a top part that cannot be inked – ink the bottom half and do a Squid Surge to jump up the remaining part of the wall. You can do a Squid Surge by swimming up an inked wall and pressing and holding the jump button. Take care of the Octobombers by splatting the balloon behind them – they may toss a Splat Bomb at you, so be careful. Use another Squid Surge to climb up the wall. The wall is divided up into multiple sections by un-inkable terrain. The next section has an obstacle that moves across the wall – again, quickly Squid Surge to move past it. The final section of the wall has a large, spinning obstacle you’ll need to maneuver around. Follow the rotation and try to stay near the center of the obstacle – there’s a path you’ll need to Squid Surge up towards the left side of the wall. When you Squid Surge, you’ll go up through a grate – immediately come out of Swim form once you do, since you’ll fall back down if you hold down the button.
The first section of After Alterna is the longest and, to many, the most difficult. There are no checkpoints in this part of the level, so if you die, you’ll have to start over from the beginning. If you find yourself getting frustrated, put the game down and take a moment to calm down. Playing while frustrated will lead you to make mistakes, so keeping a cool head is advised.
After making your way up the wall, you’ll have to deal with an Octosniper. Strafe to avoid his shots, and you’ll come across a rotating block above a gap. Ink the sides of the block, and swim onto it – you can prepare a Squid Surge to keep yourself fastened to the wall. Jump onto the next platform once the block is facing towards it, and take out the Octosniper.
The next part has you Squid Roll up some walls. Splat the balloon behind the Octarians to take them out and cover the wall in ink. When you Squid Roll, keep your left stick held in the direction you’re going – trust the game, as it will not pull the platforms from under you. Once you make it to the top, take the dash panel to the next section.
There will be a wall suspended above a pit. Ink it and swim onto it. The wall will begin moving, and ride it until it comes to a stop. Take out the two Octarians below, and you’ll see another wall ready to be inked. Climb onto it, and do the same thing again – this time, the wall will come up to a second, pre-inked wall. Move onto this one, and tilt the camera downwards so you can get a good look at what’s beneath you. Be ready to jump off the wall as it passes over the Power Egg Rings, as the wall will keep moving past it if you stay on it – leaving you with no way to continue on. Once you land, you’ll find some Ink Rails. Activate them, and ride them over to another set of rails – you’ll have to jump over to these while dodging fire from Octarians. Reach the platform and take out the Octarians. There’ll be a third set of rails – there will be a jump between two of them, but the jump is not hard and simply appears difficult. After this jump, you’ll be fired upon by an Octosniper. Just keep moving to dodge the Octosniper’s shots, then take him out once you reach him.
Congratulations, you’re in the final stretch. Make your way down some more rotating octagonal platforms, and you’ll come across a series of moving platforms. The platforms are of varying shapes and sizes, and move in a conveyor belt pattern. It is recommended that you ink the platforms in advance from the safety of the platform you’re on now – take as much time as you need, and don’t rush. Once the platforms are sufficiently inked, jump across them and make you way to the next bit of land. The next bit of land is raised up a bit, so you’ll need to ink it as you jump across the moving platforms – Burst Bombs are recommended for this. Once you catch up to the next island and get on top, give yourself a pat on the back. You just completed the first section of After Alterna. Make your way to the jump spot and proceed to the next section.
Completing Section 2

This next section involves plenty of Ride Rails. You’ll need to shoot targets as you pass by them – miss one, and the next rail you’re meant to jump onto will not appear. There will be multiple points in the level where you ride around a curve, and targets will appear as you go. Shoot them to pop them and make more targets appear.
Motion controls are recommended for this section, since you may have to make some tight turns to angle your shots correctly. Additionally, sitting on a swiveling chair can help – turning the chair as you aim makes lining up shots feel a lot more natural.
If you have a handle on Splatoon 3’s controls, this section shouldn’t give you much difficulty. This section’s troubles will primarily be based in your reaction time, as targets will appear suddenly with often little room for error. Keep in mind, that you can reach targets you’ve moved past – though it is tricky and recommended you simply not miss at all. There are parts of the level where you’ll have to jump between Ride Rails – it isn’t very hard to do so, but jumping between Ride Rails has a fair amount of end lag so being able to respond quickly is recommended. In particular, there is a section with three Ride Rails and a pattern of targets that weave from left to right. Jump onto the left-most Rail first, so the first targets are easier to hit and keep up with them as they move towards the right Rail.
A notable part of this section is its end – after riding through the level, you’ll be presented with a free fall and a large cluster of targets to pop as you fall. Use Burst Bombs and the Hero Shot to take the targets out before you reach the bottom – if you don’t, the next rail won’t spawn and you’ll find yourself in hot water.
Completing Section 3

This section involves Soaker blocks and Octoblimps. Use Smallfry on the Soaker Blocks, as he’ll keep extending them for a long period of time, giving you more than enough time to cross the bridges they make. You’ll be under fire from various Octarians – in particular, there is an Octocommander near the beginning of the section. He will target the Soaker block you are standing on while you attempt to get over to him – remember that enemy attacks will shrink the Soaker blocks you are using. Always keep a Soaker block sufficiently inked, or the ground will quite literally come out from underneath you.
This section is admittedly the easiest of After Alterna, being much slower paced than Section 2 and more forgiving than Section 1. Keeping an eye on your footing and responding in kind is key to this section, so be aware of your surroundings at all times. There is a checkpoint in the middle of this section; hit it and take a breather. Proceed onward, and you’ll eventually reach the goal. The final stretch of the section is a long platform of Soaker blocks, activated by a chain of Balloons. There will be a lot of enemies ready to ambush you on the way to the goal, so push past them and get to the next launch point. Take a moment to calm and collect yourself, because the next section is going to be brutal.
Completing Section 4

This is the final stretch. Prepare yourself for intense PvP action, since the final section of After Alterna involves fighting waves of suped-up Elite Octarians. Elite Octarians behave much like players, so tactics used in Turf War and other multiplayer modes are encouraged here. The Elite Octarians will spawn reinforcements once one is splatted. They start off behaving basically, only attacking with their Primary weapons, before moving on to more advanced tactics as the waves progress. Sub weapons and eventually Specials will be employed, and the arena’s terrain will shift between each wave, providing less and less cover.
Do not hesitate to use some more frowned-upon tactics on the Elite Octarians. Spawn camping can clear them out quickly, and you can find an Octarian’s spawn point by locating a spinning arrow somewhere on the stage. Elite Octarians can also be distracted by Smallfry, but do not rely on him – the Elite Octarians take a while to notice him and can splat you before they notice your bouncing buddy.
Be careful while swimming around the arena; the fences on the sides will not stop you if you accidentally swim through them and into the water.
In the third and final wave, Special Cans will appear for you to pick up. These give you a free use of a designated Special, so take advantage of these as much as you can. However, be careful when trying to pick them up, as the Elite Octarians will make a habit of painting the ground to restrict your movement.
Once you’ve defeated the last of the Elite Octarians, the goal will appear. Splat the goal and put After Alterna behind you. Now, give yourself a pat on the back; you did it! After completing this brutal gauntlet, you should receive your rewards.
