Quick Links
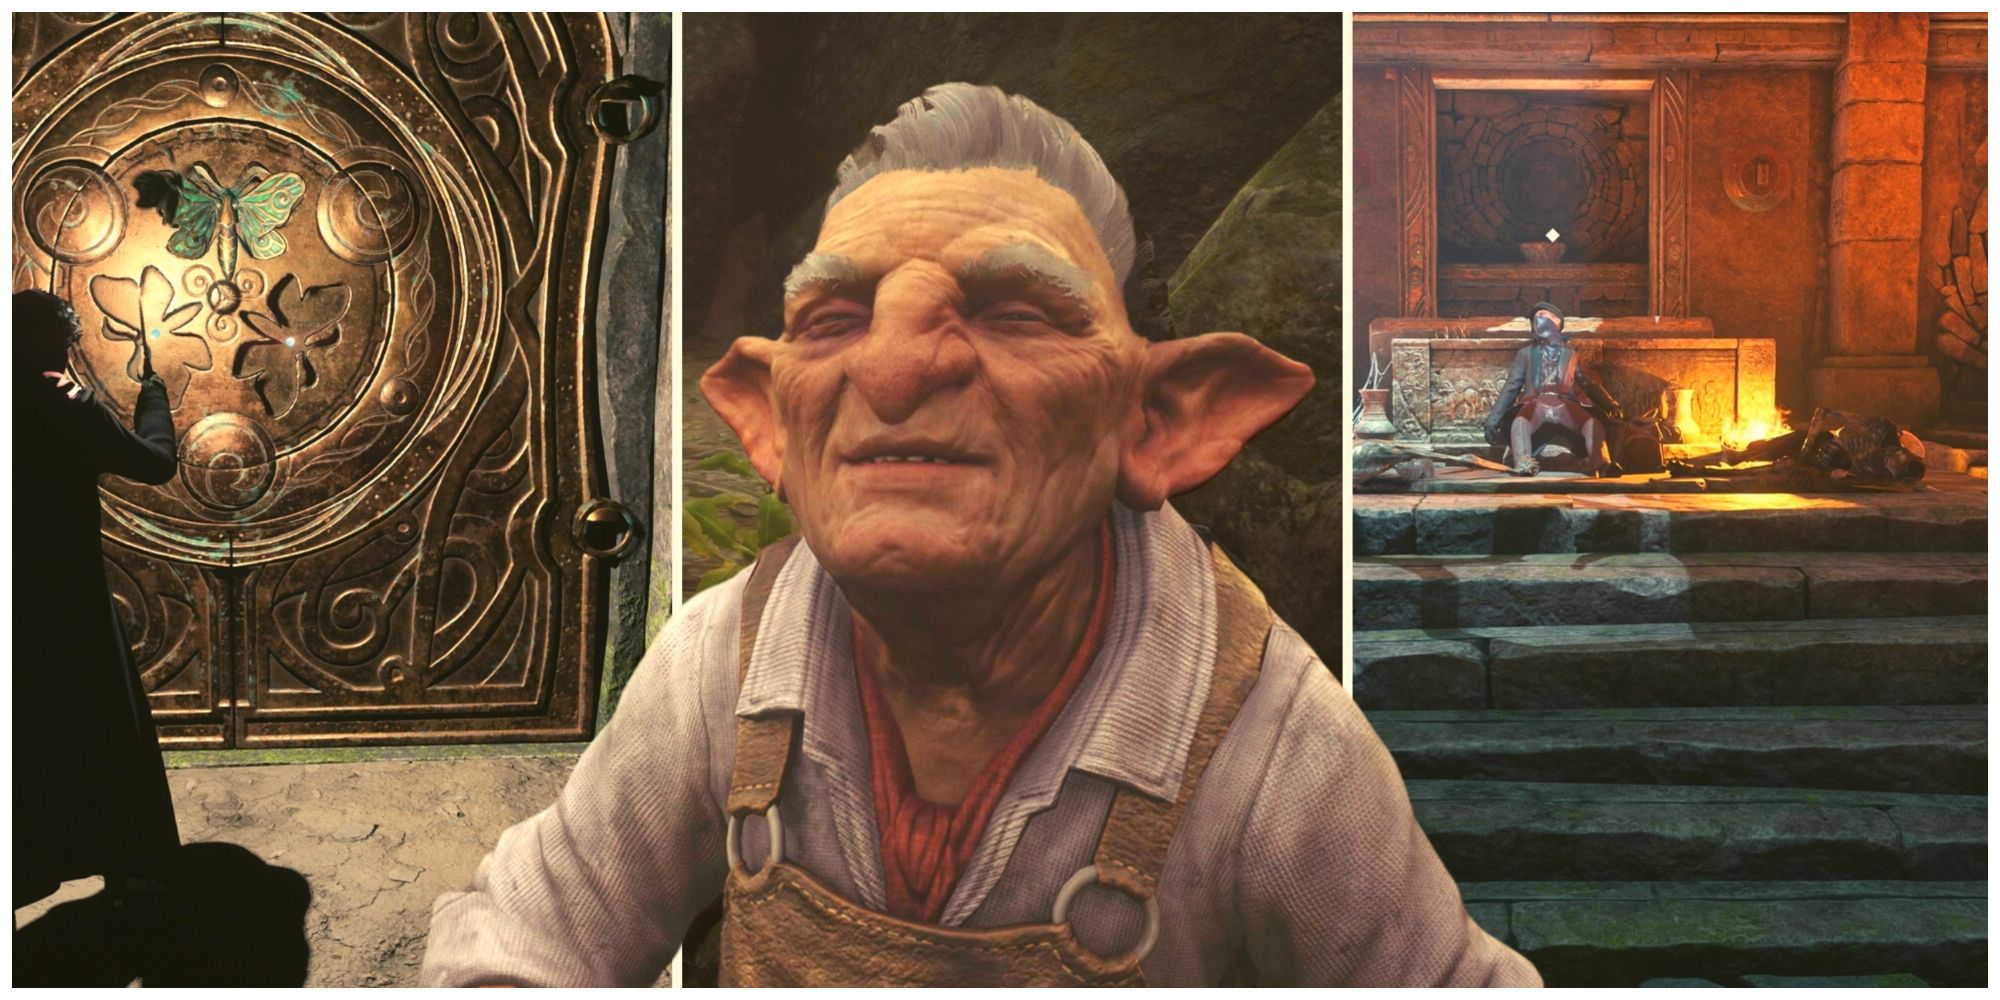
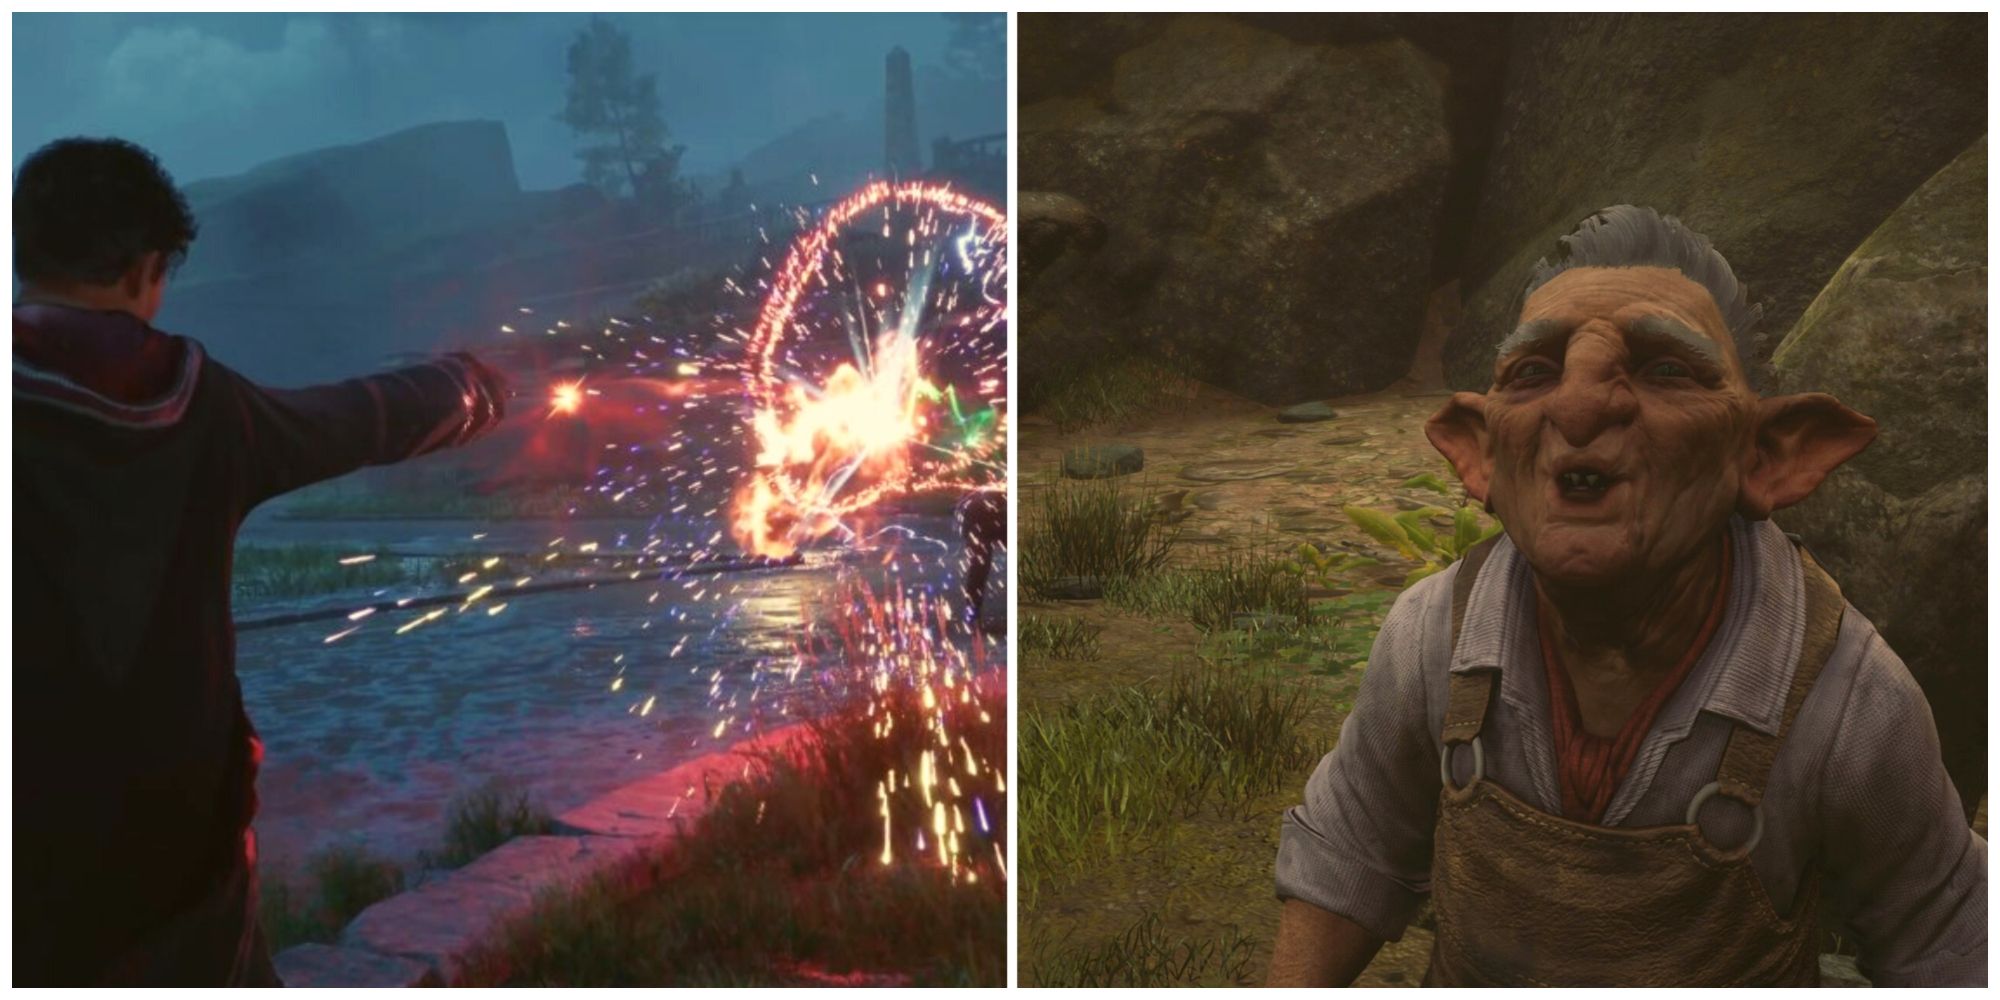
In Hogwarts Legacy, players often fight against evil Goblins who are using dark magic for various nefarious undertakings. However, not all Goblins are evil or bad. Lodgok, for example, is one friendly Goblin that is actually trying to stop Ranrok’s tirade against the wizarding world. In the Helm of Urtkot quest, players are tasked with helping Lodgok find a magical Goblin relic in order to win favor with Ranrok and help the wizards’ side of the fight.
Of course, the relic is supposedly at the back of a large, puzzle-filled cave where players will have to fight waves of Inferi, the undead enemies that resemble zombies or mummies in Hogwarts Legacy. Once they’ve navigated through the winding pathways and creepy passages, players will be able to retrieve the ancient Goblin Helmet and give it to Lodgok for him to play double-agent with the bad guys.
Starting The Helm Of Urtkot
Head towards Hogsmeade and find the Three Broomsticks in order to speak with Sirona, the owner and proprietor. Sirona will tell the player that they have a Goblin friend named Lodgok, which is a rare friendship in the wizarding world. Sirona says that Lodgok can often be found in Hogs Head, which is just across town. Use your map to find Hogs Head in Hogsmeade and walk inside. Lodgok is an older-looking Goblin with gray hair and a slightly sad countenance.
Once mentioning his friend Sirona, Lodgok will tell you about his plan to learn the plans of Ranrok, which involves gifting the evil Goblin the relic in order to gain the antagonist’s trust. When you’re ready, Lodgok will meet you outside of town. Follow the quest marker to find Lodgok on top of a small cliff overlooking Hogsmeade. Next, follow him to the cave where players will part ways as Lodgok the Goblin can’t be seen wandering through ancient caves with wizards.
Collector’s Cave Part 1
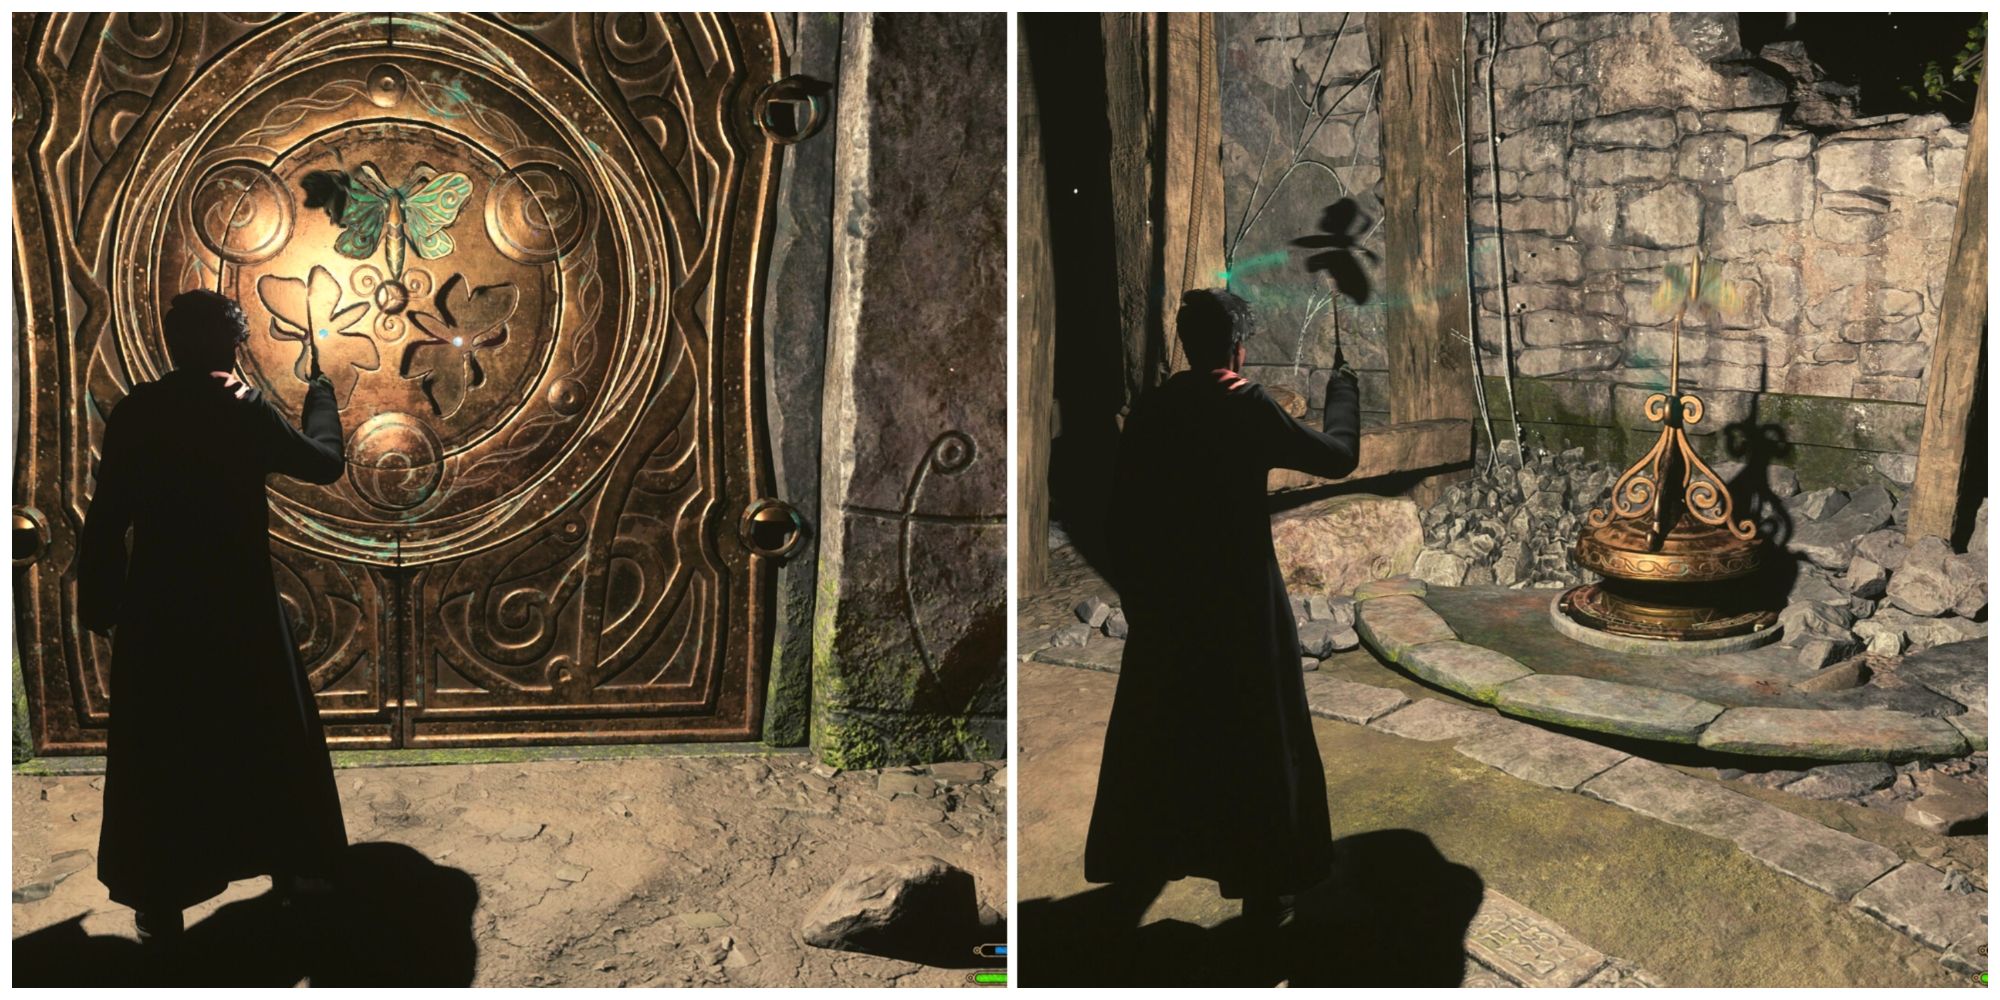
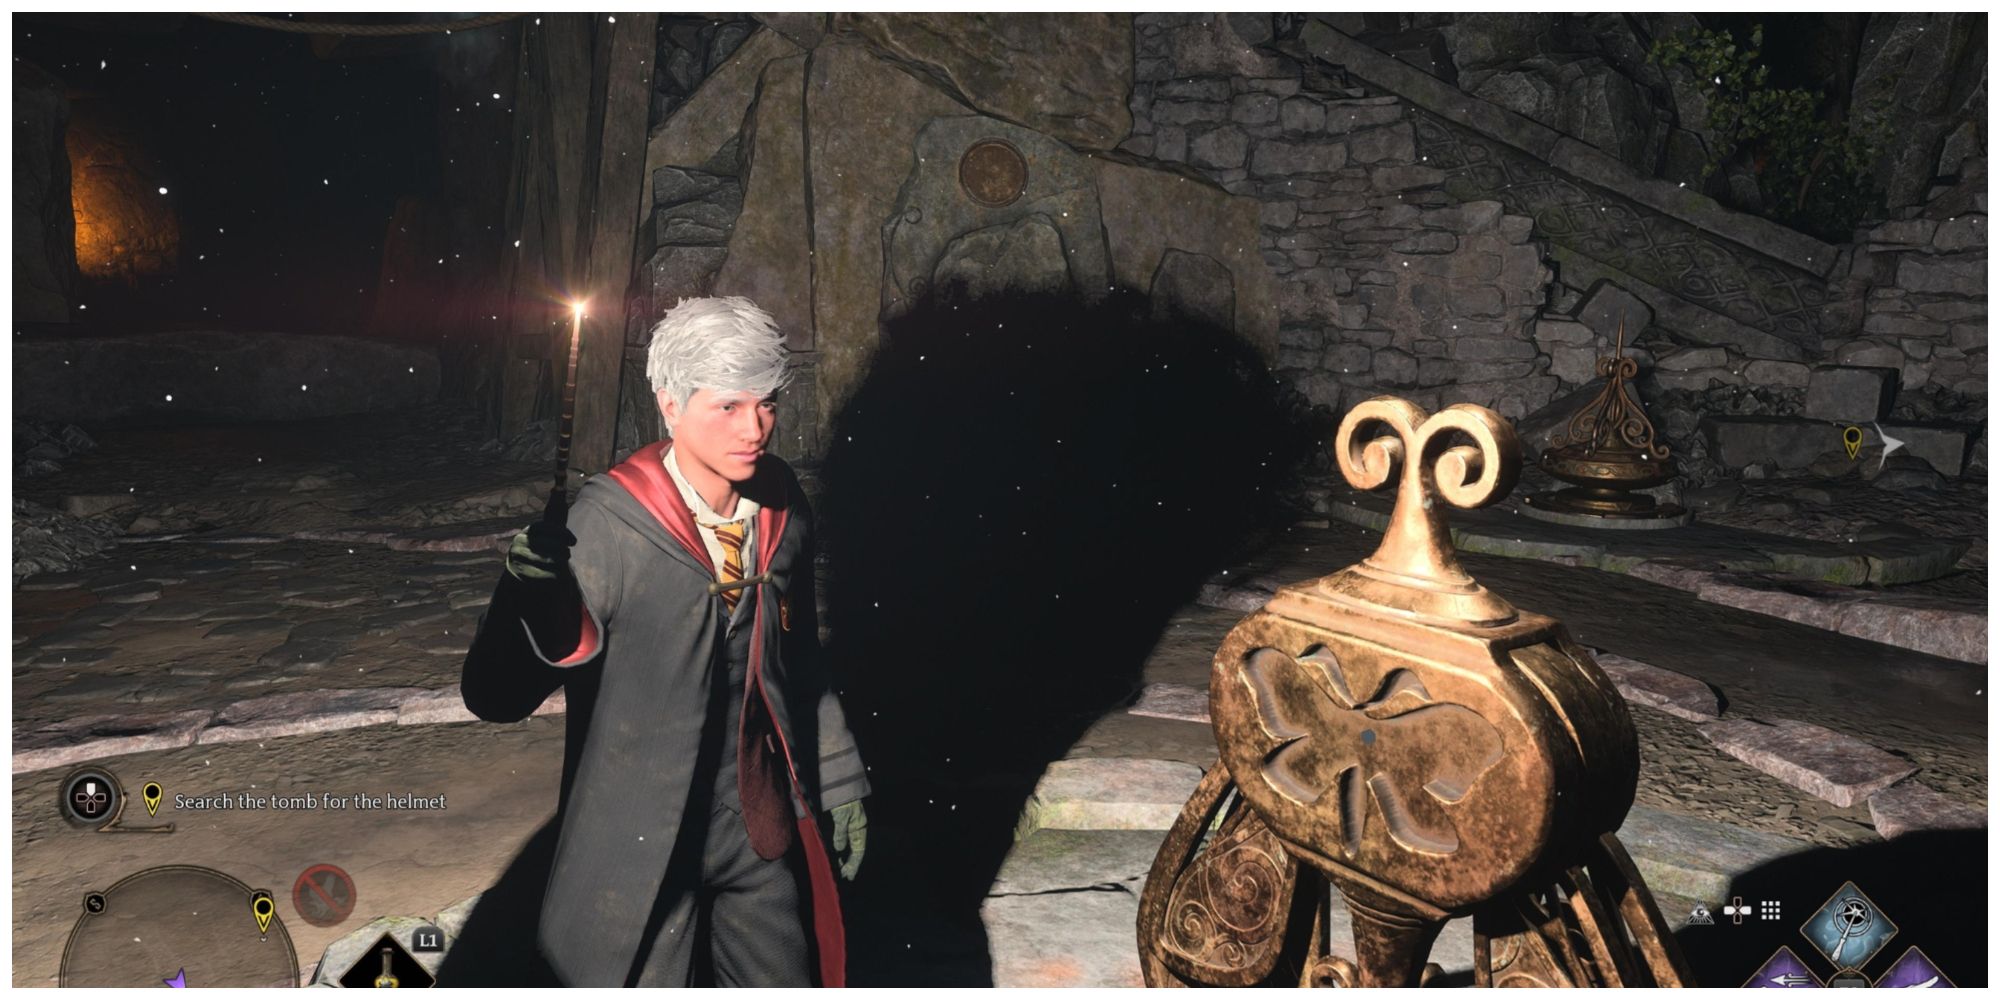
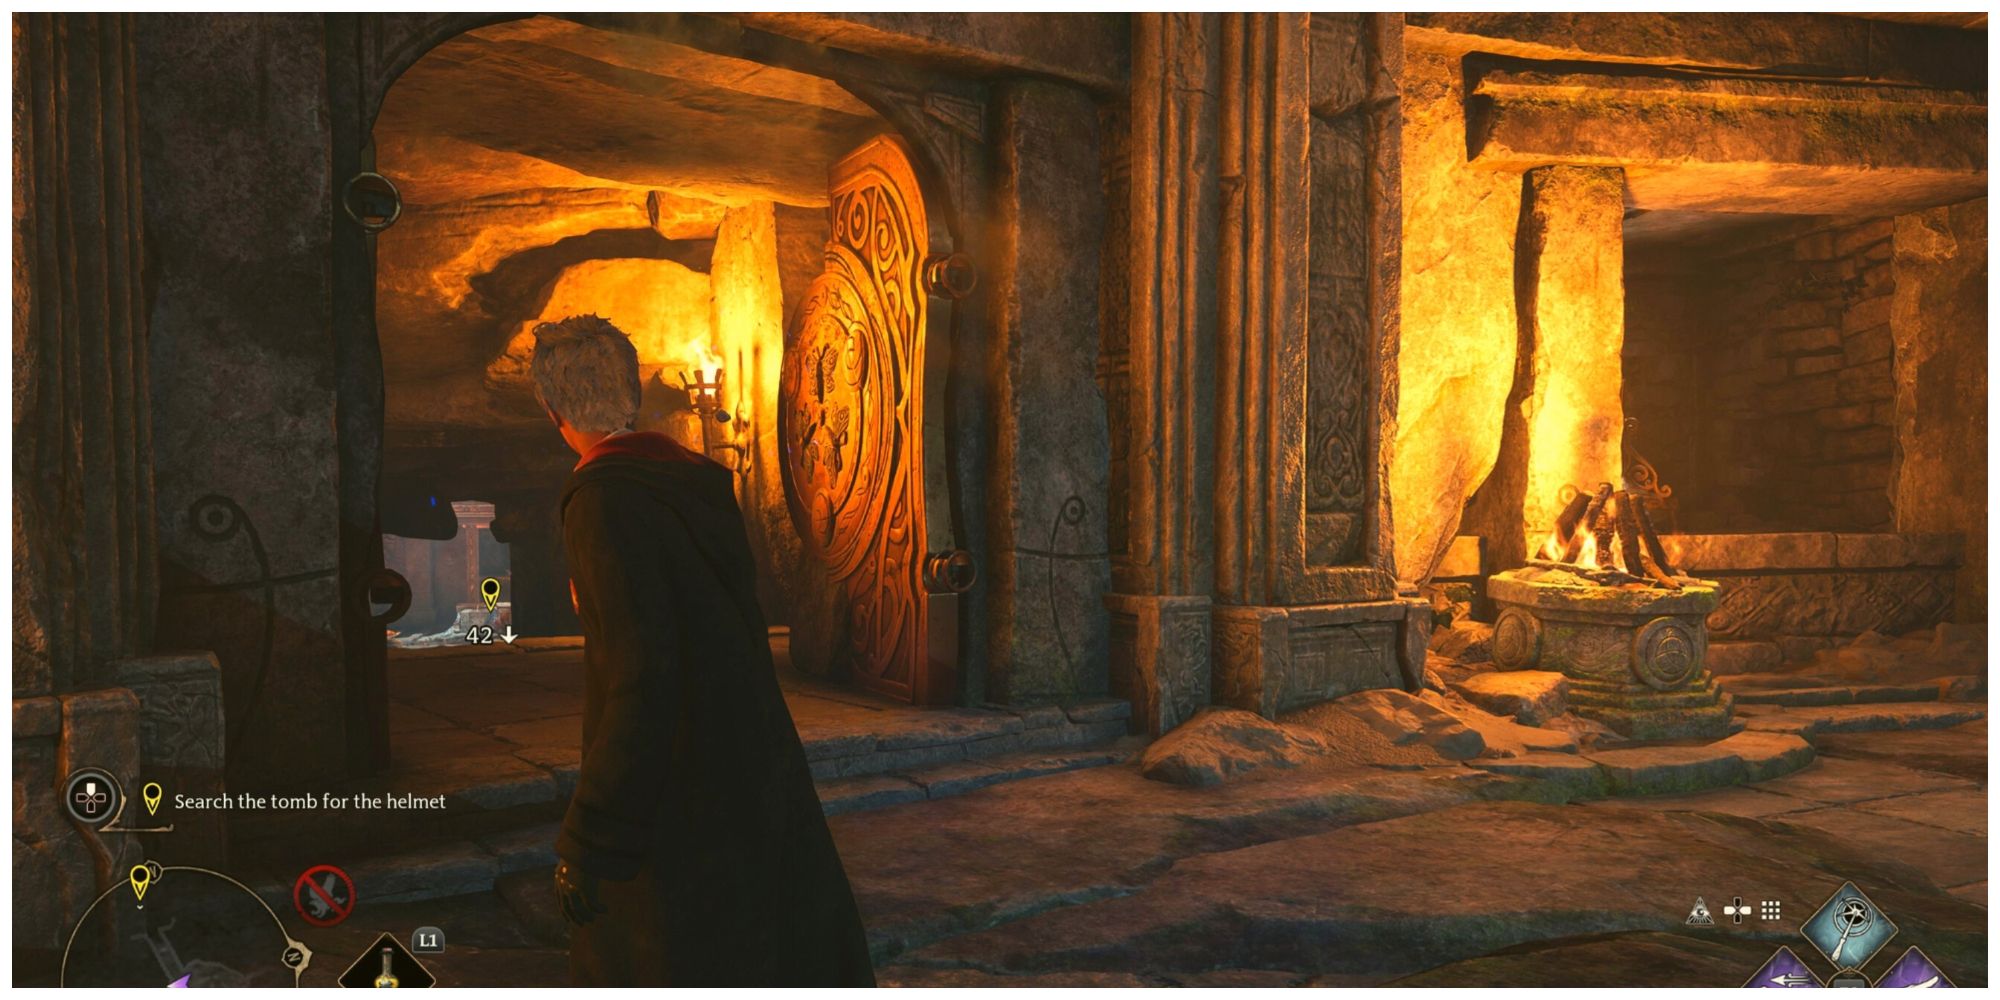
After entering the cave, follow the path until hitting a large, golden lock with three moth outlines. This mechanic should be familiar, where players need to use Lumos to attract moths. Using Lumos and moths is common for Merlin Trials and various picture frame puzzles found throughout the world. Go for the first moth by taking the left path from the entrance. Cast Lumos to grab the moth that is sitting on the little golden stand and run back to the lock. Turn Lumos off while standing close to the lock and the first door will open.
In the next room, grab the chest to the left before continuing on to a larger, circle-shaped room. This also has a moth-lock, except there are three moths needed now instead of just the one as before. There are two moths found on either side of the circle room, grab each, one at a time, and put them in the moth-lock, the same as before. Next, players might notice a large broken set of double doors in the room as well. Cast Depulso to break through the find the third moth.
Collector’s Cave Part 2
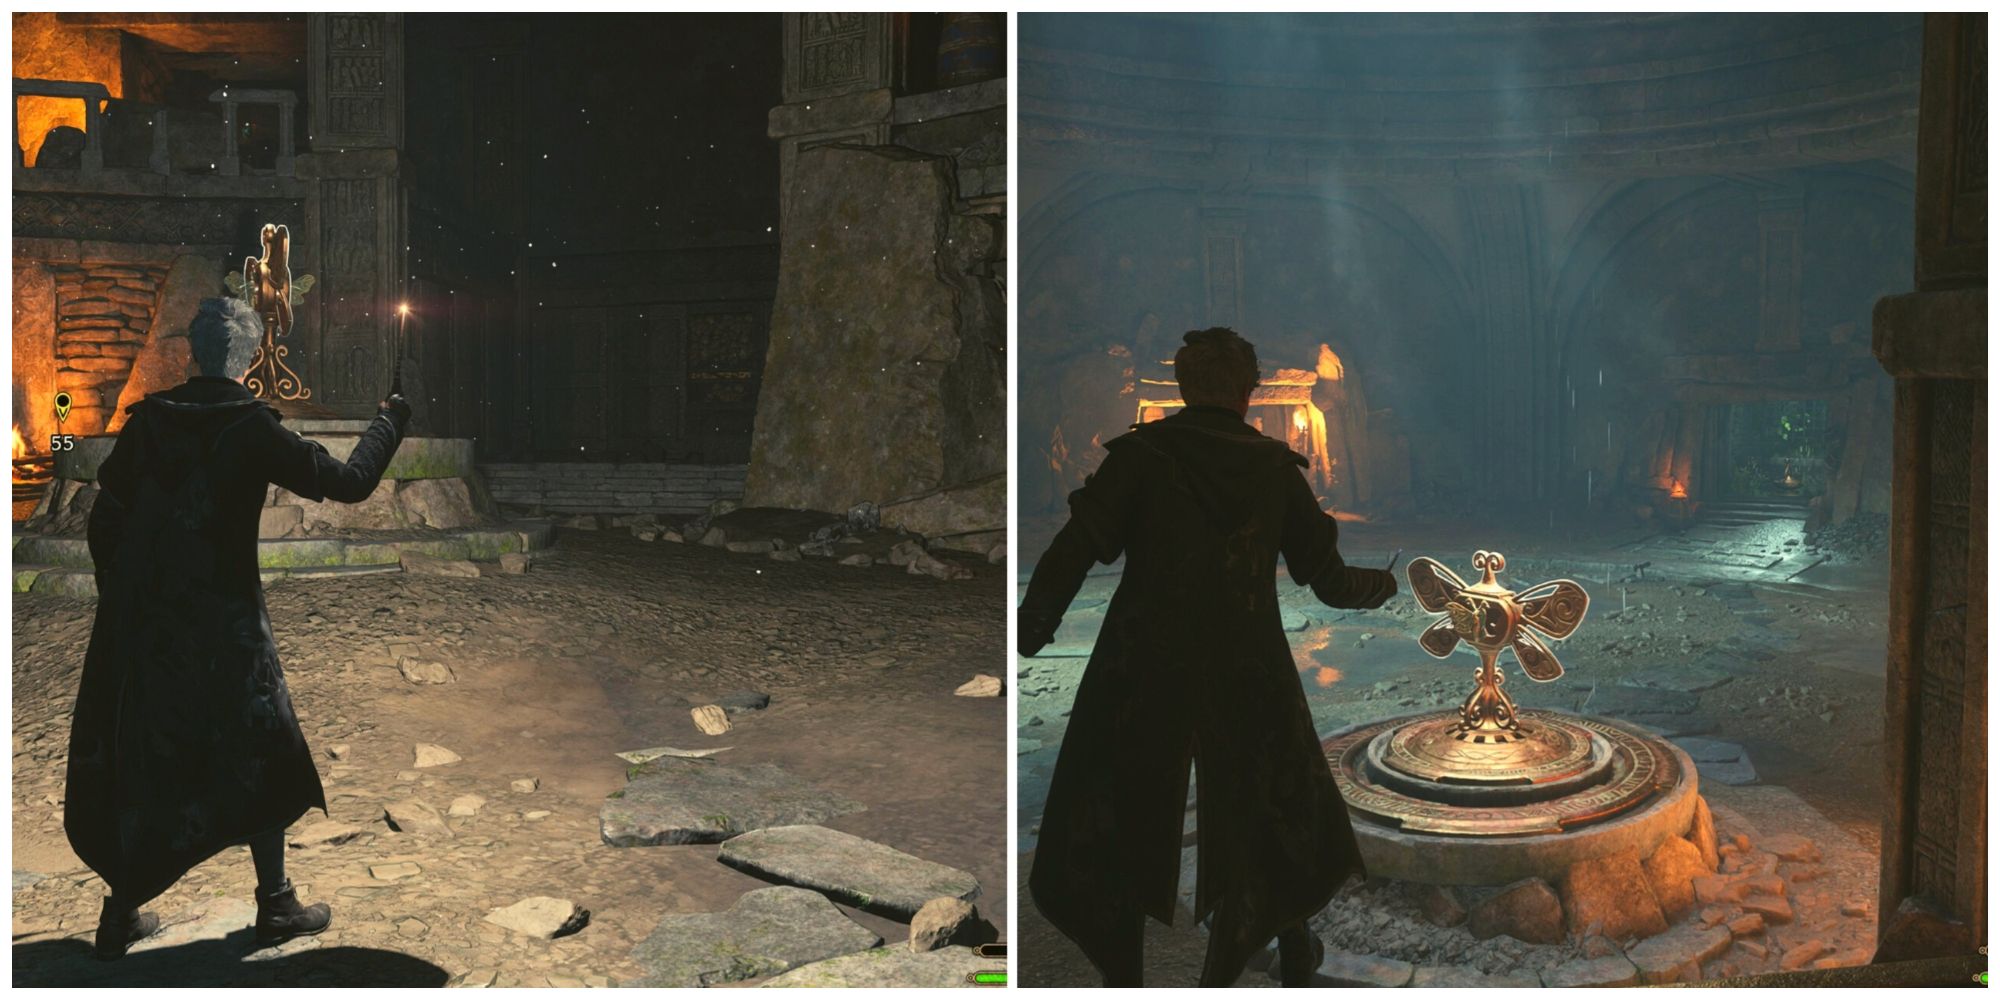
The path will open up to another large room and some Inferi enemies will spawn. Remember to that Inferi are only damaged by fire spells, like Confringo, so adjust your spells accordingly. After taking out the Inferi, continue down the path until entering another room with a moth-lock on the opposite door. In the center of the room is a golden moth shrine that needs a moth on it to power it up. Grab one of the moths from the floor-level and drop it on the shrine. Next, step on the platform to the right and cast Depulso at the golden moth repeatedly.
This will raise the platform and let you climb up to the next moth, which is on the second level. Grab that moth, and place the other two moths on the lock, adding the one on the golden shrine last. In the following room, there is a large hanging crate in the center. Cast a normal attack spell at the crate, and it will drop and break through the floor. Before jumping down, there’s another set of doors to break. Cast Accio on the crate and use Levioso in the previous room to access chests and loot. When you’re ready, drop into the hole and keep moving forward.
Collector’s Cave Part 3
After fighting a larger number of Inferi, players will come to a much larger room with the familiar looking golden moth shrine in the center. Start by snatching one of the moths at ground-level and drop it on the golden shrine to power it up. Next, there’s a section that looks like you might be able to jump up to the next level. You can’t, but by standing on the platform and casting Depulso at the shrine repeatedly, the platform will rise. Once on the next level, grab the moth to the right with Lumos and place it on the door by climbing across the gap. The second moth is right next to the door itself.
Though the door needs three moths, there are actually four total moths in this room, so you can leave the one powering the shrine alone. You may have noticed, that casting Depulso raises a little moth platform to the left. Grab the other ground-level moth and place it there, then climb back up and cast Depulso from the second story to get the moth up to that level. Grab it with Lumos and proceed through the door. In the next room, the player’s character will find out the Helm of Urtkot has already been looted. When you’re ready, leave through the quick exit on the back wall instead of trying to run back through the cave.
Taking The Helm By Force
Players should arrive at the thieves camp with their battle-ready spells equipped. Take out the enemies and head towards a tent on the right side of the camp to find a large chest. Use Revelio if you’re having trouble finding it. The Helm of Urtkot is inside. Once the chest has been opened, Ashwinder Assassins will attack the player.
Be wary of the Inferi that some of the assassins can conjure, and make sure to have one or two fire spells equipped beforehand to make it easy. After that, players can find Lodgok just around the corner, overlooking a cliff. He will thank you for your help and vow to take the helm to Ranrok to try to win favor and work as a double-agent for the wizards.

