As you journey across the Lands Between in Elden Ring, battling bizarre creatures and hunting down the Great Runes, you’ll come across many powerful weapons, armors, and trinkets. Among these will be an incredibly useful accessory known as Talismans. Much like magic rings in the Dark Souls series and Caryll Runes in Bloodborne, Talismans offer powerful bonuses to different attributes and abilities. Plus, with the ability to (eventually) have 4 talismans equipped, you can mix and match quite a few options.
Some of these Talismans offer only a minor boon, but others can be crucial in the effectiveness of your build or play style. Keep in mind that this list is not the end-all-be-all of most effective Talismans — rather, these are some of the most powerful options for what they offer the player. If you’re playing a Dexterity-focused Samurai, you won’t find much use out of a Talisman that boosts Sorcery damage, for example, but it’s still an excellent Talisman for a Sorcery build.
Gold Scarab
The Gold Scarab grants a bonus increase to Rune collection. All kills grant 20% additional Runes. This item is a bit of a classic throwback to the Covetous Silver Serpent Ring from Dark Souls, offering a similar bonus to Soul acquisition.
The Gold Scarab Talisman isn’t an entirely necessary Talisman — it isn’t crucial to any specific build type — but especially for the lower levels, increasing how quickly you can level up can feel like an incredible boon.
Carian Filigreed Crest

Carian Filigreed Crest can be found fairly early in the game, in northern Liurnia of the Lakes, from War Counselor Iji. This Talisman offers a boon for Skill usage: it lowers the FP cost of all skills by 25%.
Being able to cast your weapon skill more times before needing to recharge your FP can make a huge difference, both in a heated boss battle and for general use while exploring the open world. This Talisman is especially crucial if you’re pursuing a build centered around frequent skill use.
Shard Of Alexander

Another Talisman focused on Skill usage, Shard of Alexander offers a great boost to the attack power of skills, granting +15% damage to all skills. For a build focusing more on Sorceries or Incantations, this Talisman might not offer much, but for a build centered around skill use — or even just for players who have a favorite weapon skill — this Talisman is fantastic for increasing your skill’s effectiveness.
You can obtain Shard of Alexander fairly late in the game after completing Iron Fist Alexander’s questline. Pair the Shard of Alexander with the Carian Filigreed Crest to optimize frequent and powerful skill usage. You can instead obtain the Warrior Jar Shard earlier in the game, but it offers a weaker bonus (+10% damage to skills), and it locks you out of obtaining Shard of Alexander.
Flock’s Canvas Talisman

Offering a flat +8% increase to Incantation damage, Flock’s Canvas Talisman a must-have for any Incantation build. This Talisman shouldn’t be on someone’s radar if they’re not focused on Incantations, but it earns a place on this list due to its essential place in Incantation builds. You will be unable to acquire this Talisman until fairly late into Millicent’s questline, but it’s well worth acquiring for endgame, PVP, and NG+ activities.
You might also consider acquiring Faithful’s Canvas Talisman earlier in the game, which offers +4% increase to Incantation damage. Faithful’s Canvas Talisman can actually be used simultaneously with Flock’s Canvas Talisman, allowing for a whopping +12% Incantation damage.
Graven-Mass Talisman

This Talisman is the sorcery equivalent of the Flock’s Canvas Talisman. Graven-Mass Talisman offers a flat +8% increase to all sorcery damage. If you’re putting together your all-powerful sorcery build, Graven-Mass Talisman should absolutely be one of your choices.
This Talisman can be found in Consecrated Snowfields, a fairly late-game area. For a similar but earlier version, seek out the Graven-School Talisman, which can be found in Raya Lucaria Academy. Surprisingly, Graven-School Talisman and Graven-Mass Talisman can both be wielded at once, granting an impressive +12% increase to sorcery damage.
Godfrey Icon
The Godfrey Icon Talisman offers a boost toward both skills and spells — it raises charged attack power of Incantations, skills, and Sorceries by 15%. While there are some skills and spells that aren’t able to benefit from this bonus, a large number of skills and spells are able to be charged.
This bonus, especially combined with other flat increases (like Flock’s Canvas Talisman for Incantations, Graven-Mass Talisman for Sorceries, or Shard of Alexander for skills) can offer a substantial increase to your character’s power.
Radagon Icon
Radagon’s Icon is another powerful Talisman for spellcasting, granting a noticeable decrease in casting time for all spells. A faster casting time might not sound exciting, but it can make a massive difference in a battle with an aggressive boss. Being able to get off a powerful spell and having time to dodge away before getting hit can change the dynamic of a battle dramatically in your favor.
Radagon’s Icon can be found fairly early in the game, in Raya Lucaria Academy, and is one of the best Talismans you can use for a Sorcery or Incantation build. This Talisman can be paired with Godfrey’s Icon with devastating results — faster and more powerful charged spells.
Erdtree’s Favor +2

Erdtree’s Favor is one of the best all-rounder Talismans in the game, offering a nice spread of bonuses across HP, Stamina, and Equip Load. Another Dark Souls throwback (similar to the Ring of Favor and Protection), Erdtree’s Favor +2 can be the icing on top of an already solid build.
It can grant you that extra HP to survive one more blow, an extra bit of Stamina to dodge that final attack and give you just enough bonus Equip Load to avoid heavy rolling. You’ll also be able to acquire several versions during the game, allowing you to improve the Talisman as you increase in power throughout the game.
Dragoncrest Greatshield Talisman

This incredible Talisman offers an enormous boost to physical damage negation. In previous Soulsborne games, bonuses like this one were fairly minor and didn’t make much of a difference, but you can really feel an increase in durability while using this Talisman. It can help you survive several more blow, drawing out how frequently you’ll need to drink from your Crimson Flask.
It can be used during general exploration, but it’s most effective when taking on a tough boss fight — those are the situations where you might be hoping for any advantage you can find. You can acquire this Talisman fairly late into the game, but the Dragoncrest Shield Talisman (+0, +1, +2) is a suitable replacement until you reach Elphael, Brace of the Haligtree.
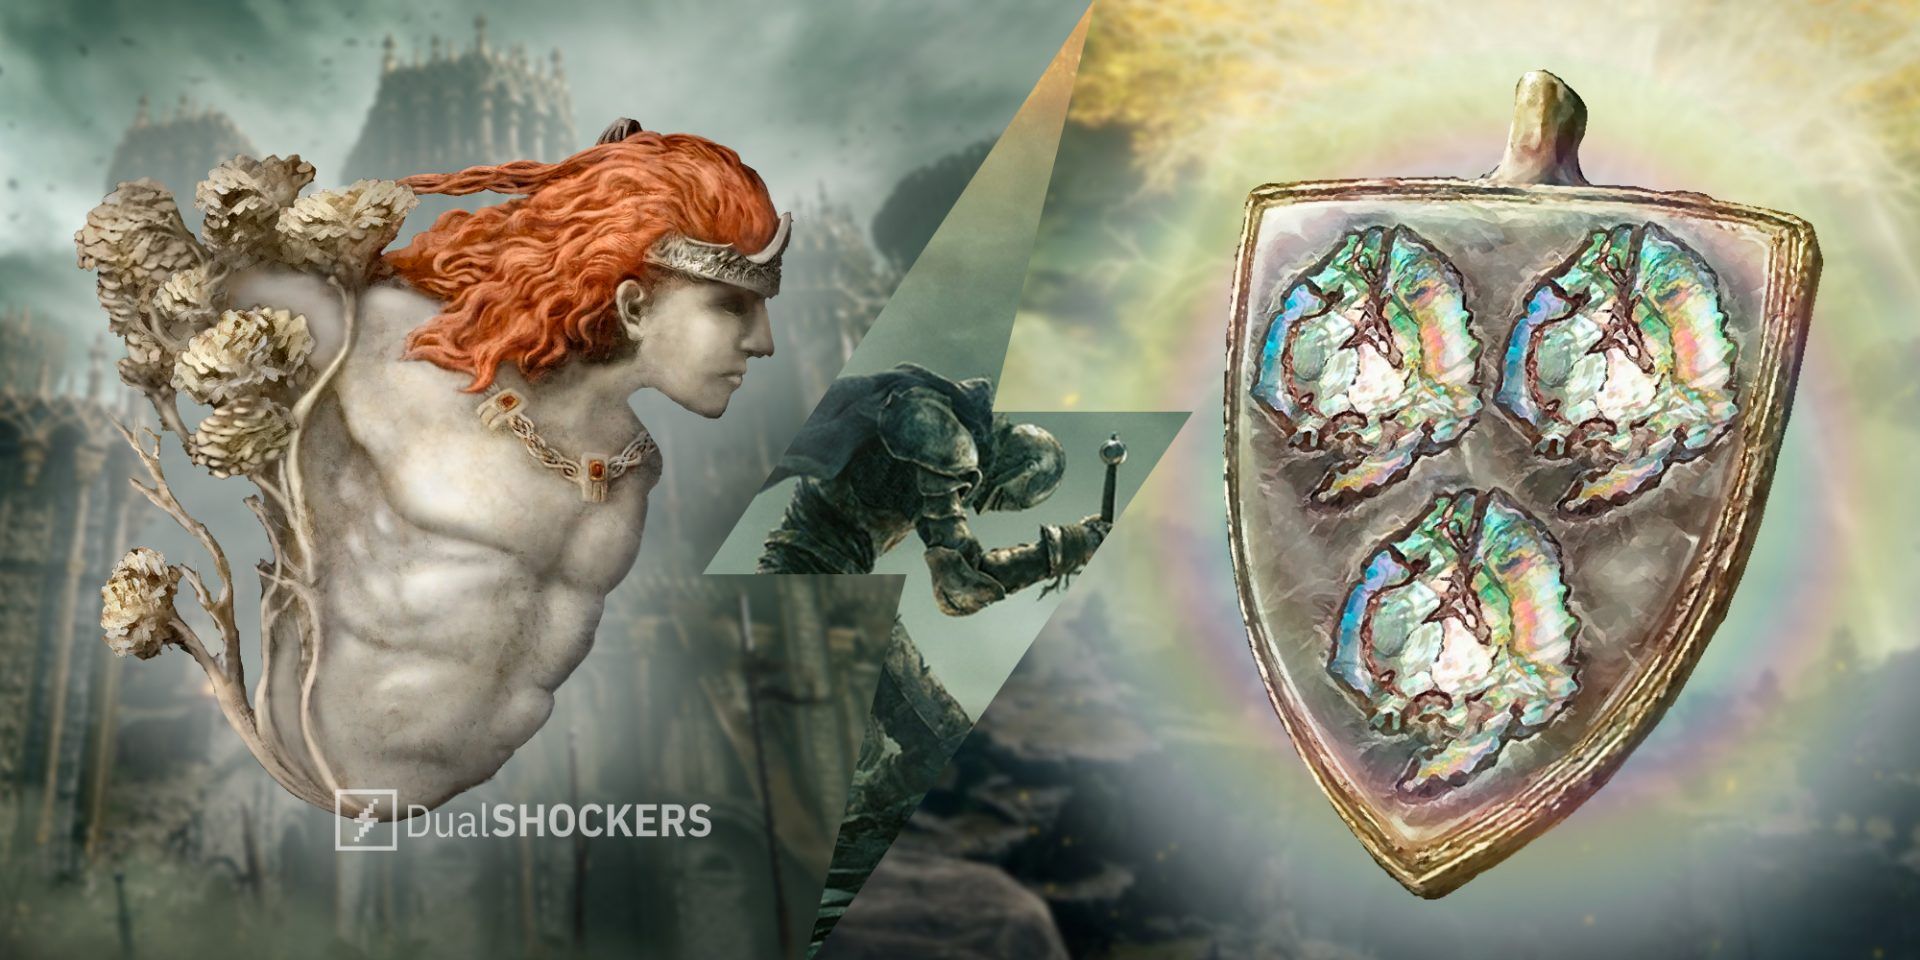
Pearldrake Talisman +2

Similar to the Dragoncrest Greatshield Talisman, the Pearldrake Talisman +2 offers a substantial boost to elemental damage reduction. Elemental damage includes Fire, Holy, Lightning, and Magic damage types. This can offer a great catch-all against any elemental attacks and is most effective during particularly difficult boss fights.
Pearldrake Talisman’s damage reduction will also stack with specific elemental damage reductions, so you might consider pairing it with Spelldrake Talisman (magic damage negation), Flamedrake Talisman (fire damage negation), Boltdrake Talisman (lightning damage negation), or Haligdrake Talisman (holy damage negation).
