Looking for a full walkthrough of Dragon’s Dogma 2? The sprawling world of Dragon’s Dogma 2 can be pretty daunting at first – as is so often the case with massive open-world RPGs. At times, we know it can be hard to keep track of where you’re going and what must be done to fulfil your destiny as the Arisen in a land teeming with threats and mysteries.
In this guide, we aim to present you with a focused, concise walkthrough of all 20+ main quests in Dragon’s Dogma 2, so that you always know how to progress to the next chapter of the story. So whether you’re stuck on a particular main quest or you’re just not sure what to do next, we’ve got you covered with our dedicated Dragon’s Dogma 2 walkthrough.
Dragon’s Dogma 2 – Capcom Highlights: March 2024
Dragon’s Dogma 2 walkthrough: Every main quest
Dragon’s Dogma 2 is filled to the brim with side quests and activities that are just begging to sidetrack you from the main story for the next several hours. We’ve foregone all those side activities in our Dragon’s Dogma 2 walkthrough. Instead, we’ll show you exactly how to get through each of the main quests in the game in order, so you know exactly how to progress the story no matter where you are in the game.
Here are all the main quests in Dragon’s Dogma 2:
- Gaoled Awakening
- Tale’s Beginning
- In Dragon’s Wake
- Seat of the Sovran
- Monster Culling
- Disa’s Plot
- The Caged Magistrate
- The Nameless Village
- The Stolen Throne
- An Unsettling Encounter
- Feast of Deception
- Nation of the Lambent Flame
- Flickering Shadows
- Convergence
- A New Godsway
- The Guardian Gigantus
- Legacy
- Dreams Apart
- Halls of the First Dawn
- A Scholarly Pursuit
- When Wills Collide
Read on for a handy walkthrough of each of the quests in Dragon’s Dogma 2, but beware – while we’ve tried our best to keep story spoilers to a minimum, there will be certain unavoidable spoilers below!
1. Gaoled Awakening
Gaoled Awakening objectives:
- Complete character creation.
- Follow Fiska outside.
- Meet and converse with Rook.
- Retrieve a stone block from the mine and place it next to Rook.
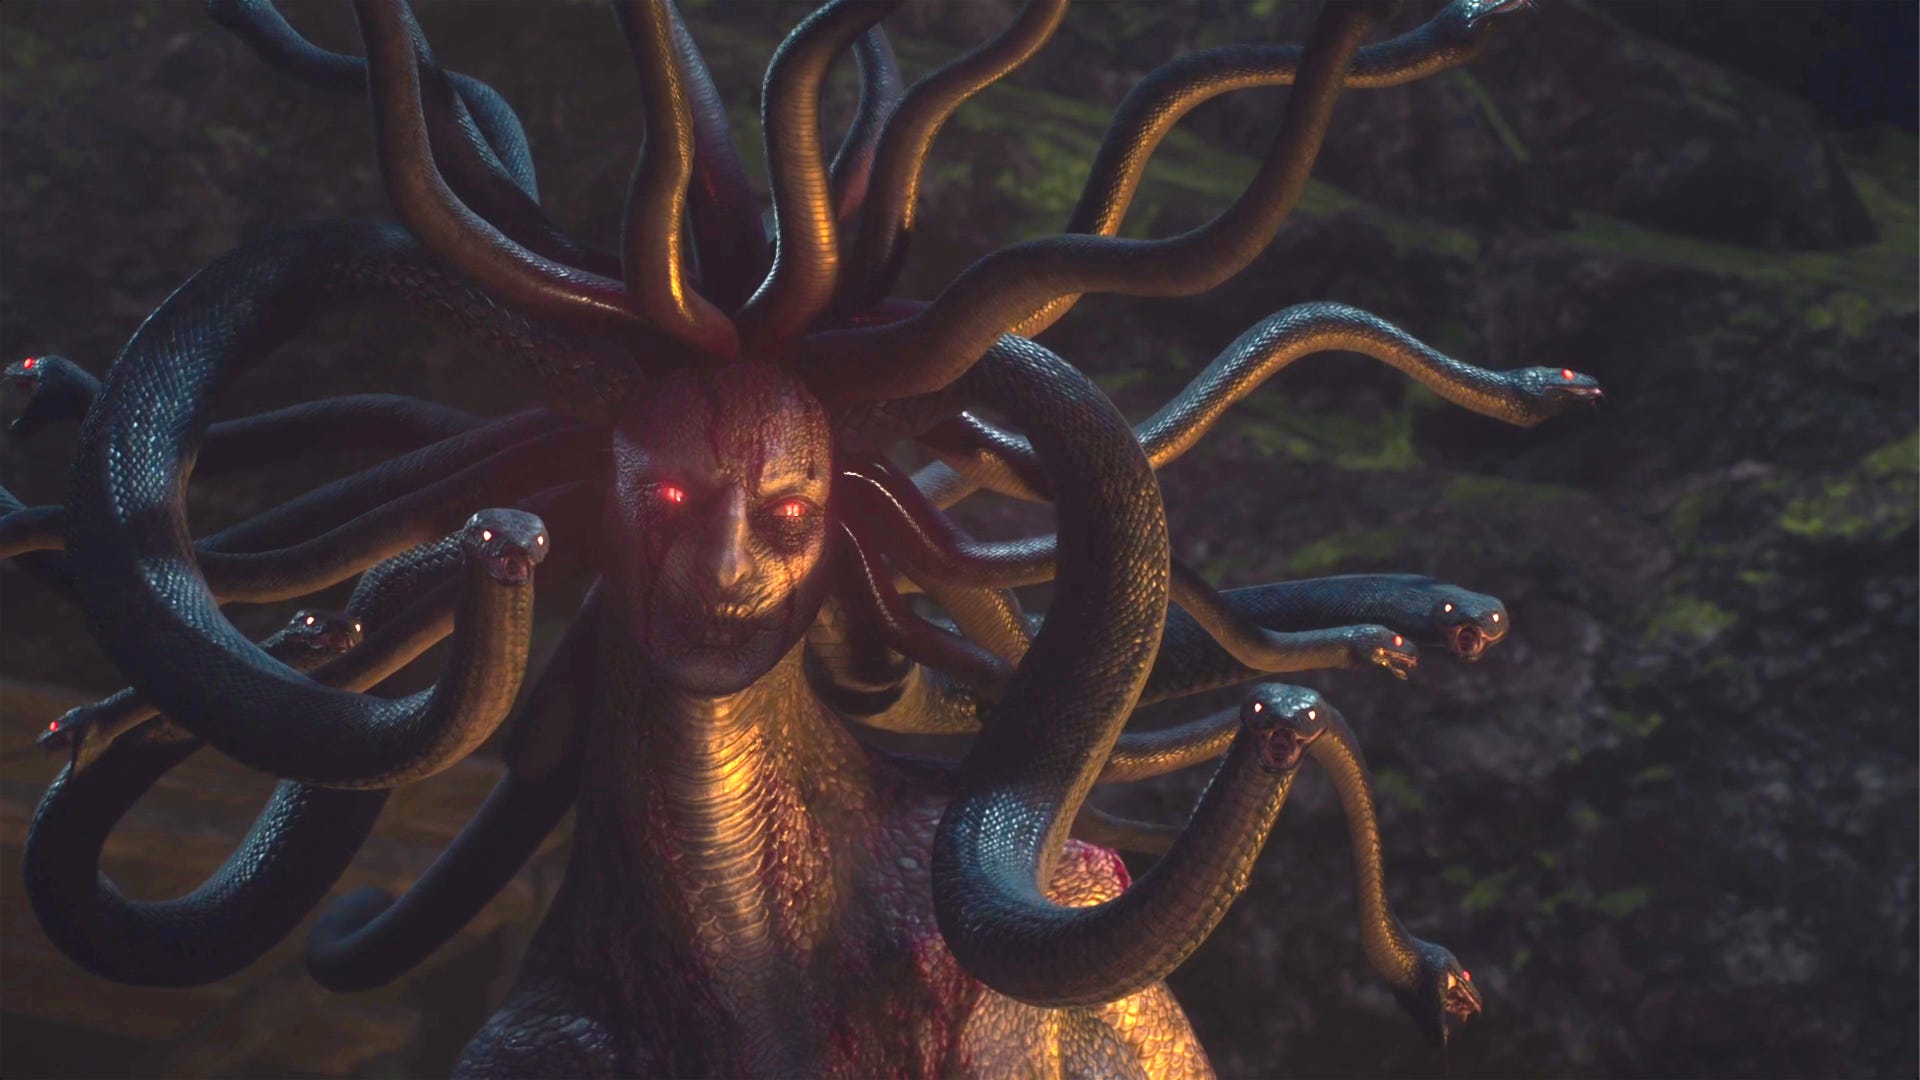
- Fight the Gorgon outside.
- Run to the cliff with Rook and jump off the edge.
You begin the story of Dragon’s Dogma 2 as an indentured worker inside an excavation site. Once you’ve created your character, follow Fiska and his troops outside, and on the way you’ll meet a fellow prisoner called Rook. Once you’ve spoken to him, cross the bridge and turn right to head down into the mines where Fiska is waiting.
Walk to the end of the mine and grab a stone block, then haul it back and place it next to Rook. After that, a commotion occurs outside. Head outside with Rook and you’ll find that a Gorgon has awoken inside the excavation site.
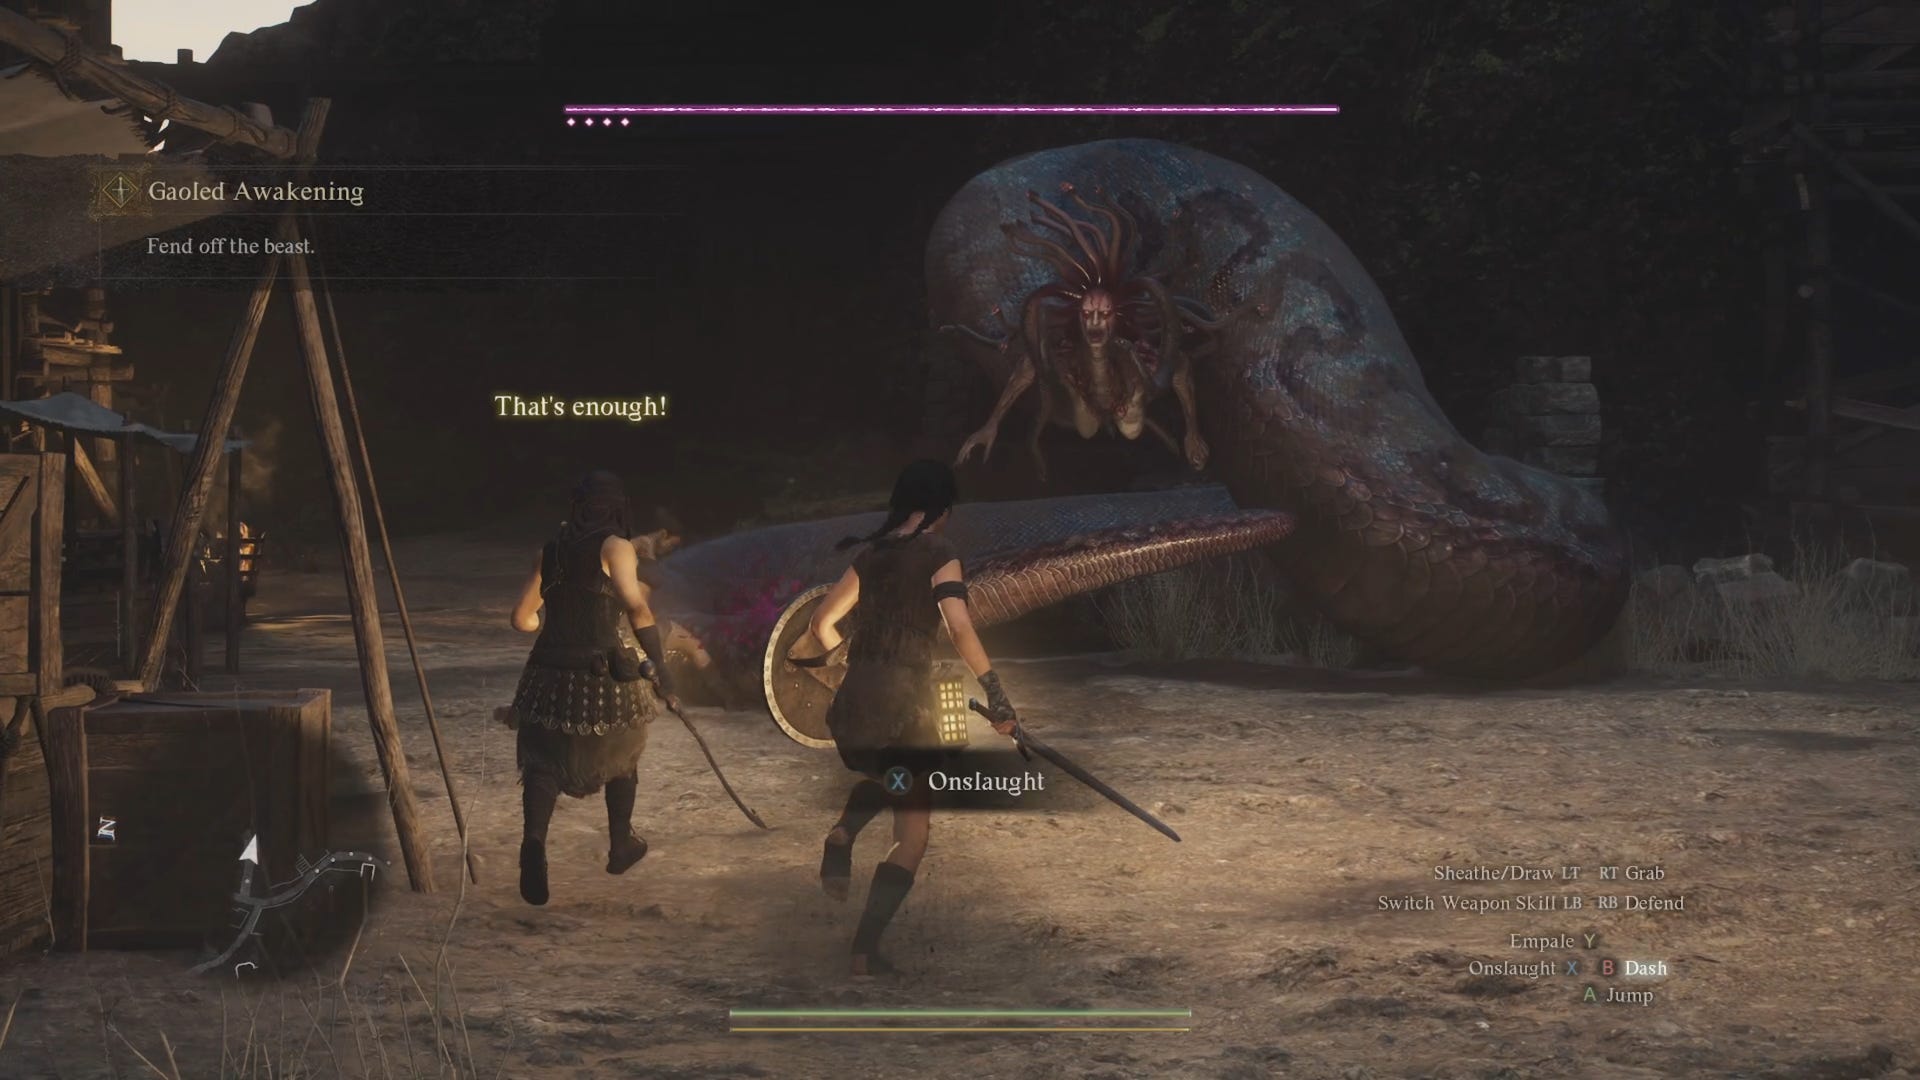
Attack the Gorgon however you like – this is essentially a combat tutorial, and Gorgon will deal very little (if any) damage to you. Once its health bar depletes, a cutscene will start, showing the Gorgon escaping. In the chaos, an apparition appears and encourages you to escape with Rook. Run with Rook towards the cliff, and jump off the edge. Another cutscene follows, showing you flown safely away on the back of a Griffin.
2. Tale’s Beginning
Tale’s Beginning objectives:
- Follow Justinn to the nearby outpost.
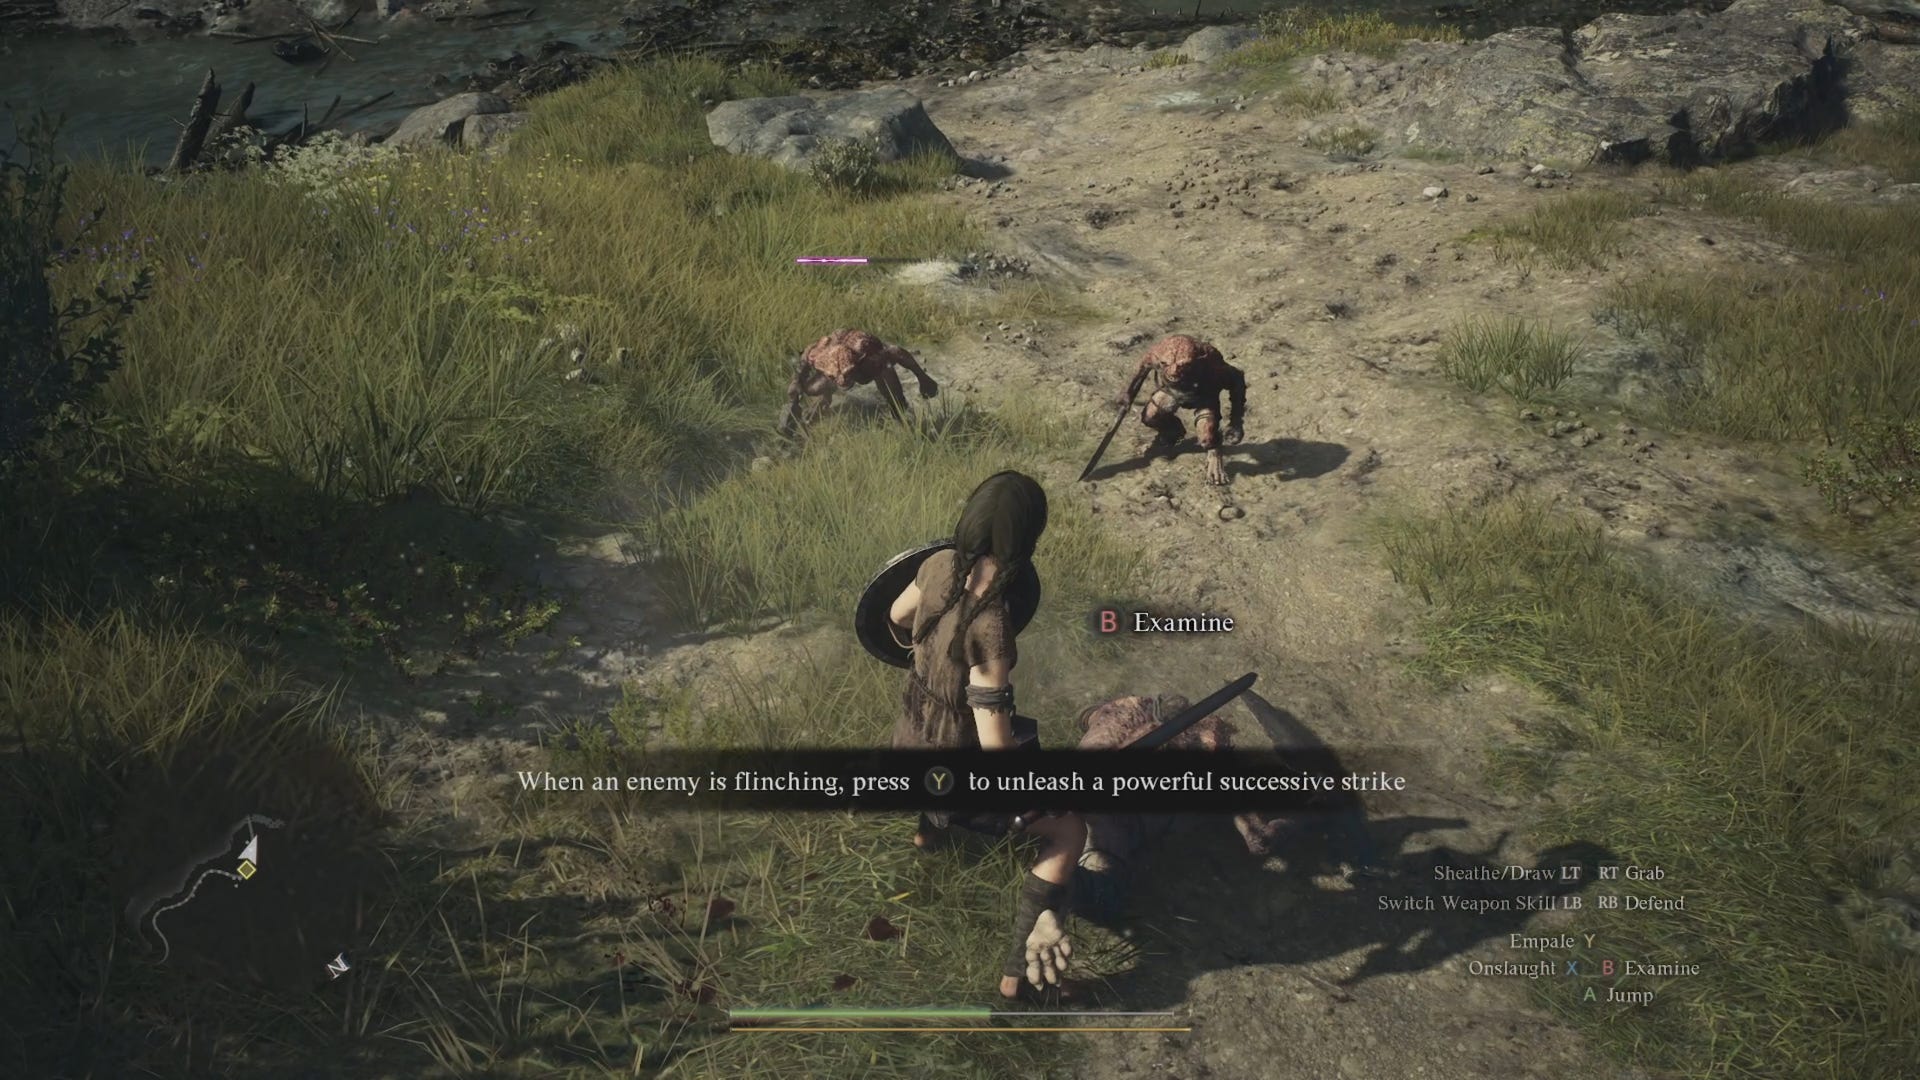
- Defeat the goblins along the path.
- Summon your first pawn at the outpost Riftstone.
- Rest at the Borderwatch Lounge.
After a cutscene which shows a ballista bolt mortally wounding your Griffin savior, you regain consciousness next to a river. Rook is claimed by the Brine, spirit creatures that live in the water. Immediately after, you’re met by a group of soldiers led by a man named Justinn, who asks you to accompany him back to the nearby Borderwatch Outpost.
Follow Justinn along the path, keeping an eye out for your first few chests and resource pickups on the way. Along the path are two separate trios of Goblins who must be defeated. Keep going along the path and you’ll reach the outpost, where you’re met at the gates by a group of pawns.

The following cutscene allows you to interact with the outpost’s Riftstone to summon your first pawn.
Feel free to explore the outpost for chests and side quests. Once you’re ready, speak to Warrick at the Borderwatch Lounge inn, where you can rest for free until the next morning.
3. In Dragon’s Wake
In Dragon’s Wake objectives:
- Head to the soutwest gate of the outpost.
- (Optional) Complete the side-quest “Ordeals of a New Recruit”.
- Reach the razed stronghold of Melve.
- Proceed through the memory.
- Speak to Ulrika and then Gregor.
- Head to the nearby building and speak to Lennart.
- (Optional) Complete the side-quest “Medicament Predicament”.
- Accompany Gregor towards Vernworth, defeating the goblins/harpies on the road.
- Activate the Forgotten Riftstone.
- Defeat the Cyclops in the ravine.
- Climb aboard the oxcart OR reach Vernworth on foot.
After resting at the Borderwatch Lounge, head to the southwest gate of the outpost. You’ll be stopped by Phill, who will give you a very quick, time-sensitive side-quest called “Ordeals of a New Recruit” to save the hapless guard Accardo, which happens to take you down the same path you need to reach the town of Melve, so you may as well accept.
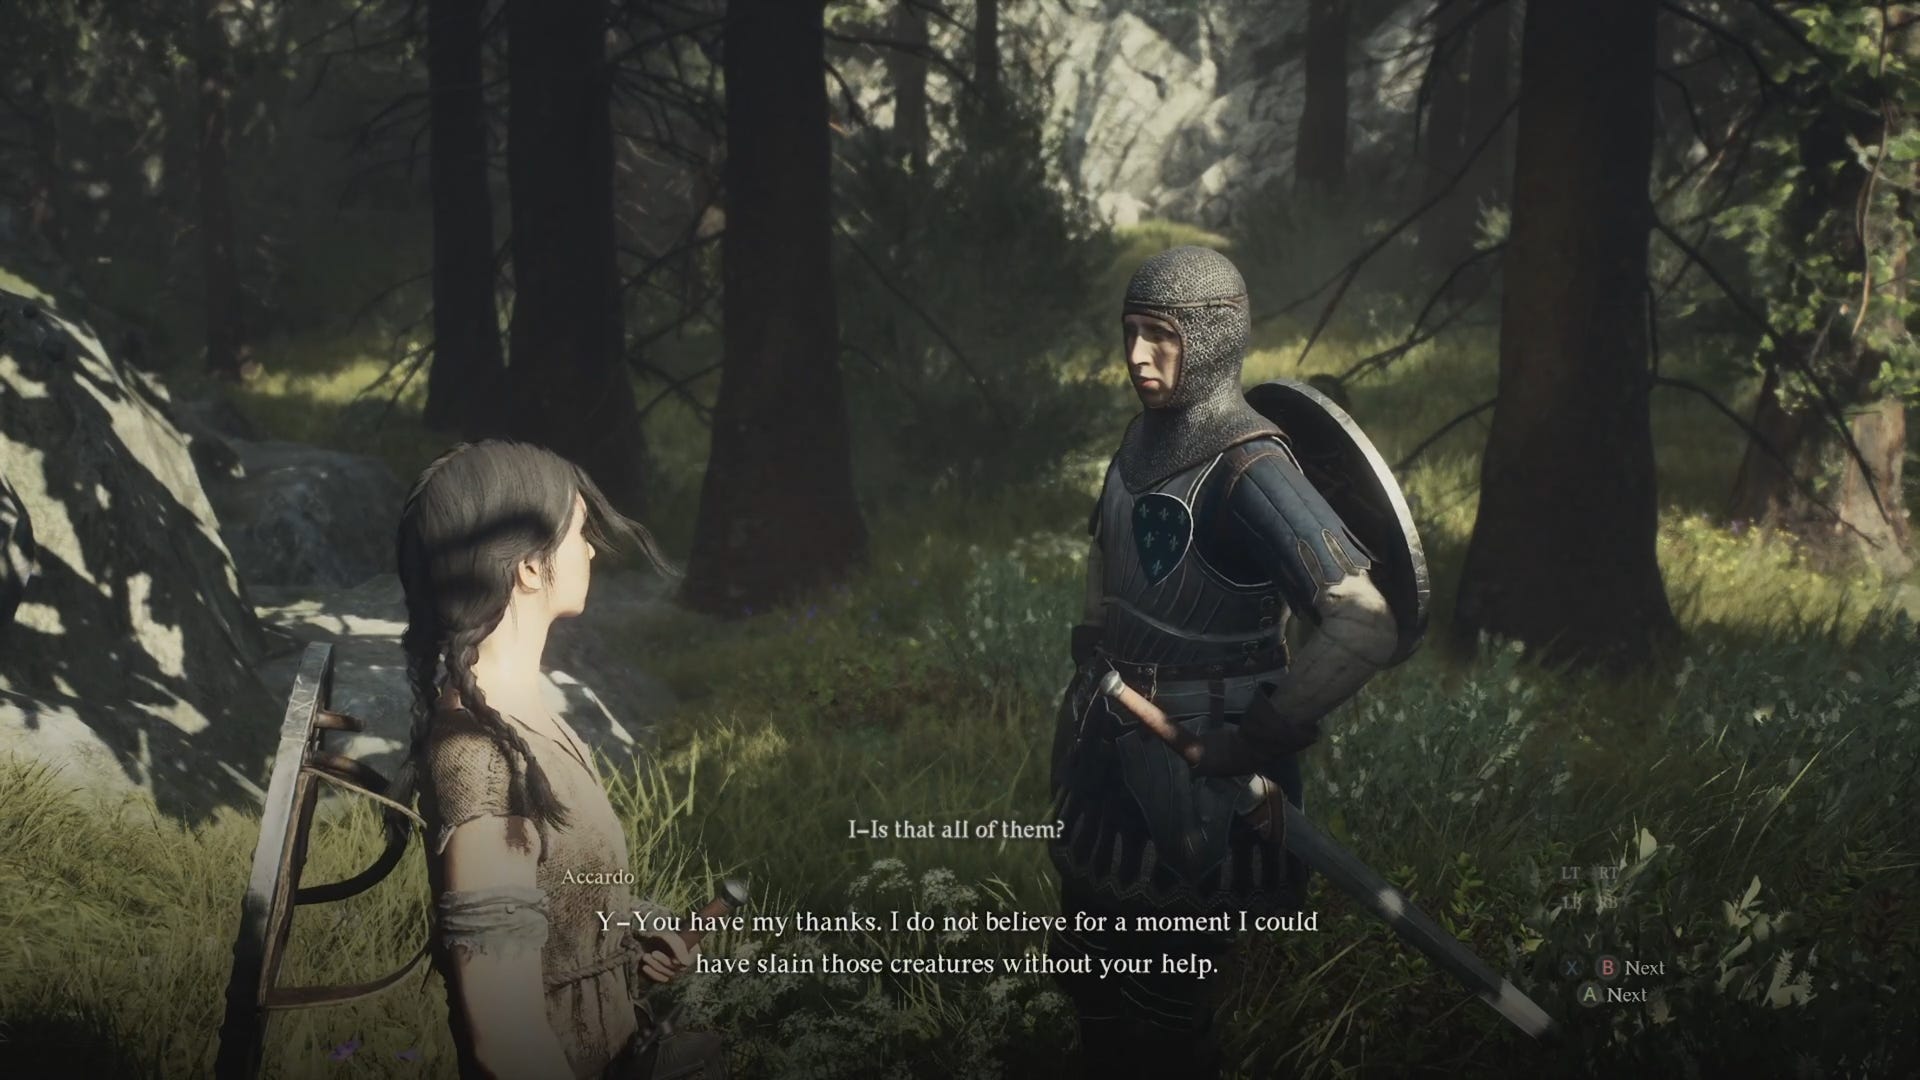
Along the path you’ll find a trio of goblins, then a trio of harpies (which is where Accardo can be saved), and then a more powerful group of Goblins. You can also double-back to the outpost after saving Accardo to get a 1000g reward.
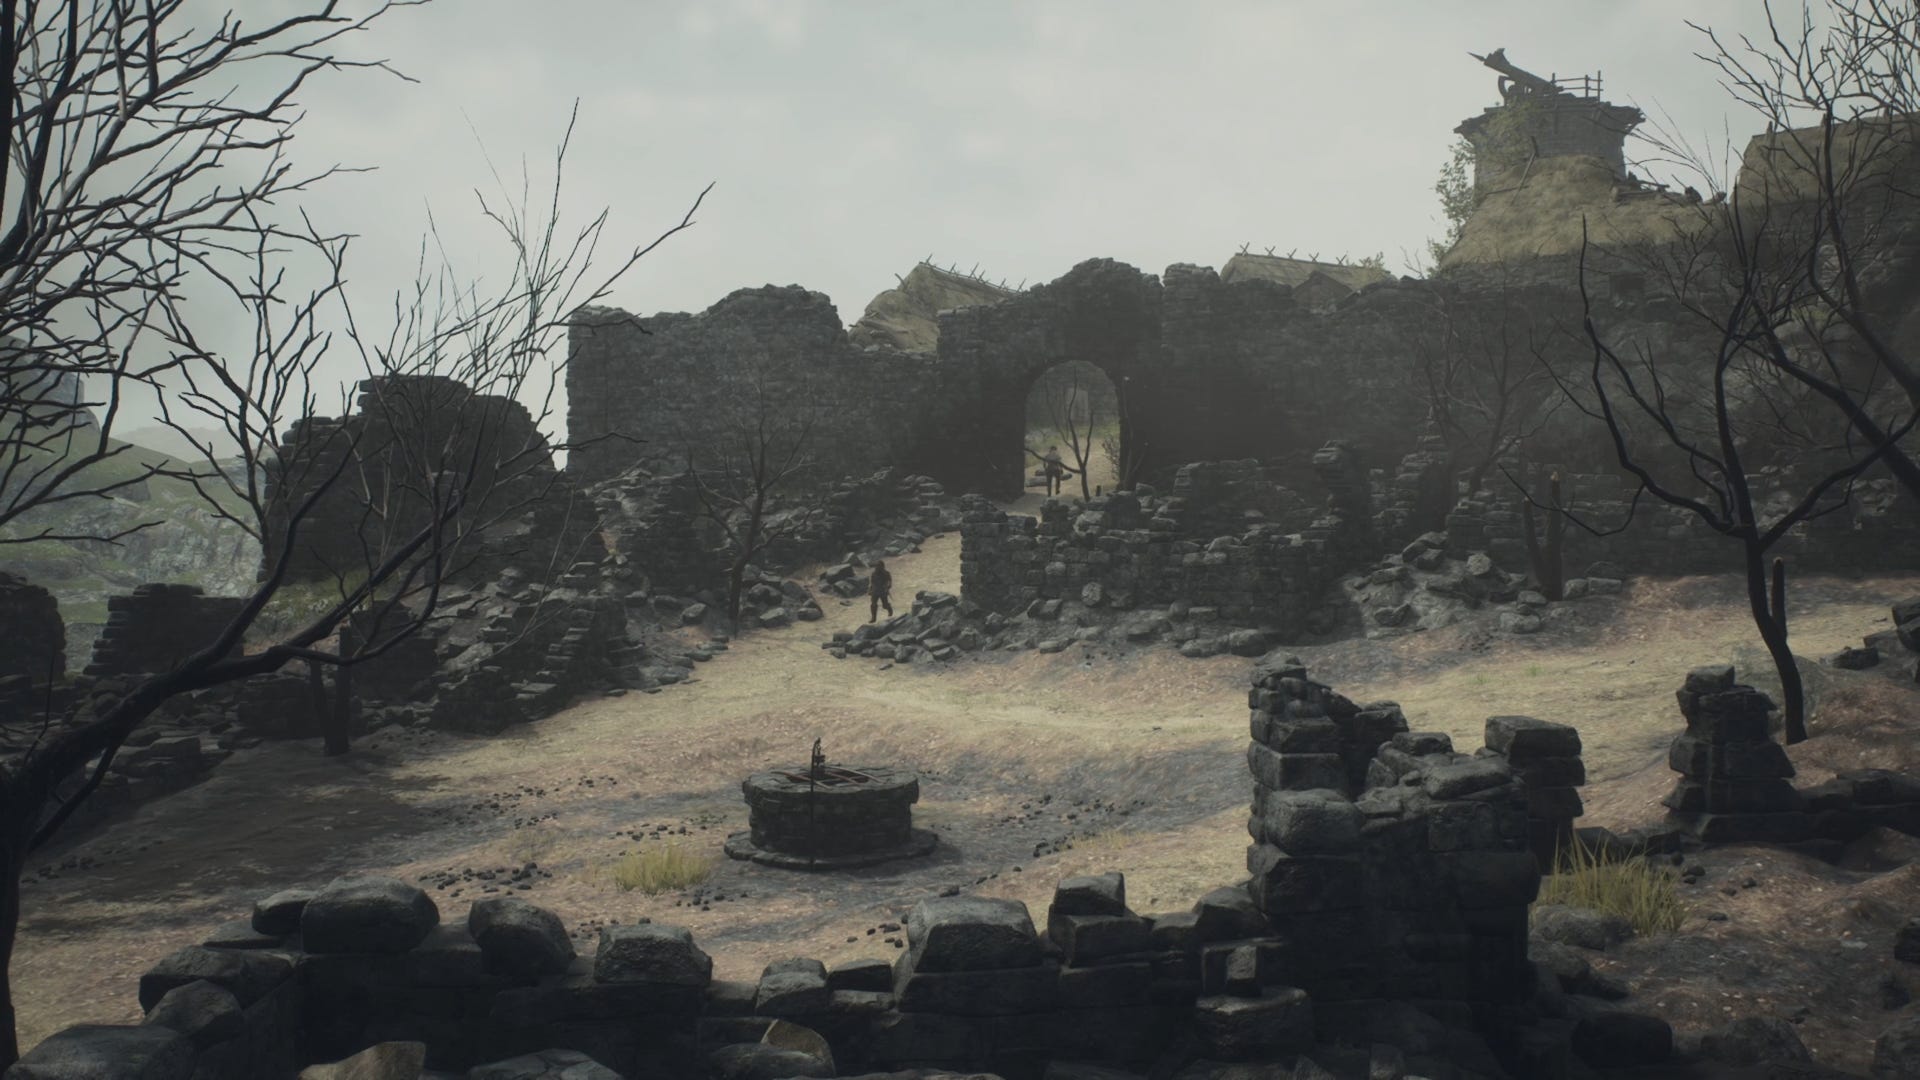
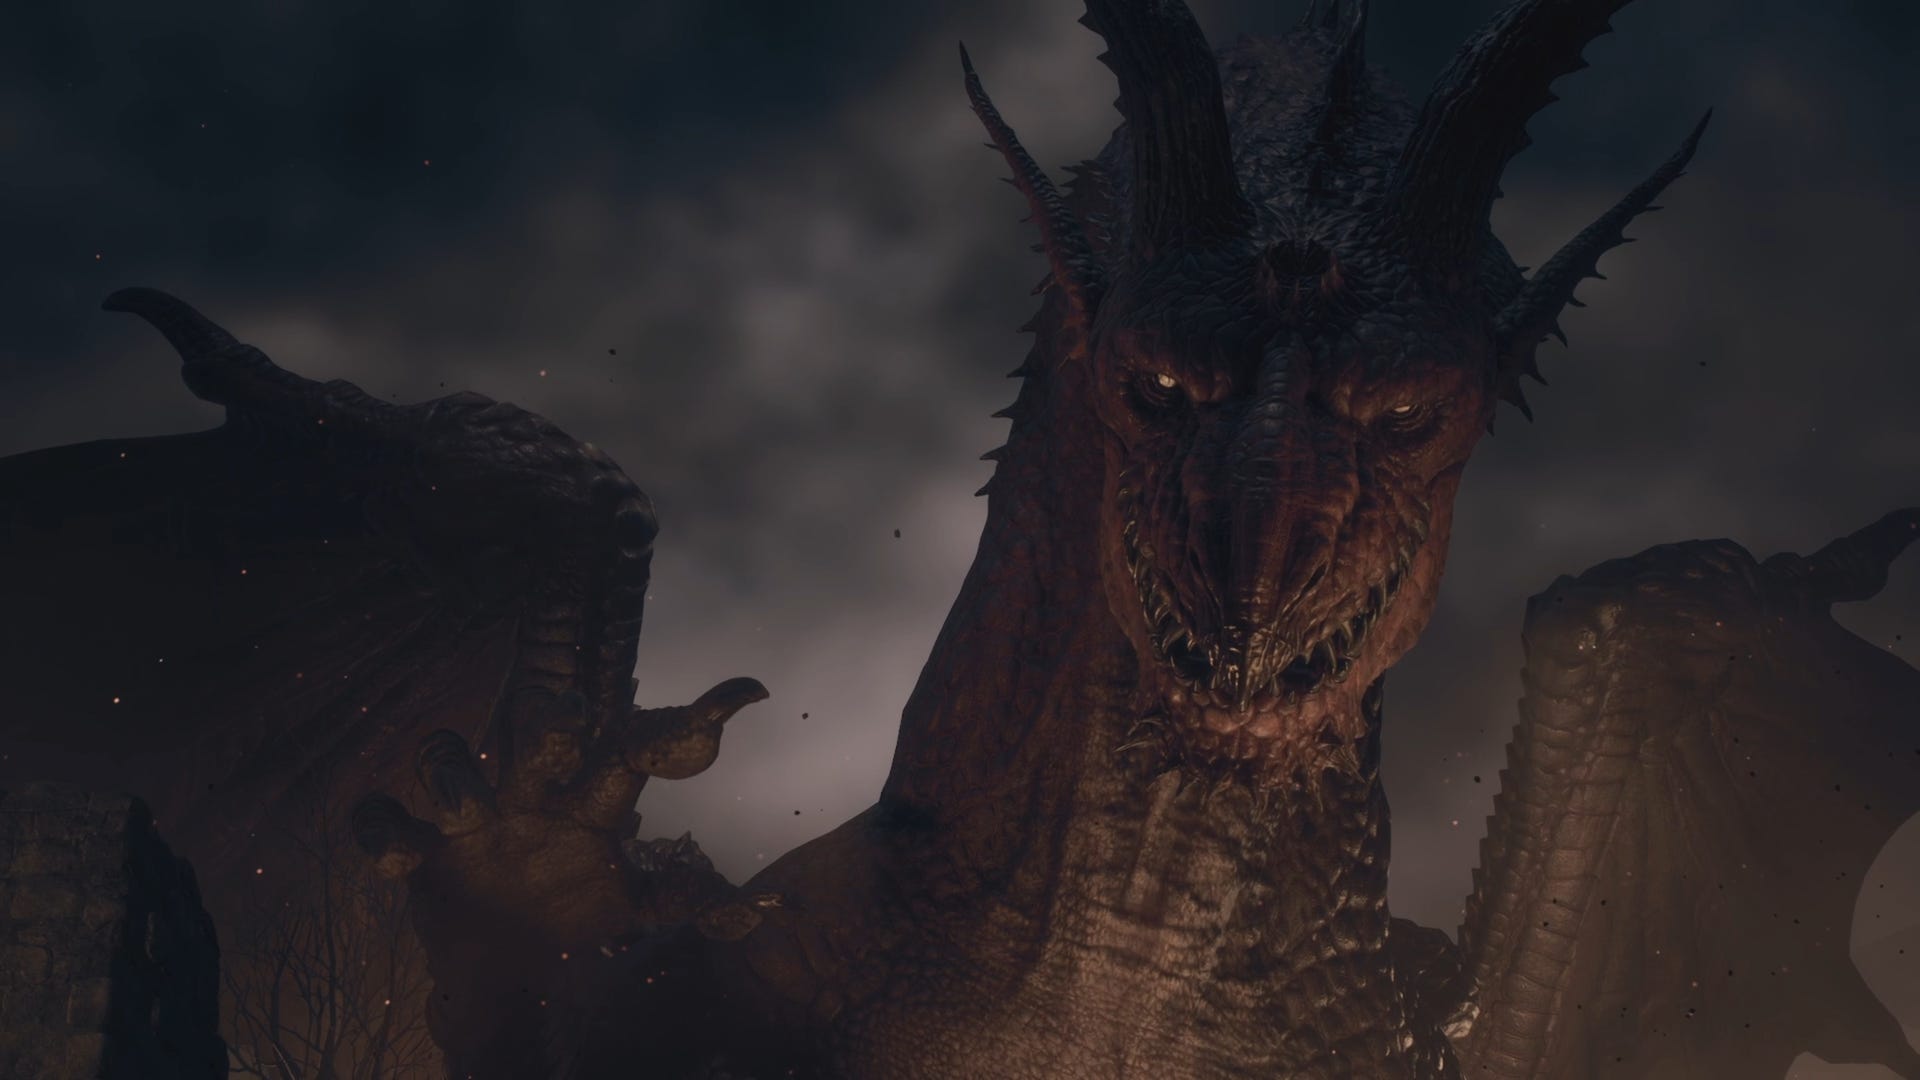
Past the groups of goblins and harpies, cross the wooden bridge and you’ll reach the dragon-burnt ruins of Melve. Start exploring Melve, and a cutscene will automatically play, taking you into a memory where you (futilely) fight the dragon that razed the stronghold. It doesn’t matter how you fight the dragon, you’ll deal no damage and after a minute or so, another cutscene will follow.
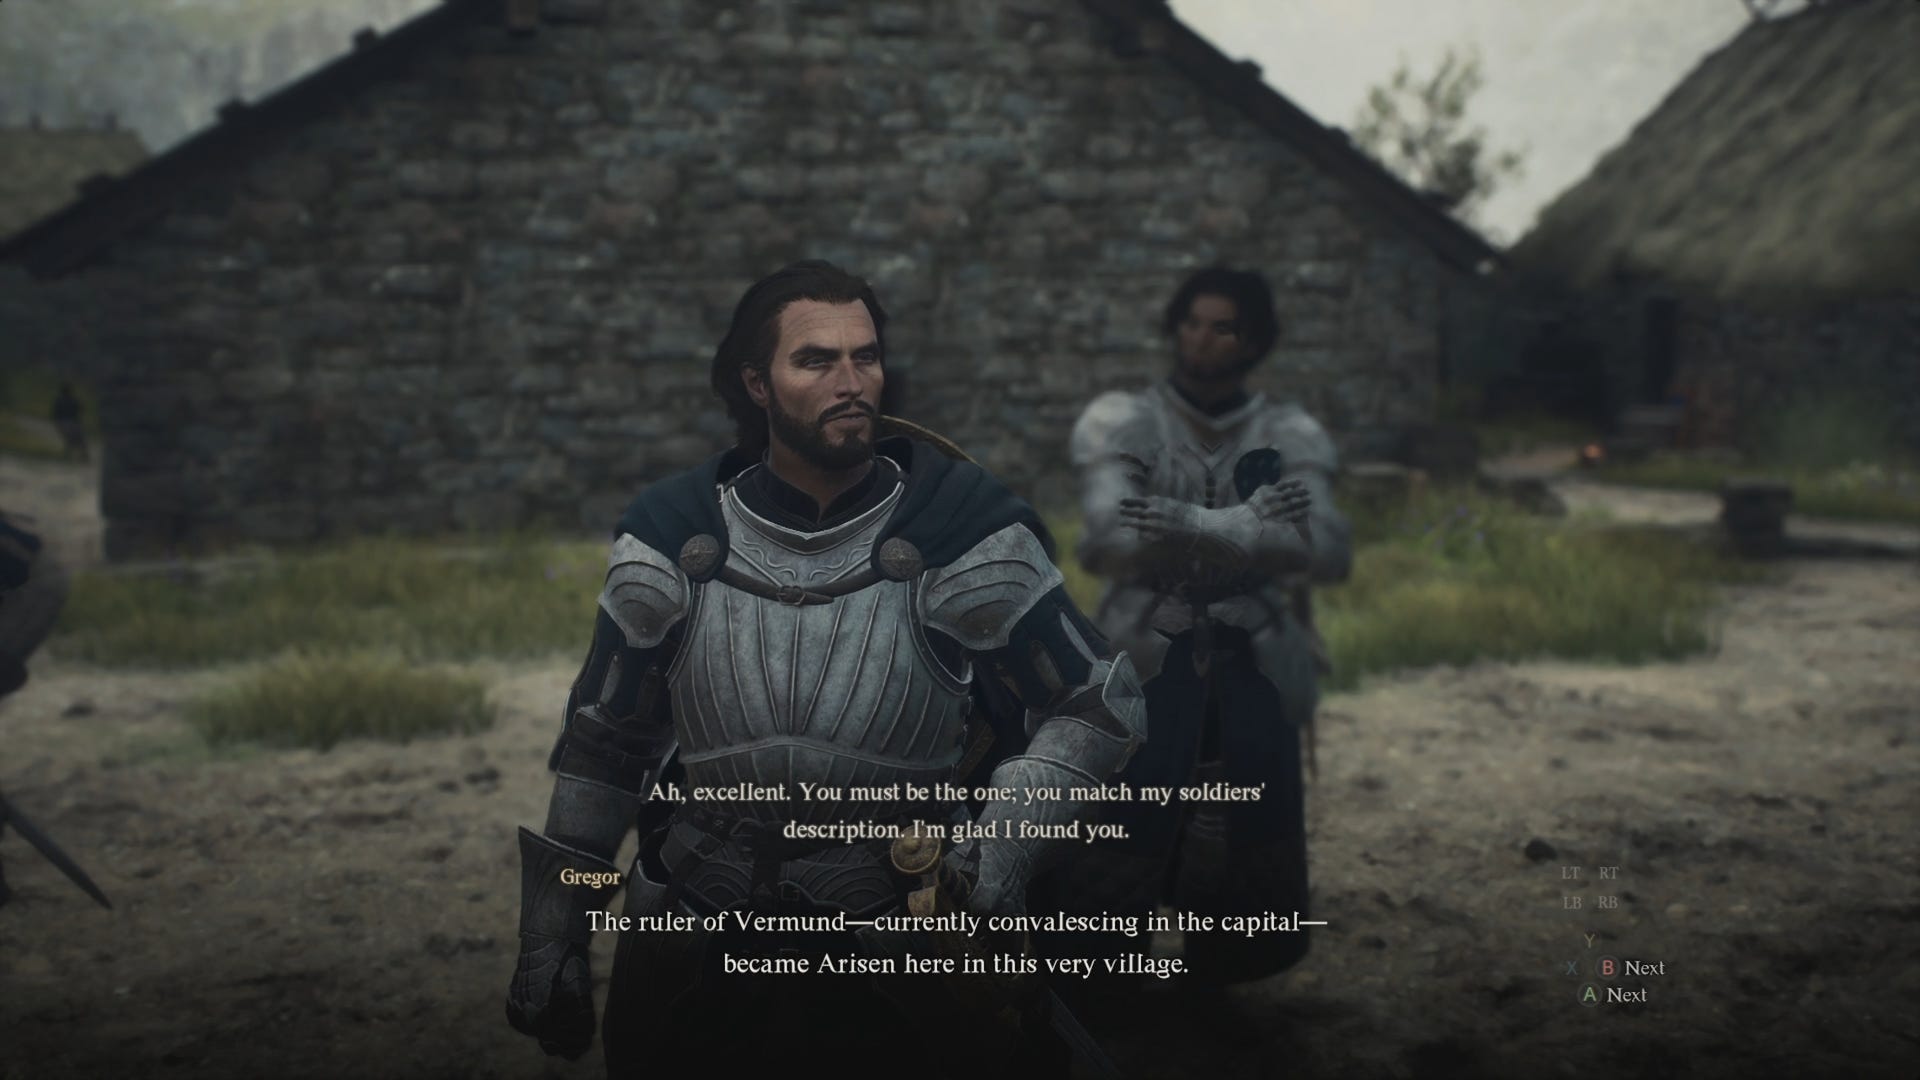
You’ll awaken inside the home of a woman named Ulrika, whom you saw in the memory. In the same cutscene, you’ll be visited by a borderwatch guard named Gregor, who is searching for an Arisen by your description. After the conversation, enter the building in front of you and to the right, and speak with Ser Lennart for some information about vocations.
You can also take this time to complete the ultra-quick side-quest “Medicament Predicament” by speaking to the girl outside the opposite building and crafting a fruit roborant for her (she gives you 100g and a HP-increasing ring, so it’s worth spending the few seconds it takes to do the quest).
Either way, when you’re ready, return to the main entrance of Melve and meet with Gregor. You’ll then set off on a merry adventure down a path filled with goblins aplenty, and some harpies too. If you haven’t already, it’s worth recruiting a couple more pawns of different vocations to help in combat.
A brief cutscene and gate-opening later, you’ll find the oxcart that was meant to meet Gregor’s troop is nowhere to be seen. Continue down the path to find a camping spot and, next to it, a Forgotten Riftstone. Interact with the Riftstone to activate it, then continue down the path.
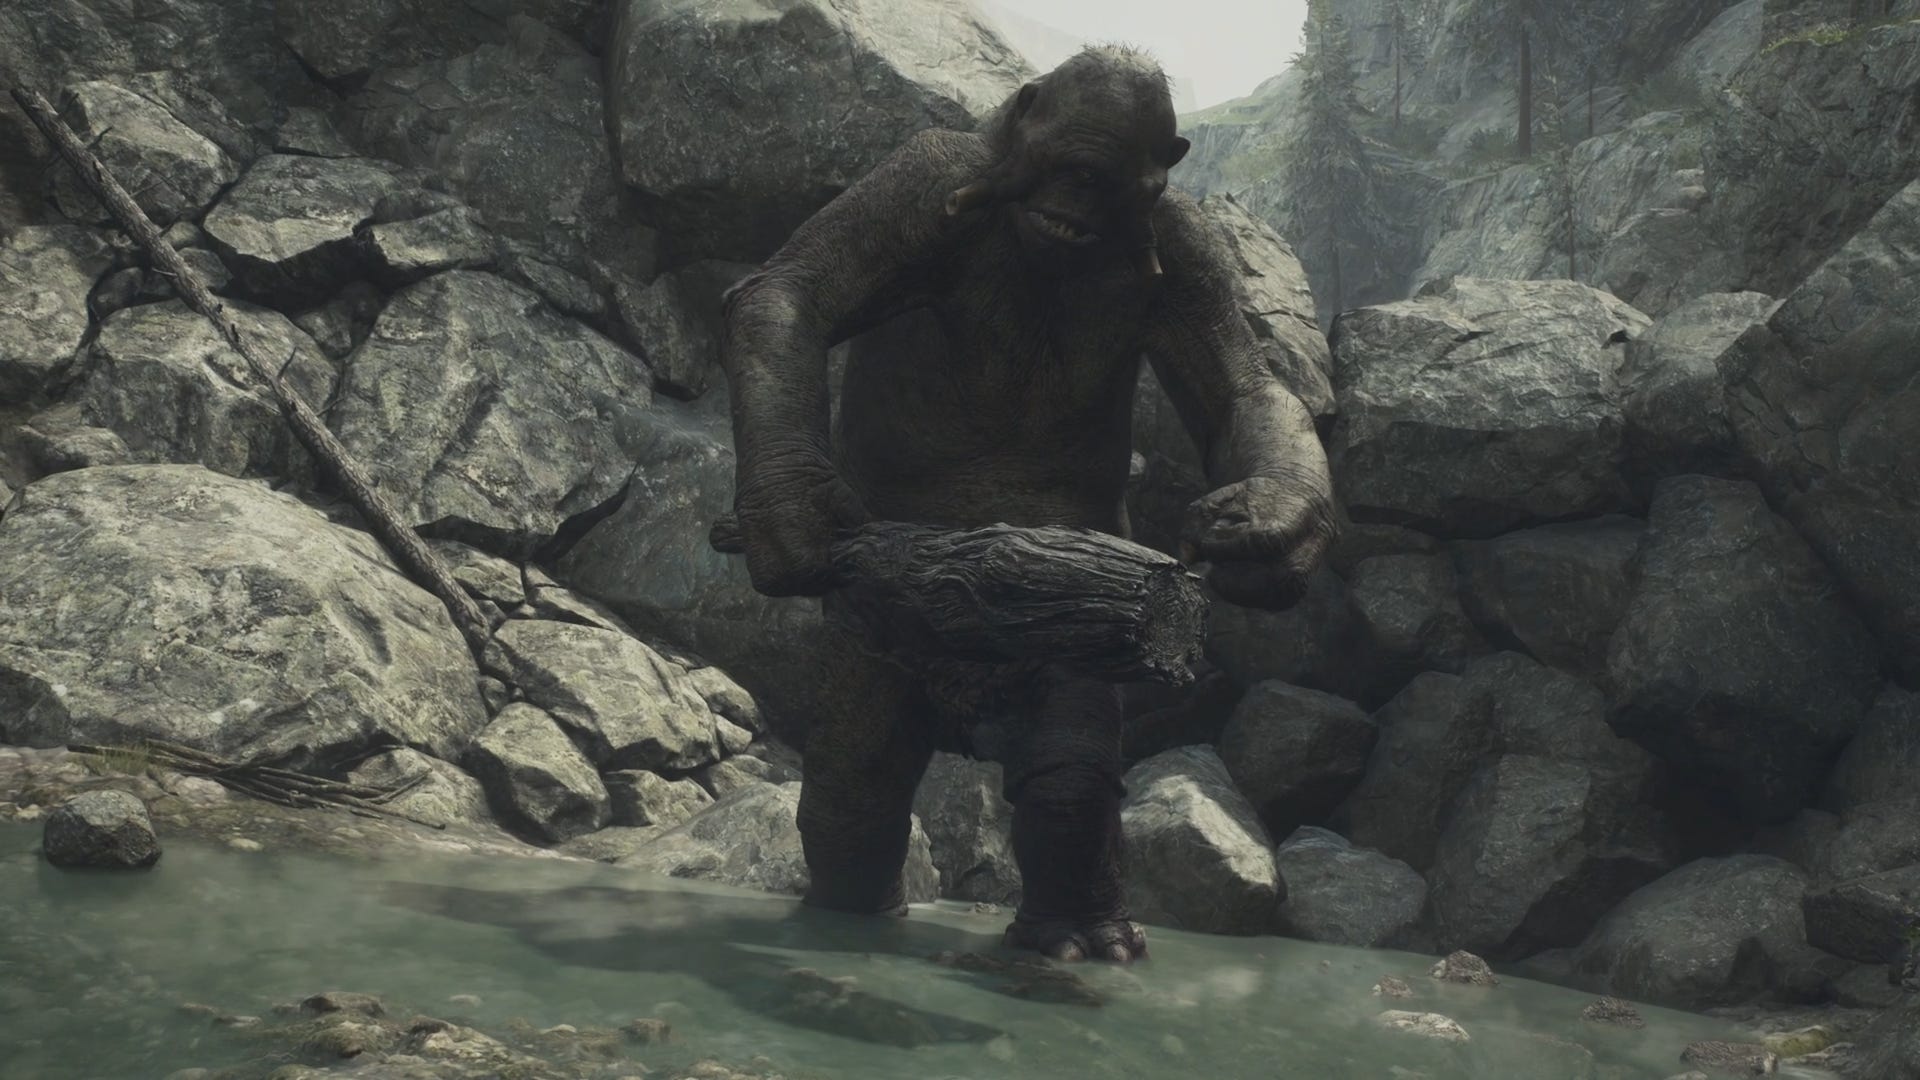
Keep fighting your way past the goblins and harpies on the road, and you’ll eventually find yourself at a blocked ravine guarded by a Cyclops. Kill the Cyclops carefully, avoiding its big, slow area-of-effect attacks. Be aware that a second health bar appears after the first, so the fight may take a bit of time. After that, you can choose whether to hop on the oxcart and sleep to fast travel to the capital city of Vernworth (where the next main quest takes place), or journey on foot instead.
4. Seat of the Sovran
Seat of the Sovran objectives:
- Speak to Brant.
- Speak to Norman outside about the fleeing urchin.
- Meet Brant in the Stardrop Inn at night.
- Obtain all three quests from Brant.
This quest sees you arrive at the capital, Vernworth, where you’re immediately greeted by a stern-looking Captain Brant. After a short discussion, Brant takes you inside to tell you more about the true state of things in the capital.
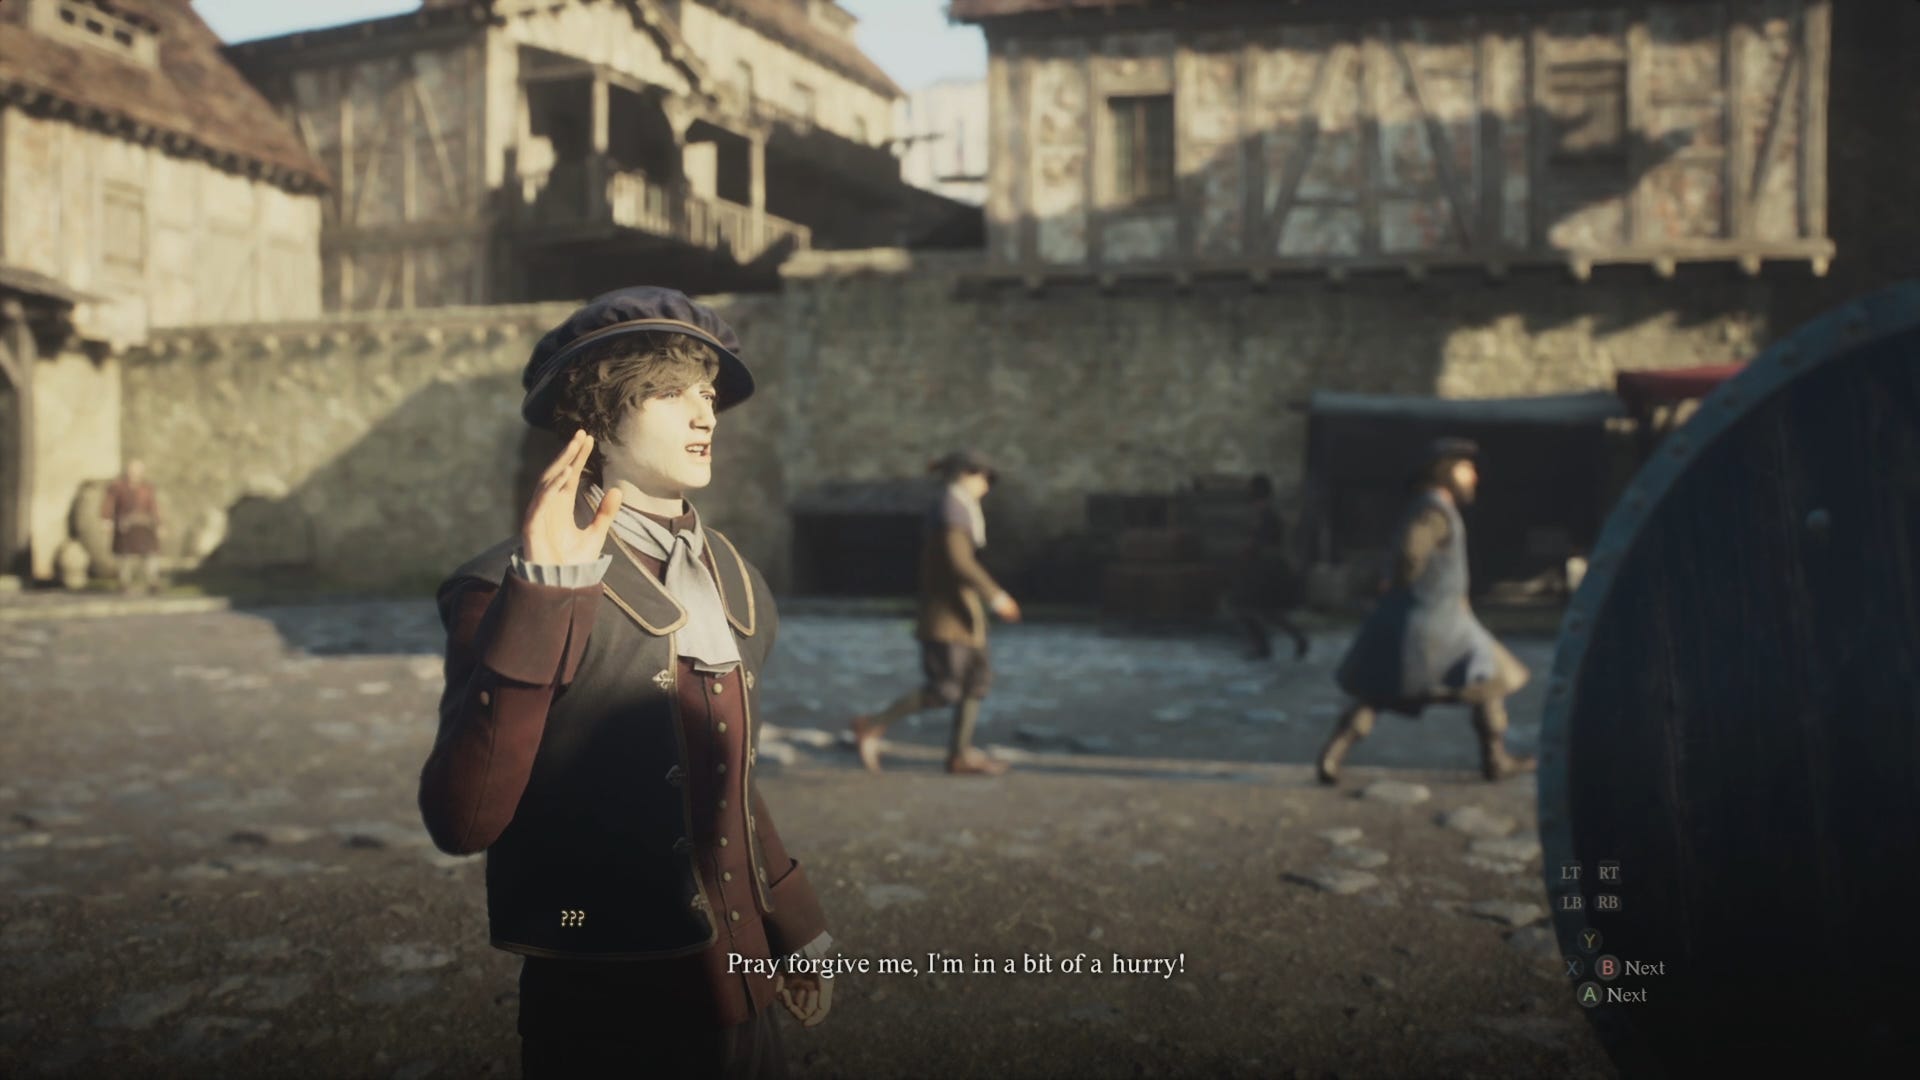
Once the discussion is over, exit the building and you’ll immediately be passed by a fleeing man wearing a cap, who is running from a guard. The guard, Norman, then asks if you’ve seen the man. You can choose to lie or tell the truth – nothing changes apart from some dialogue in the upcoming quest “Disa’s Plot”.
After that, feel free to mill about the capital for a while until the time comes to meet Brant in the Stardrop Inn. He only appears at the bar during night, but you can pass the time by interacting with the barkeep. Brant will then take you into a side room and provide some more exposition, during which you can obtain the next three main quests from him: “Monster Culling”, “Disa’s Plot”, and “The Caged Magistrate”. Be sure to keep talking to him until you receive all three quests.
5. Monster Culling
Monster Culling objectives:
- Reach Trevo Mine west of Vernworth.
- Clear out Trevo Mine and obtain the Greatsword and Archistaff.
- Receive and complete the “Vocation Frustration” side-quest in Vernworth.
- (Optional) Obtain the Wakestone Shards from Vermund Charnel House.
- Reach Harve Village and talk to Dylan.
- Clear the nearby cave of saurians and lead the guards inside back out.
- (Optional) Defeat the saurians overrunning the village in the “Scaly Invaders” side-quest.
- Head east of Vermund to the final quest marker.
- Defeat the goblins attacking the guards.
- Return to Captain Brant at night in the Stardrop Inn.
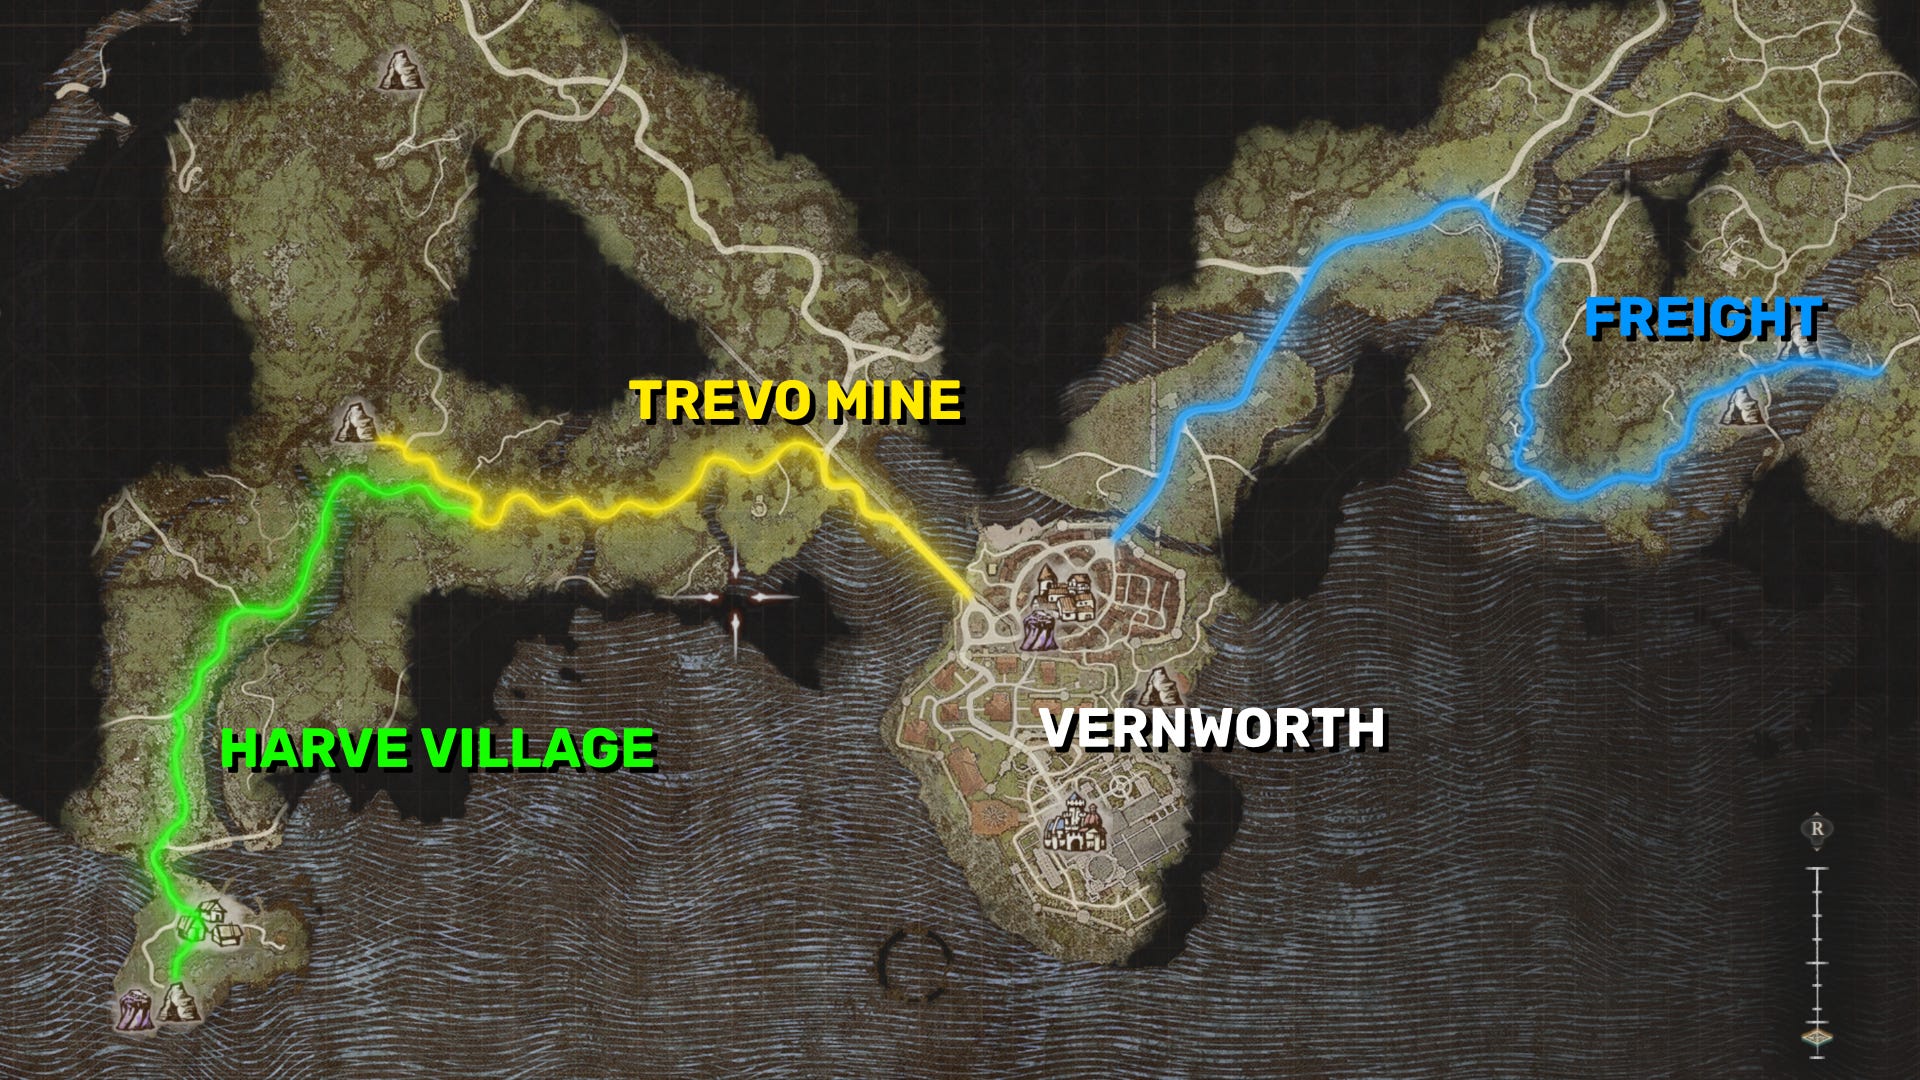
“Monster Culling” is a three-part quest which tasks you with visiting various areas in the lands surrounding Vernworth, and, well, culling the monsters there. It doesn’t matter which order you take these objectives in, but we’d recommend starting at Trevo Mine to the west.
Exit through the west gate of Vernworth and follow the road to the quest marker on the map. Along the way you’ll see some goblins and perhaps skeletons if you chose to travel during the night. When you arrive at Trevo Mine, it’s filled with goblins of varying sizes. Clear them all out, and make sure you take the time to explore every nook and cranny, because there are two important chests in this place. One of them gives you a Greatsword, and the other gives you an Archistaff.
Once you’ve reached the end of the cave and rescued the guards there, make the trek back to Vernworth and visit the Vernworth Vocation Guild. Speak to Klaus to receive the side-quest “Vocation Frustration”, then speak to him again and give him the Greatsword and Archistaff you picked up from Trevo Mine. Hey Presto! You’ve unlocked the Warrior and Sorcerer advanced vocations. Two quests for the price of one.
Before venturing west again to the next location (Harve Village), we’d recommend stopping by the Vermund Charnel House south of Vermund’s main square. In this place you’ll find three chests dotted about, each of which gives you a Wakestone Shard. With those 3 Shards you’ll gain a full Wakestone, which you might end up using at Harve Village.
Proceed west again, but head past Trevo Mine and south towards Harve Village. At the end of the village, on the shore, you’ll meet a guard named Dylan, who tells you that the other soldiers are in the cave he’s standing beside. Enter the cave and clear out its groups of saurians (aim for their tails!). If you see a fallen guard, you can use that Wakestone you obtained to bring them back to life, granting you the Savior achievement in the process.

After you’ve rescued the guards inside, lead them back to Dylan outside the cave. A few steps back towards Harve Village will prompt a short side-quest called “Scaly Invaders“, where you fight yet more saurians. After that, return to Vernworth ready for the final section of this lengthy quest.
When ready, proceed to the north exit of Vernworth and head towards the final marker. The roads mostly consist of goblins still, but you should be wary of ogre or griffin sightings and avoid them unless you’re feeling brave.

At the quest marker, all you need to do is defeat the small pack of goblins attacking the guards there. When you’re done, return to Captain Brant at night in Vermund’s Stardrop Inn once more to get your 7,000g reward and a couple of new main quests: “The Nameless Village”, and “The Stolen Throne”.
6. Disa’s Plot
Note: This section of the walkthrough is currently incomplete, but check back soon! We’re adding new sections to our walkthrough as we progress through Dragon’s Dogma 2’s story.
7. The Caged Magistrate
Note: This section of the walkthrough is currently incomplete, but check back soon! We’re adding new sections to our walkthrough as we progress through Dragon’s Dogma 2’s story.
8. The Nameless Village
Note: This section of the walkthrough is currently incomplete, but check back soon! We’re adding new sections to our walkthrough as we progress through Dragon’s Dogma 2’s story.
9. The Stolen Throne
Note: This section of the walkthrough is currently incomplete, but check back soon! We’re adding new sections to our walkthrough as we progress through Dragon’s Dogma 2’s story.
10. An Unsettling Encounter
Note: This section of the walkthrough is currently incomplete, but check back soon! We’re adding new sections to our walkthrough as we progress through Dragon’s Dogma 2’s story.
11. Feast of Deception
Note: This section of the walkthrough is currently incomplete, but check back soon! We’re adding new sections to our walkthrough as we progress through Dragon’s Dogma 2’s story.
12. Nation of the Lambent Flame
Note: This section of the walkthrough is currently incomplete, but check back soon! We’re adding new sections to our walkthrough as we progress through Dragon’s Dogma 2’s story.
13. Flickering Shadows
Note: This section of the walkthrough is currently incomplete, but check back soon! We’re adding new sections to our walkthrough as we progress through Dragon’s Dogma 2’s story.
14. Convergence
Note: This section of the walkthrough is currently incomplete, but check back soon! We’re adding new sections to our walkthrough as we progress through Dragon’s Dogma 2’s story.
15. A New Godsway
Note: This section of the walkthrough is currently incomplete, but check back soon! We’re adding new sections to our walkthrough as we progress through Dragon’s Dogma 2’s story.
16. The Guardian Gigantus
Note: This section of the walkthrough is currently incomplete, but check back soon! We’re adding new sections to our walkthrough as we progress through Dragon’s Dogma 2’s story.
17. Legacy
Note: This section of the walkthrough is currently incomplete, but check back soon! We’re adding new sections to our walkthrough as we progress through Dragon’s Dogma 2’s story.
18. Dreams Apart
Note: This section of the walkthrough is currently incomplete, but check back soon! We’re adding new sections to our walkthrough as we progress through Dragon’s Dogma 2’s story.
19. Halls of the First Dawn
Note: This section of the walkthrough is currently incomplete, but check back soon! We’re adding new sections to our walkthrough as we progress through Dragon’s Dogma 2’s story.
20. A Scholarly Pursuit
Note: This section of the walkthrough is currently incomplete, but check back soon! We’re adding new sections to our walkthrough as we progress through Dragon’s Dogma 2’s story.
21. When Wills Collide
Note: This section of the walkthrough is currently incomplete, but check back soon! We’re adding new sections to our walkthrough as we progress through Dragon’s Dogma 2’s story.
