In the previous quest, Jeht requested you to accompany her to the ruins of Gurabad. Once you begin this journey with Jeht, you will start the next chapter in The Dirge of Bilqis in Genshin Impact, called ‘The Temple Where Sand Flows Like Tears’.
Though this quest will be a long one, we will lead you through each section to simplify the process as much as possible. Follow along as you assist Jeht and Azariq inside the temple.
Go To The Temple On The Outskirts Of Gurabad & Open The Gate
The first thing you’ll want to do to get the quest going is to reach the temple outside Gurabad. This will be marked on your map, and will be west of your current location from the Tanit Camps. You can use the above image as reference of where you need to go.

When you’ve arrived, a brief cutscene will play, and then you’ll need to make your way to the gates of the temple. As you head up the stairs, you’ll notice Azariq at the top. Talk to him to begin a cutscene between you, Azariq, and Jeht.

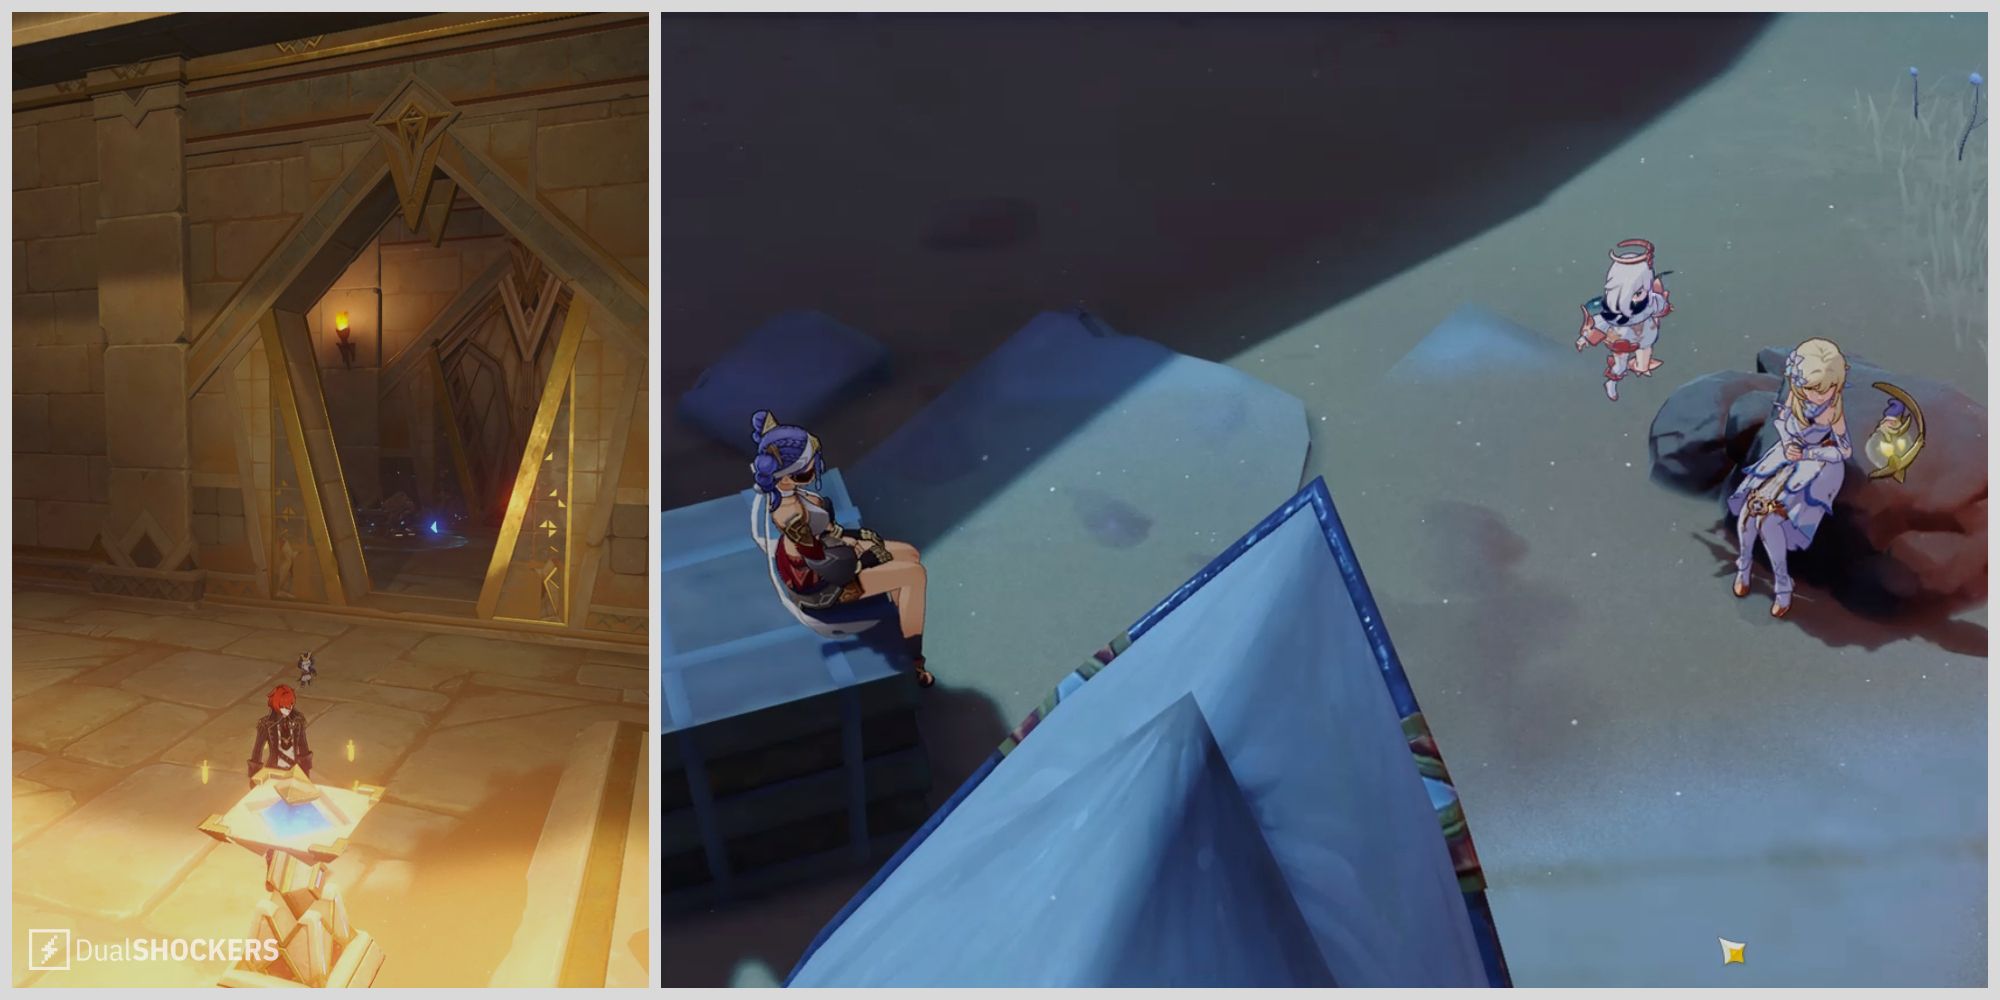
After you talk with them, you’ll want to hit the blue device right next to you in order to open the gate. Hit it three times in order to allow the blue light to reach the activation device and blow away the sand obstructing it. Then, press the activation device to open the gate.
Go Deeper Into The Temple

After you open the gate, head inside and down the stairs into the temple. After a brief cutscene, activate the blue device right next to you to remove some of the sand obstructing the pyramid in the middle.

After you do this, you’ll want to go to the device in the middle and touch it to try to activate it. You’ll have another brief cutscene where you’ll discuss with Jeht and Azariq what to do next.

Then, there will be a gate in the back that you will need to open up. To do this, change the direction of the large, blue device right in front of the gate. Hit it two times, and then it will blow the sand off the device. Approach the gate again, and press the activation device to open it up.
Activate The Device & Search The Temple

Head inside this room, and pull the small, blue lever on the ground. Then, hit the blue device next to it one time to change its direction. Next, head to the other side of the room and press the activation device to open the next door.

Make your way up the stairs and into the room on the right. To start, go to the left side of the room. Hit the blue device once to get rid of the sand covering the activation device. Then, approach the activation device and press it.

Then, go into the room on the right side. Hit the blue device two times to remove the sand covering a blue lever. Pull the blue lever, which will open a small hole in the ground on the left. Hit the blue device two more times, and it will blow away the sand in the middle room.

Head inside the room on the left side, and go right to reach the middle room. Press the activation device in here, which will close the door you entered from.

To leave this area, go back out of the room in the direction you came, and press the small activation device in front of you. It will open the door, which you can head through. Hit the blue device in here two times to blow away the sand, and then press the activation device to open the door.

In the next room, drop through the hole in the floor to reach the bottom. You’ll arrive right at the top of some stairs.

Head forward, and follow the path on the left. You can use the Four-Leaf Sigils and the stairways to reach the top. Defeat the enemies in front of the doorway, and then head through into the next room. Follow the path on the left, and hit the blue device two times. Press the activation device to open the door, and then head forward back into the main room.
Find The Activated Machine, Open The Gate, & Activate The Next Device

As you make your way up the stairs, go to the blue pillar on the right side and hit it once. Then, a cutscene will begin. Afterwards, hit the blue pillar next to you one more time to remove the sand in front of the large device in the middle of the room.

Then, you’ll want to head through the gate behind you. First, hit the blue pillar again two times to remove the sand from the activation device. Next, press the device to open the door and head into the next room.

Move the small, blue device in the room to allow it to reach the other side. Hit it three times to get rid of the sand on the other side of the room. Press the activation device to open up the door.

Move the blue device in this room as well, then hit it two times. Pull the lever once the sand is removed from it, and then go back to the blue device and move it to its original location. Open up the common chest on the other side of the room, and then press the activation device to open the door.

In this area, head inside the room on the right side. Move the blue device to the other side, then hit it once to remove the sand. Pull the lever to open the small hole in the ground on the left side, then hit the blue device two more times to allow its light to pass through the hole.

Next, exit this room and go to the left side of the area. Move the blue device forward to remove the sand. Then, press the activation device and head into the room, and make your way right.

Inside here, press the blue device in the middle and then exit from the direction you came from. Touch the activation device in this room to unlock the door in front of you, and go forward.
Look For A Way Back To The Temple

As you make your way through this path, move the blue device to the other side and then hit it once. Press the activation device in front of you to open the door after the sand is removed.

Make your way down the stairs, and then follow the path on the ground. Eventually, you’ll reach the area shown above, where you’ll pick up the floating, blue pyramid and run to the glowing blue spot on the ground in front of you.

You’ll want to then head to the door in front and activate the device to open it up. Head up the stairs, and defeat any enemies in the room. Once you reach the top, you’ll be back in the main room.

Head to the middle of the room, and approach the blue pillar on the right side. Hit it once to remove the sand on the large device in the middle. You’ll then need to open the gate behind you, so hit the blue pillar two more times to scatter the sand. Finally, press the activation device to open the door.
Activate The Device

Head down the path on the left. Move the blue device to the other side to remove the sand, and then go into the next area after pressing the activation device.

In this room, you’ll first want to defeat the enemies. Then, approach the first blue device and hit it once. This will remove the sand from a lever, which you will want to pull and then move the blue device. Hit the blue device two more times to remove the sand from the device on the opposite side.

Hit the device one time, and then move it forward. Finally, hit the last device two times and move it forward. Then, press the activation device in front of you to open the door.

In this room, head up the stairs and hit the blue device two times. Press the activation device up against the wall and then head through the hole in the ground in front of you.

Down here, press the blue device to break the barrier. Head back up the stairs, and then hit the blue device on the left side two times and press the activation device. Head through the door on the left side, and then make your way down the path on the right.

Head into the last room on the right and hit the blue device two times, then move it forward. Press the activation device to open the door, then follow the path on the left from where you came in.

In the main room, approach the last blue pillar and hit it once to get rid of the sand. Then, touch the device at the center to activate it.
Check On The Situation Outside The Temple & Search The Temple Ruins

After a cutscene, exit the main room through the doorway behind you. Meet with Jeht and Azariq right next to the pillar outside the temple. After the cutscene, head to the ruins on the other side, using the image above as reference.

When you arrive, press the activation device out front to open the door. Head forward inside here, and then jump down to the level below. You’ll then want to reach the area with a large tree in the middle.

After the cutscene, defeat the Primal Construct, ‘Anoushbord’. This is a relatively easy battle and shouldn’t take too long. Afterwards, head forward to reach the shining object inside the tree.
Leave Through The Gap & Investigate Eremite Camps

After you meet and talk with Liloupar, you’ll want to leave through the gap just ahead, past the Dendro Monument on the right side. Follow the path up here, staying near to the stream.

Eventually, you’ll need to defeat a group of Eremites. Afterwards, keep heading forward and use the Four-Leaf Sigils to get around here. You’ll need to finish off a few more Eremite camps as you make your way forward.

In the second Eremite camp you come across, make sure to investigate the glowing yellow spot on the ground. Then, continue on to the next camp on the right side and take out the enemies here. Make sure to investigate the yellow spot here, as well. Finally, leave the canyon by continuing to follow the path ahead.
Return To The Tribal Settlement & Report To Babel

You can follow the marker on the map to return to the Tanit Camps. It will be at the southern part of the map, where you originally started The Dirge of Bilqis quest line. When you arrive, approach Babel and talk with her. She will ask you to then go speak with Azariq and Jeht.

You can find the two west on the map, next to a tent in the camps. After you talk with them, Azariq will ask if you play cards. You can choose whether you wish to play a game of Genius Invokation TCG with him; you are not required to do this to complete the quest. The quest will finally wrap up after this, and you will receive your rewards before starting the next chapter in the saga, ‘Dune-Entombed: Part I’.
