South Wing Field Guide Pages
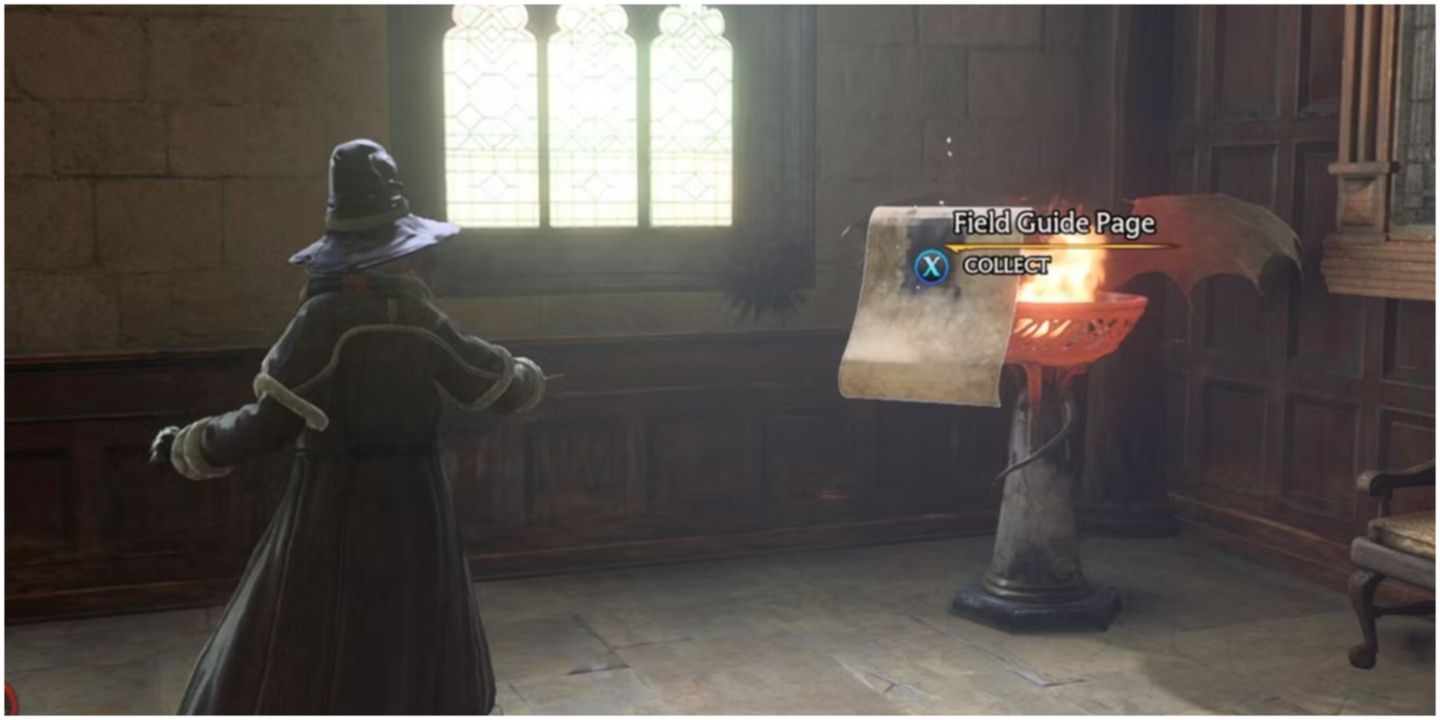
As you explore the countless corridors at Hogwarts, it is not hard to find a field guide page or two along the way. But finding all of them is a completely different story.
Not only are they often hidden in some hard-to-find places, but there are five different types you’ll encounter, each requiring a different spell in order to collect them. Luckily, they are at least grouped by each of the wings in the castle. This guide will walk you through how to find every field guide page in the South Wing.
Revelio Pages
To collect these invisible pages, you’ll need to cast Revelio near them. Typically, Revelio pages are found near statues,, portraits, and many other significant landmarks you’ll discover throughout the castle.
As you are running around, be sure to cast Revelio often. Even if there isn’t a page right next to you, you’ll know one is close by when you hear the “ding” after casting Revelio. You may seem like a madwoman as you are running around, casting it over and over in search of the page, but it is a small price to pay to complete your collection.
Well Of The Four Beasts
Starting from the southernmost part of the South Wing, head to the Clock Tower Courtyard. In the outside courtyard area, you’ll find this page right in front of the well in the center of the courtyard.
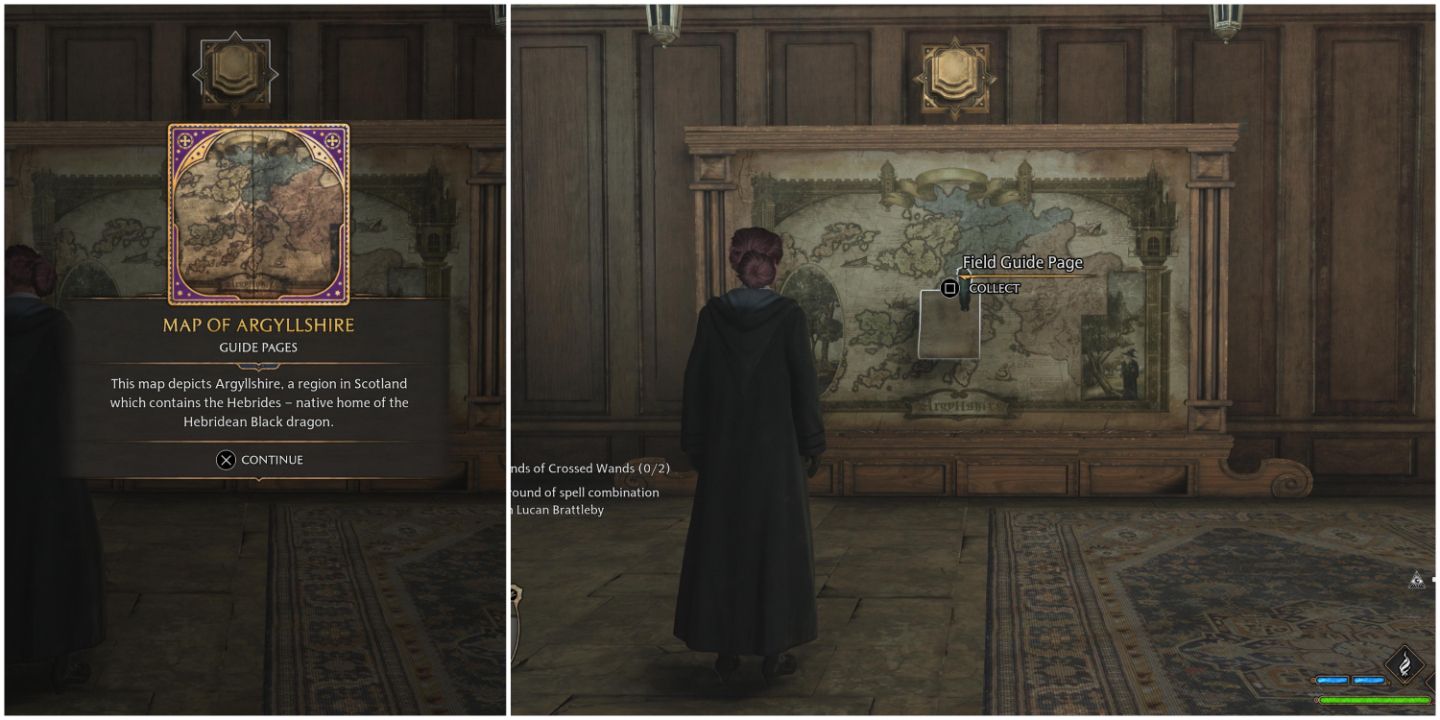
Map Of Argyllshire
From the Clock Tower Courtyard floo flame, head north through the door that leads to an outside bridge. On the other side, you’ll find Gryffindor Tower. As you enter the tower, look to your left to find the giant map on the wall. Cast Revelio to reveal the page.
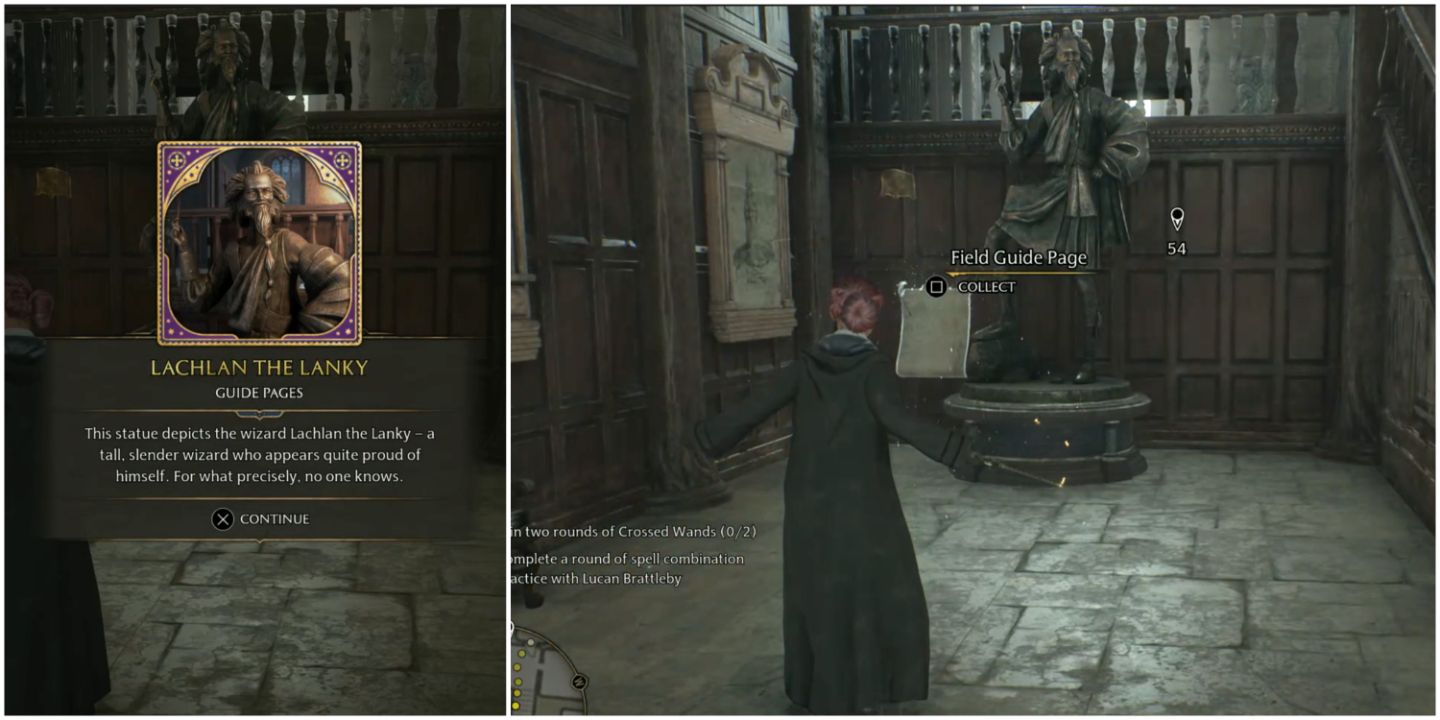
Lachlan The Lanky
From the Argyllshire Map, continue down the stairs nearest to you. Once at the bottom, turn around to your right, and you’ll see a statue. Cast Revelio to grab the next field guide page.
Haunted Toilets
From Lachlan The Lanky, turn so the staircase you just came down is to your left. Head down the hall in front of you, and you’ll find the field guide page in front of the bathroom doors.
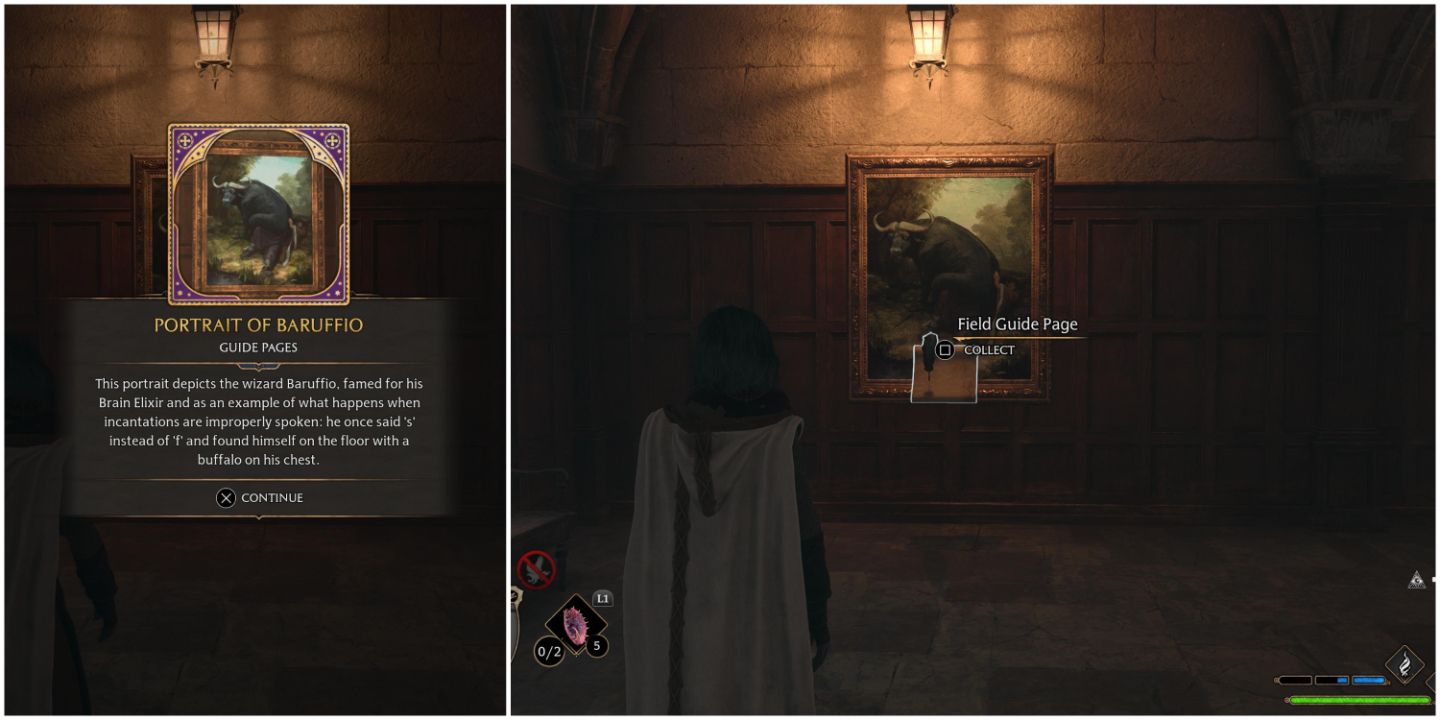
Portrait of Baruffio
From the Faculty Tower floo flame, head down the hall and pass the Faculty Tower door on your right. Near the end of this room, you’ll find the portrait on the wall to your right.
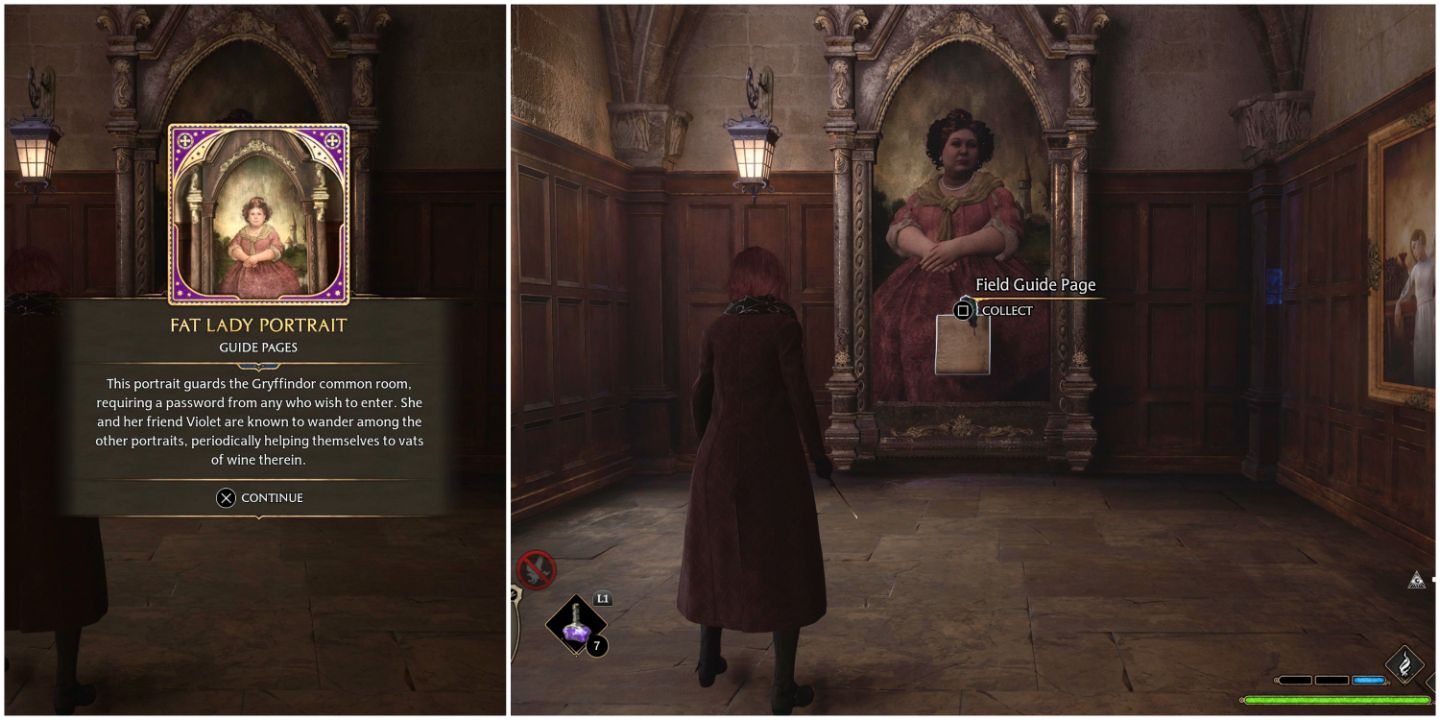
Fat Lady Portrait
From the Portrait of Baruffio, head up the spiral staircase across the room until you reach the next floor. Then turn left and head down the hallway to find the Fat Lady Portrait.
Adventure Novel Set
Next, head back down the spiral staircase and head through the Faculty Tower door on your left. Go up to the second floor, and unlock the first door on your right. Head inside, and you’ll find the next page in front of a bookshelf in the conjoining room.
Jewel Encrusted Tortoise Shell
Exit this room through the door you initially unlocked, and head up the stairs to the third floor. As you reach the top, you’ll find the next page in a corner next to another locked room.
Boris The Bewildered
After grabbing the Jewel Encrusted Tortoise Shell page, continue heading up the next set of stairs and the following spiral stairs until you reach the fourth floor. Once you reach the top, turn to your right to find the statue of Boris The Bewildered, and your next page.
Prefect’s Bathroom
From the statue of Boris The Bewildered, you’ll find the door to the Prefect’s Bathroom a few feet away. Head inside and make your way to the far end of the room. You’ll find the page in front of the mermaid mural on the wall.
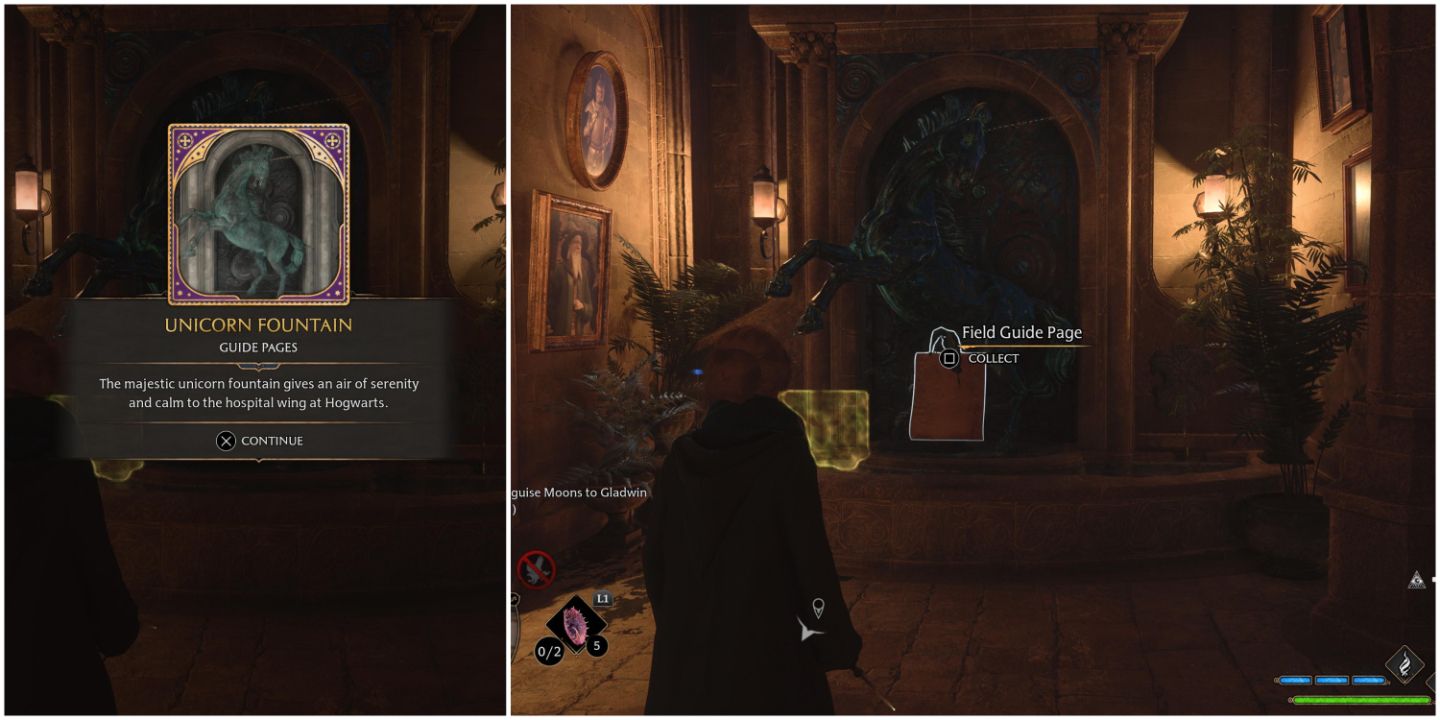
Unicorn Fountain
Exit the Prefect’s Bathroom and head up the stairs on your right. At the top, you’ll find the statue of the Unicorn Fountain. Cast Revelio to reveal the next page.
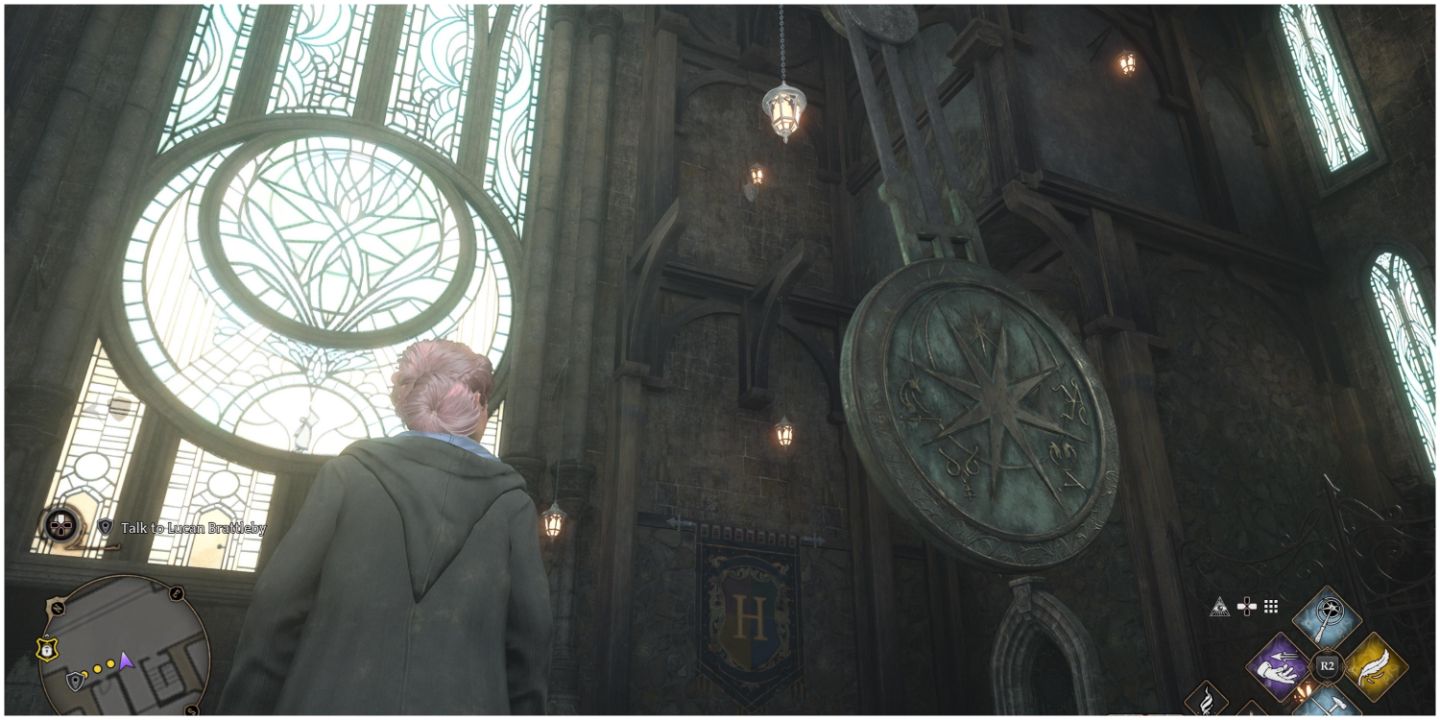
Clock Mechanics
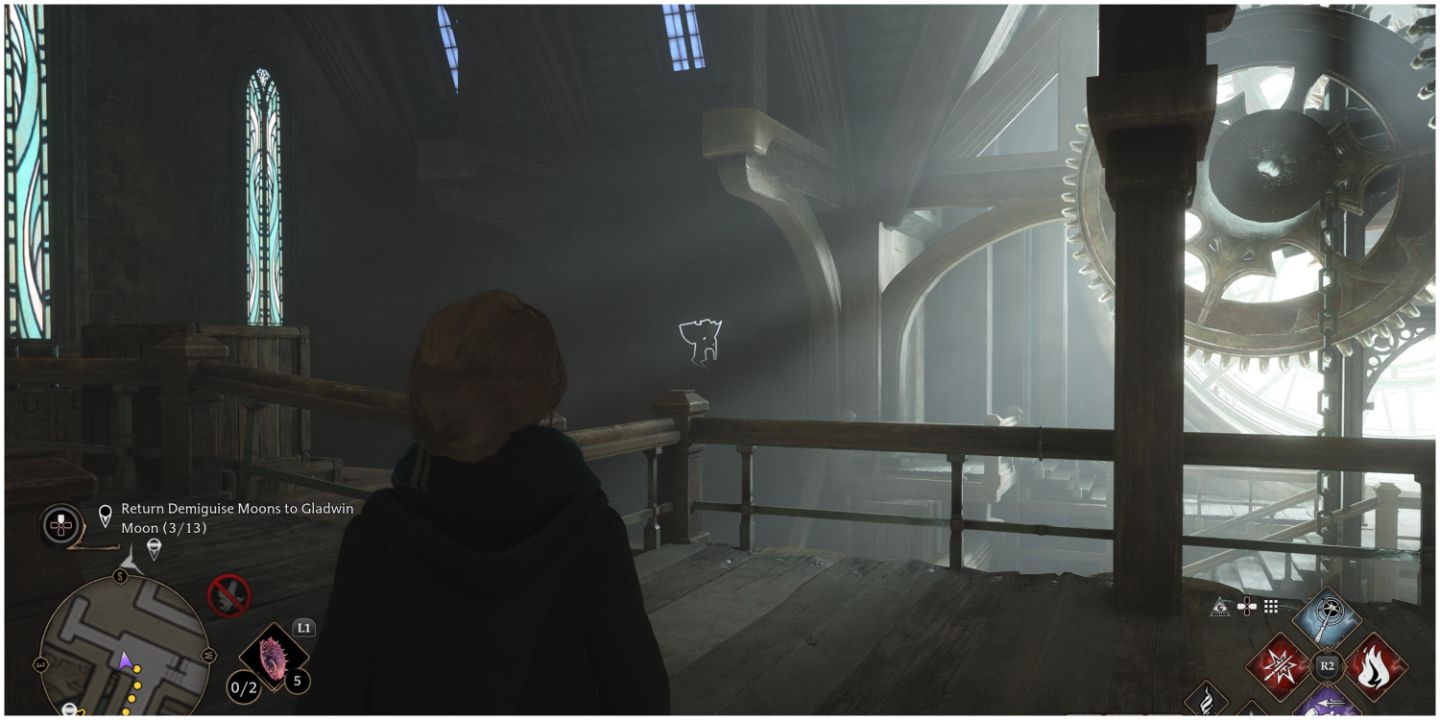
While facing the Unicorn Fountain, turn right and head down the hall into the Clock Tower room. Take a right once in the room and head down the stairs, making your way across to the large window on the other side. You’ll find the final Revelio page near the gears by the window.
Accio Pages
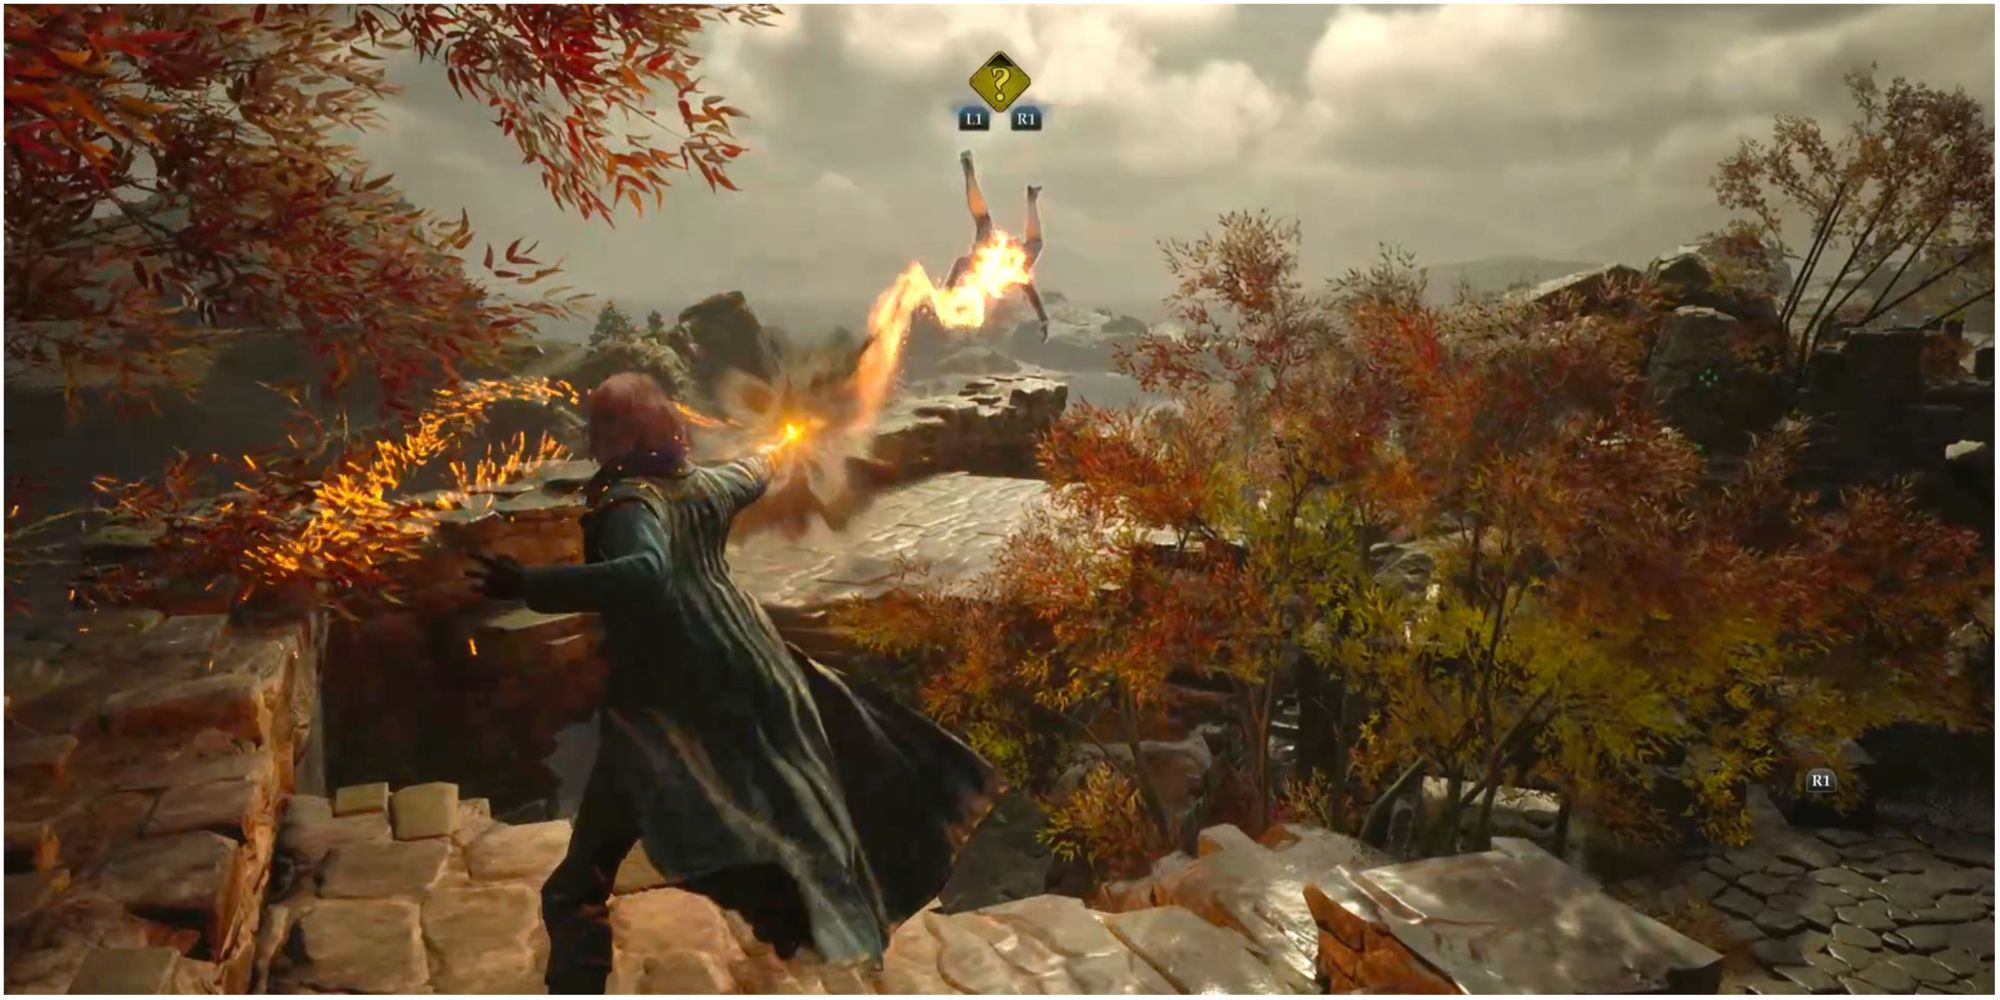
The next type of field guide page you’ll encounter is the type that is flying around above you. To collect these pages, you’ll need to cast Accio to pull them to you.
Since many of them are not within your normal line of sight, be sure to cast Revelio often and look up when entering large open spaces. We’ll show you where to locate each of them below, and the optimal angle to see them.
Clock Tower Courtyard
From the Clock Tower Courtyard floo flame, you’ll find yourself in a room with a giant pendulum swinging back and forth. Look up towards the top of the pendulum to find the first Accio page flying around.
Faculty Tower Rafters
The next Accio page is in the Faculty Tower area of the South Wing, near where you found the Jewel Encrusted Tortoise Shell Revelio page. From the Faculty Tower floo flame, head down the hallway and through the door on your right. Make your way up to the third floor, and you’ll find this page flying around the rafters above the stairs.
Hospital Wing
The final Accio page is located in the Hospital Wing at the very top of the Faculty Tower. From the Hospital Wing floo flame, turn left and head into the room with the hospital beds. You’ll find the page flying around at the end of the room.
Lumos Pages
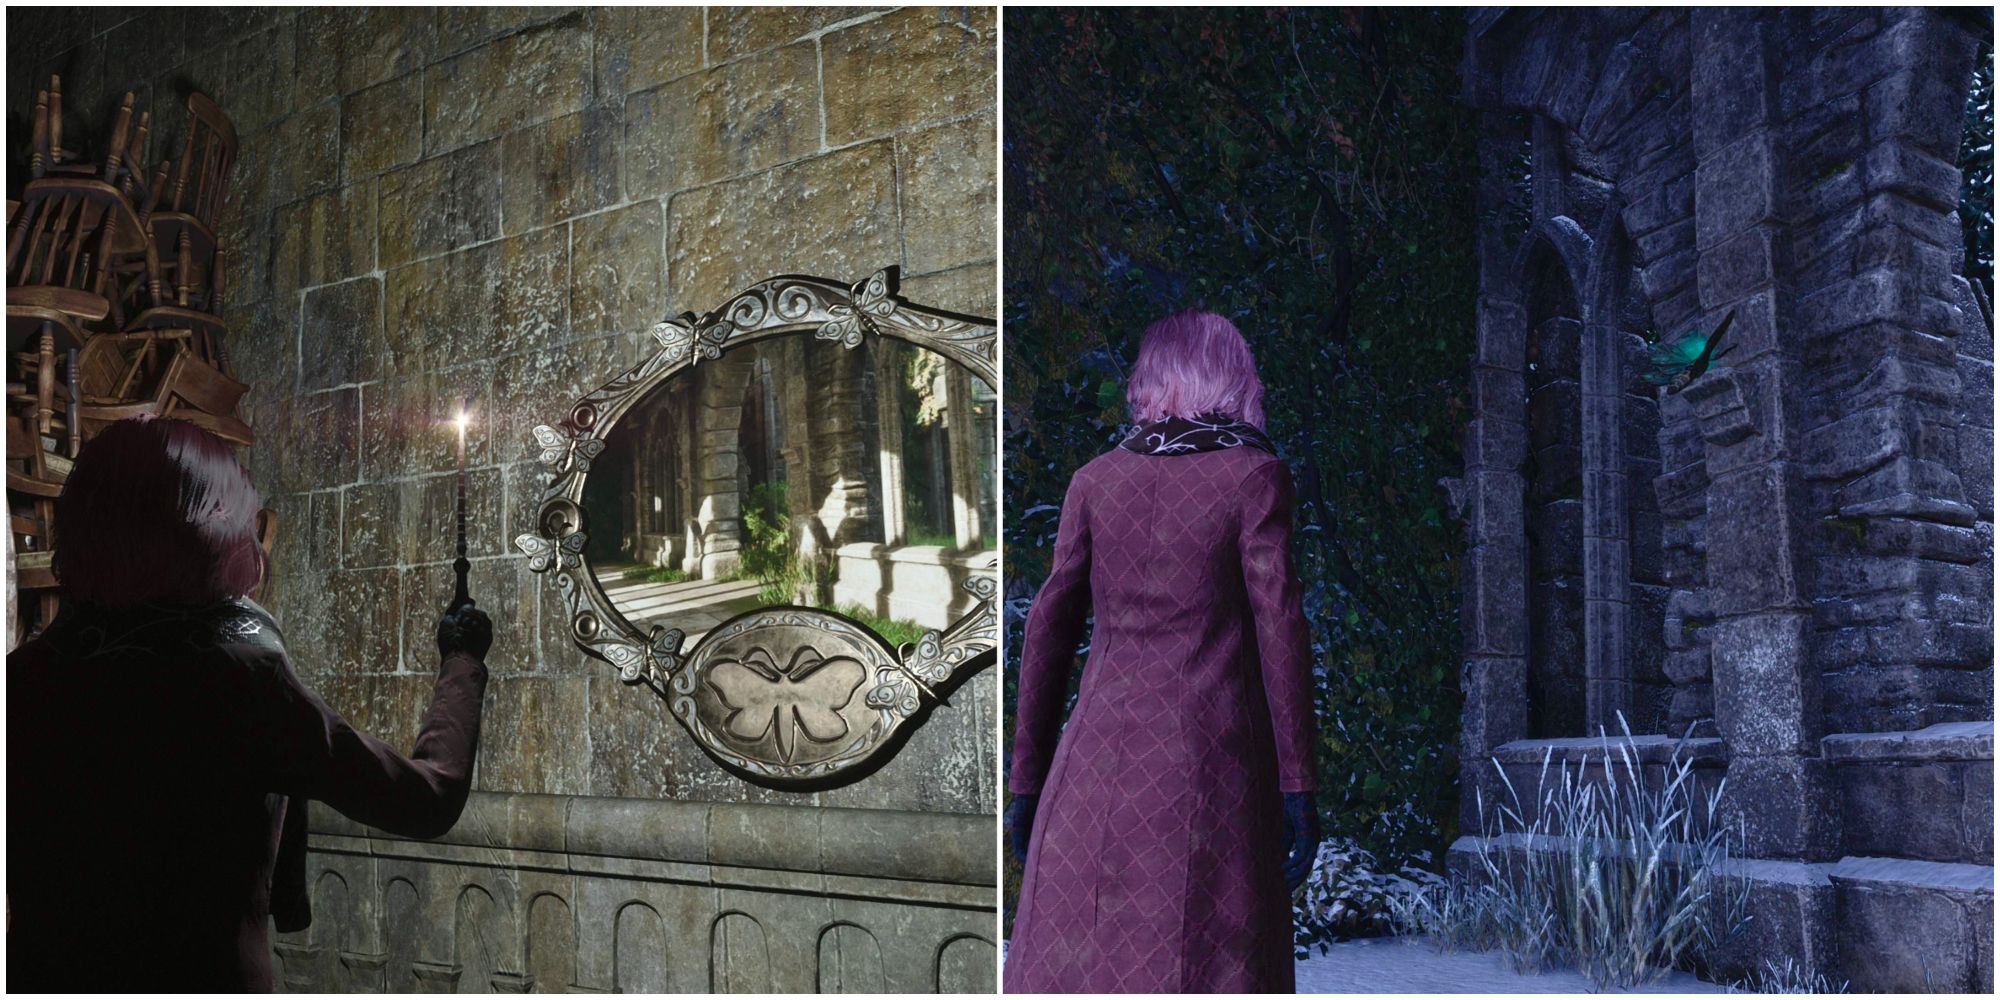
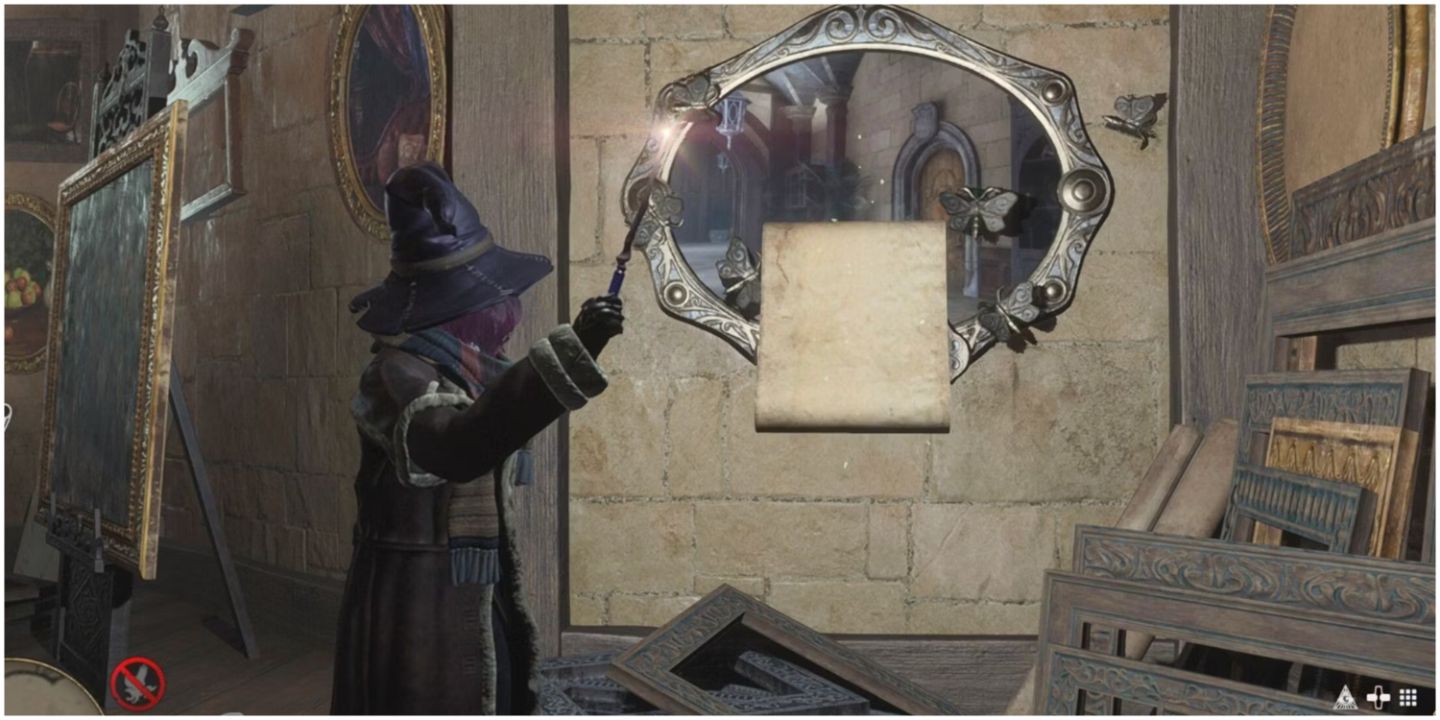
The next type of field guide page can only be acquired by solving a moth mirror puzzle. To do so, you’ll first need to locate the mirror and cast Lumos near it. This will cause the mirror to reveal the location of its missing moth.
Next, you’ll need to find the location in the mirror and cast Lumos next to the missing moth to have it start following you. Bring the moth back to the mirror and put your wand away to solve the puzzle and get the page.
Clock Tower Courtyard
From the Clock Tower Courtyard floo flame, head down into the area where the Crossed Wands club practices. You’ll find the mirror behind the locked door next to Lucan Brattleby. To find the moth, head outside into the courtyard and immediately hang a right. You’ll find the moth in the corridor next to the wall of vibes. Cast Lumos and bring it back to the mirror to claim the page.
Gryffindor Tower
To find this mirror, head north through the door next to the Clock Tower Courtyard floo flame. Cross the bridge and enter Griffindor tower. To your left, you’ll see the Map Of Argyllshire. Cast Depulso at the button above the map to open the door. Inside you’ll find the mirror. The moth is located in the girl’s bathroom just down the hall where you found the Haunted Toilets Revelio page. Grab the moth and bring it back to complete the puzzle and get the second Lumos page.
Levioso Pages
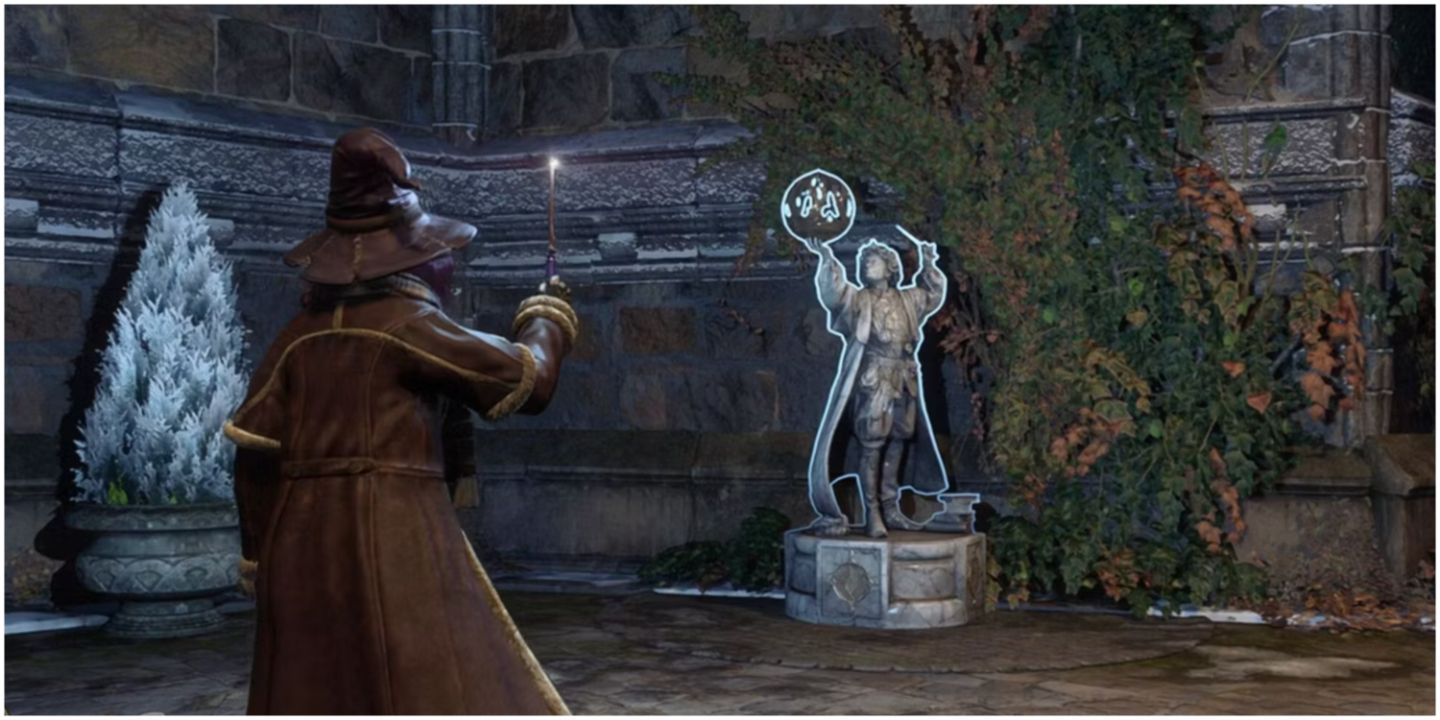
There are only three Levioso Pages for you to find in the South Wing. To get these pages, you’ll need to find the statues that are holding a sphere in their hand. Cast Levioso on them, and they will disappear and give you a field guide page.
Since there are so many statues in the game, these Levioso versions can be easy to miss when you are first running around the castle. But worry not, we’ll show you where to find each of them below.
Clock Tower Courtyard
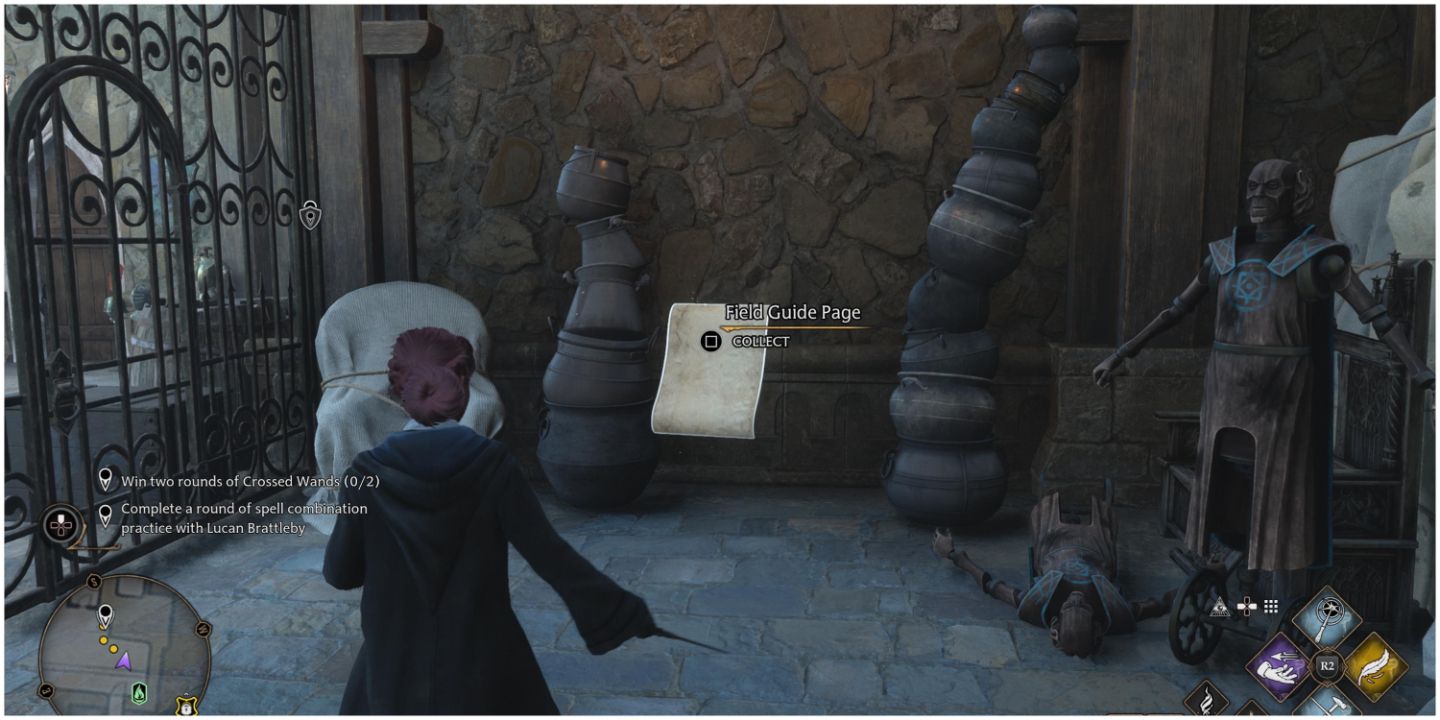
Fast travel to the Clock Tower Courtyard floo flame. Once you arrive, you’ll find the first statue directly in front of you, next to some training dummies and stacks of cauldrons.
Faculty Tower
The next statue is located in the Faculty Tower on the fourth floor. The statue is positioned next to a spiral staircase across from the Prefect’s Bathroom and the statue of Boris The Bewildered.
Quad Courtyard
The final statue is in a somewhat misleading space. Instead of it being located in one of the buildings that is clearly in the South Wing, it is in the Quad Courtyard in the Grand Staircase section of the castle. Navigate to the Quad Courtyard floo flame, and head up the stairs to your left. At the top, you’ll find the statue positioned against the wall that the courtyard shares with the South Wing.
Confringo/Incendio Pages
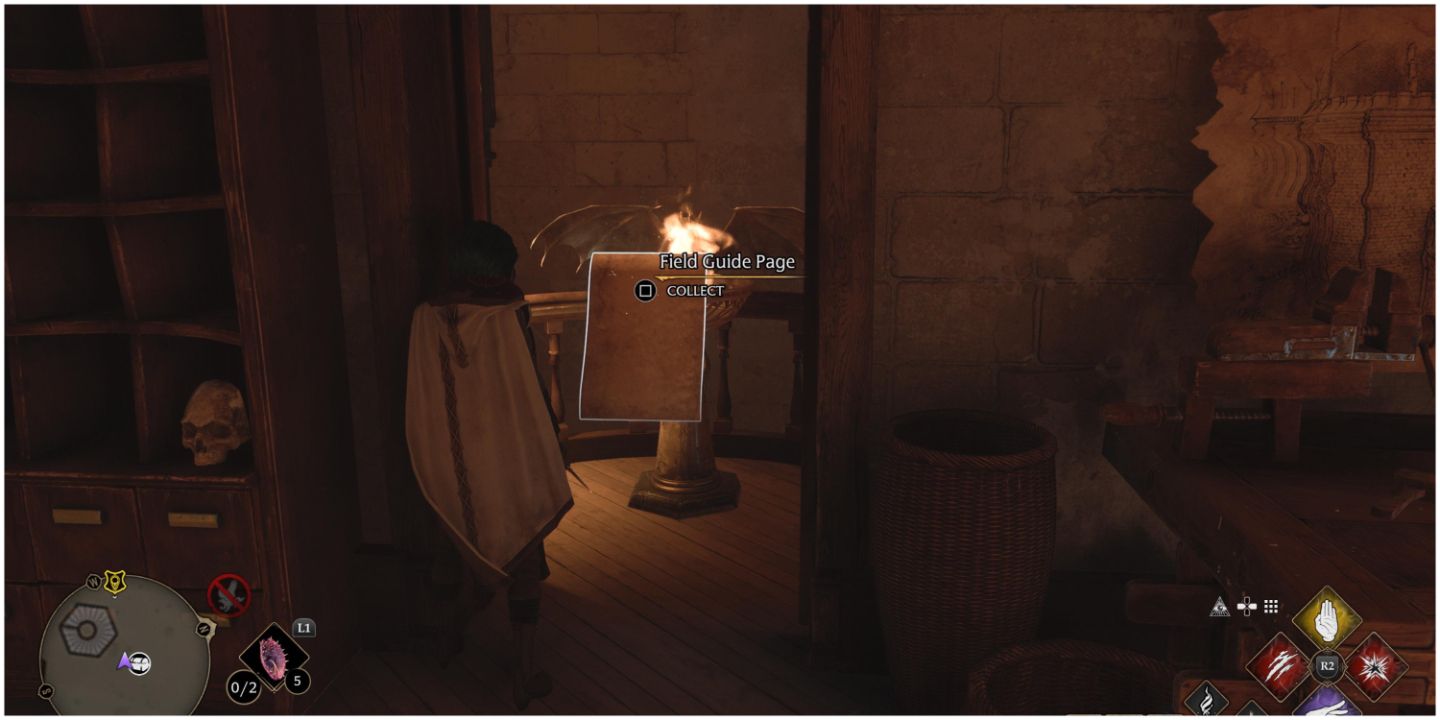
The final type of page you can acquire in the game is the Confringo/Incendio page. To get this page, you’ll need to find the dragon braziers and light them by either using Confringo or Incendio.
These braziers are sometimes positioned on the ground and can be lit with either spell. Other times, they are mounted to a wall, and you’ll need to use both Confringo to light the brazier and Accio to pull the page to you.
Faculty Tower
To get the first brazier, you’ll need to get into the room with the level three lock on the third floor of the Faculty Tower. This room is located right next to the Jewel Encrusted Tortoise Shell Revelio page you found earlier. Once inside the room, cast Glacius to put out the fire in the fireplace and head through the other side. You’ll find the brazier on a small balcony overlooking the stairs.
Clock Tower Room
Exit the room near the Jewel Encrusted Tortoise Shell and head up the next set of stairs until you are in front of the Prefect’s Bathroom. Turn left and head down the long hallway full of portraits until you reach the Clock Tower Room. As you enter the room, look to your left, and you’ll find the next brazier on the wall across the room.
Gryffindor Tower
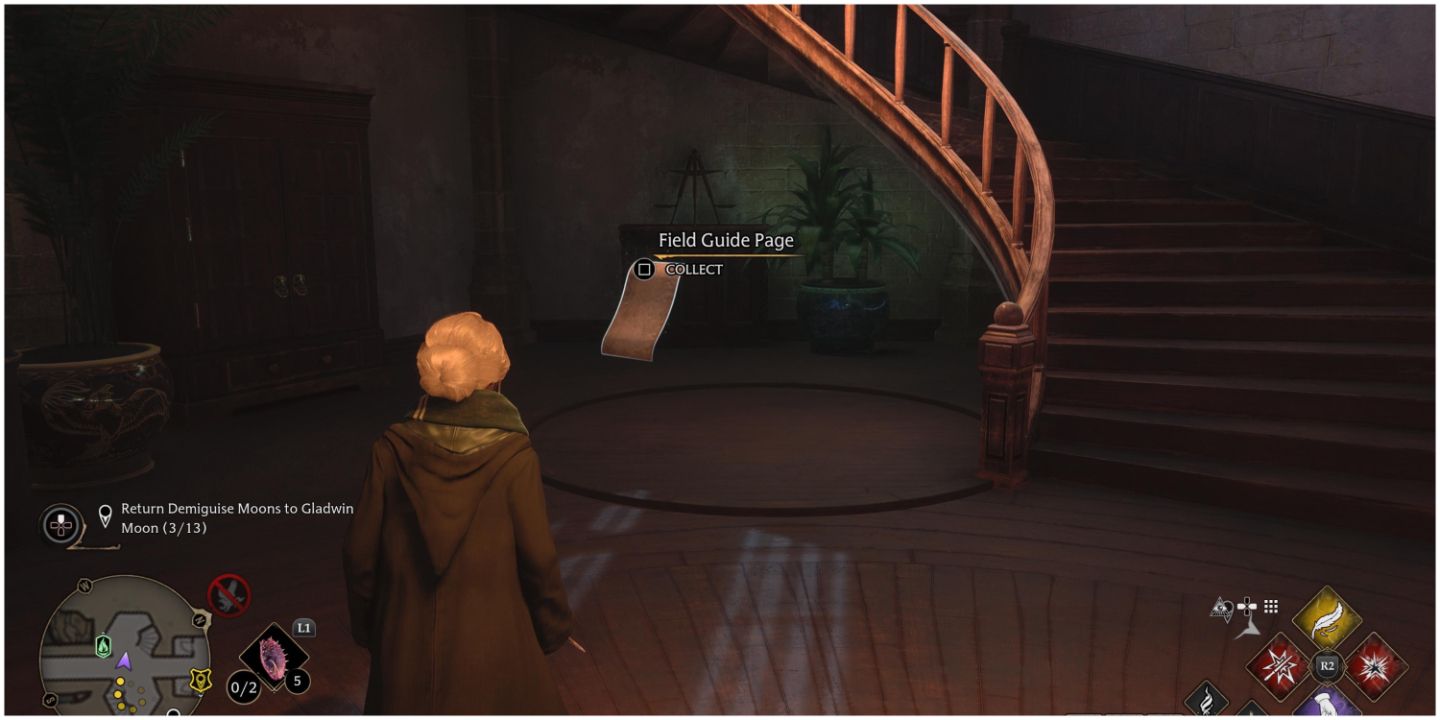
The final page is located near the Argyllshire Map in Gryffindor Tower. From the Clock Tower Courtyard floo flame, head north through the door and across the bridge. As you enter the tower, the map will be to your left. Head down the small set of stairs, and you’ll find the brazier on the far side of the room in the corner to your right.


