Chapter 4 of Senua’s Saga Hellblade 2 includes some of the toughest puzzles, so here’s a walkthrough on how to solve all the torch and brazier puzzles. As Senua goes to find the Hidden Folk, she’s tested in many different ways.
How to solve all torch and brazier puzzles in Hellblade 2 Chapter 4
After completing Chapter 3 and finding the underground entrance to the Hidden Folk, Senua must grab the torch on the wall and proceed to the onslaught of introductory and difficult puzzles ahead. If you’re struggling with any of these puzzles, here’s an explanation of how to solve them all.
Torch and brazier puzzle 1
After crawling through a small cavern, you enter a much larger one and face your first puzzle. Ahead of you is this blue glowing light, but you can’t do anything with it yet. Instead, walk left and up the ledge to the brazier. Interact with the brazier with your torch to light it, which turns that blue light into terrain. Now you can hop down and walk up the ramp to the next area.

After more cave-crawling, you find another easy puzzle with one brazier. The area ahead is blocked, and you can only access it by lighting this brazier, accessible through a small hole to the right of where you just entered from. This leads you to the brazier up top, and after lighting it you can jump down and continue forward.
Torch and brazier puzzle 2
Senua decides to be brave and jumps down the dark, deep hole below. After wading through some water, you make it to the second puzzle. Instead of walking through the waterfall that would sunlight your torch, find the slim, hidden entrance to the brazier up above. Light it, and shimmy back to the main area.
You can now walk up the ramp instead of under the waterfall, and continuing this path allows you to light the unlit torch ahead of you. Head back to the brazier, burn it out, and walk under the waterfall. This will put out your torchlight, but you can light it again at the torch stand you just lit.
After lighting your torch, turn around and light the brazier. You can now cross the bridge ahead of you, leading you to the next puzzle.
Torch and brazier puzzle 3

This next puzzle doesn’t include any braziers, just torches. You arrive at this point after having to wade through the haunted waters with only your torchlight to keep you safe. At the start of this puzzle, your light will go out, so walk up to the torch ahead of you to light it. You can light another torch if you head back and continue up another hill on the opposite end.
Here comes the tricky part. There’s no way to get through this next area with your torch lit, since the only way through is walking under a waterfall. I got stuck here thinking I needed a light, but you’ve already lit the waters by lighting the torches.

Jump into the water and stay in the light. Anytime you cross one torchlit area to another, there’s a small gap without light. Run as fast as you can, and if you make it to the next light spot in time, you’ll be fine.
Torch and brazier puzzle 4

In the next area, you’ll pick up a torch sitting in an open hole in the wall. This will light up the area around you, making it seem like you’re outside. Your first step is to light the brazier closest to you, then you can head back down and continue along the path on your right. You can’t get across to the next area just yet, so hop down the ledge on your right and continue walking that way to find a lit brazier.

You may want to mess with your graphics settings at this part because the braziers would occasionally make my game lag horrendously. Put this brazier out, and walk through the opening you just created. You’ll find a second brazier, which you can also put out. Now walk back to the brazier you unlit first and light it back up. This closes the path, but you now have a second entrance to the second brazier you unlit. Light the second brazier again, and you now have a path up to an empty hole in the wall.

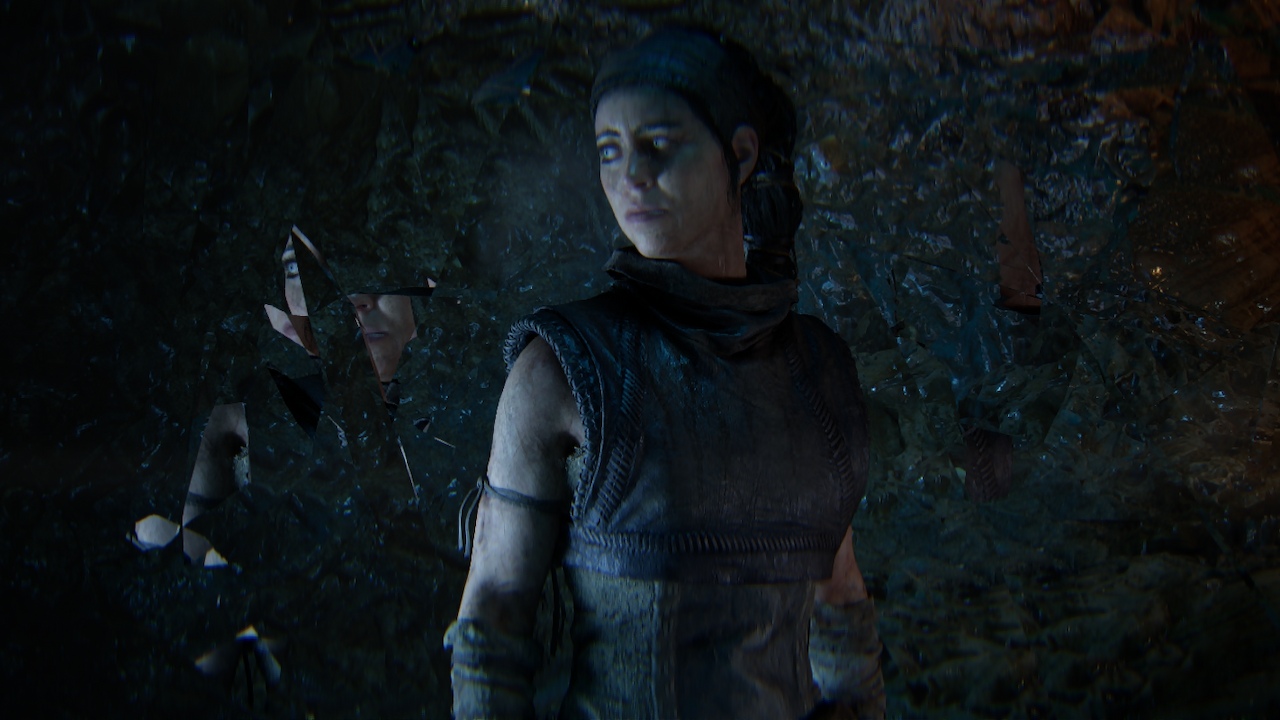
Interact with it to place the torch inside, allowing the ghostly figure across from you to use it. They’ll use it to give you a path up to where they are standing now, so you can walk back to that area from where they took your torch from. This time, you’ll see the figure on the opposite side placing the torch in the hole.

You should now understand that this figure is Senua, just at different points in time. Get your torch back, crawl through the burrow, then light the brazier on the other side. Climb up the ramp you just made and light the brazier up this hill.
You can now hop back down the ledge, cross the bridge, and make it back to the entrance. The last part of this puzzle is to burn out the very first brazier you lit, which now reveals a burrow ahead of you that leads to a new area.
Place your torch once again in the hole in the wall, and the figure below will use the torch to grant you the path forward.
How to survive the cave in Hellblade 2 Chapter 4

You’ll now get a break from the puzzles by having to face off against some gnarly enemies. These strange undead foes are agile and unpredictable, but you can beat them. If you strike first, they’ll quickly dodge and strike at you. Wait for them to try and hit you first before dodging and hitting them back.
They also like to run away, then run back towards you swiftly to attack. Dodge, then hit them while they stumble. Anytime these creatures stumble, it’s a good opportunity to lay a hit on them. After getting rid of this group, you’ll find an empty hole in the wall. During this cutscene, Senua is forced to place her sword inside of it to aid the person on the other side.
Now that you’re powerless, you must stay in the blue shimmering light to stay alive. This part is pretty linear, just don’t lag behind too much and you’ll be fine. Eventually, you’ll find a room with floating rocks, and if you continue forward you’ll make it to another puzzle.
How to solve the Hidden Folk bubble puzzle in Hellblade 2 Chapter 4


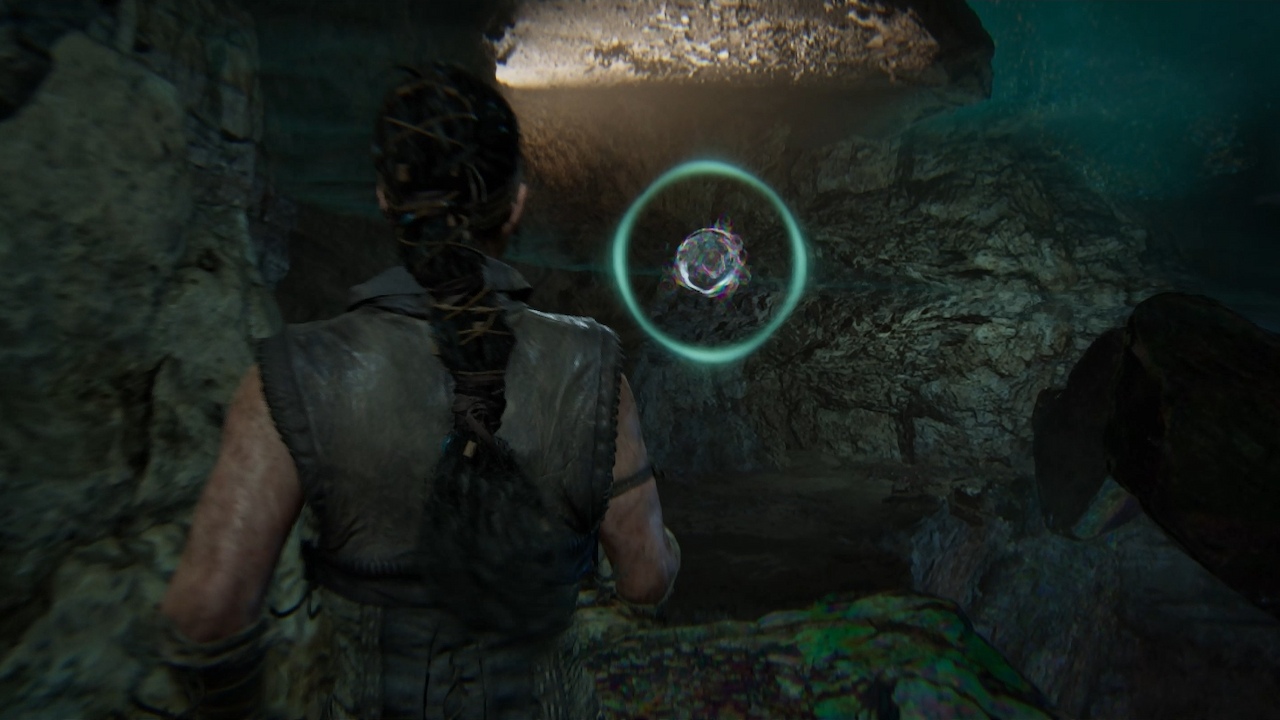
Remember the Focus bubbles from Chapter 3? Well, they’re back for this one puzzle. First, Focus on the bubble in front of the floating rock ahead of you. You should also Focus on the large main bubble in the room which flips what’s above it to be below instead.
Now you can walk up the ramp behind you, but the way is blocked. Focus on the big bubble again to make the rubble disappear. Continue forward until you make it to the gap in the path. Focus on the bubble again to give yourself a way forward, and at the end of this path is another bubble.
Focusing on this one opens the exit of this cavern. Walk backward until you make it to the ledge you can hop down from. To clear the path to the exit, Focus on the large bubble, walk past where the rubble once was and then Focus one more time to grant yourself a path to the exit.
At the end of Chapter 4, Senua will learn about Illtauga from the Hidden Folk while being tested against those creatures again. Use the same fighting tactics as before until you come to find the remains of the fire giant’s baby.
You also learn that her name isn’t Illtauga, but Ingunn, which you can use to defeat her. Hopefully, this Chapter 4 walkthrough of Senua’s Saga Hellblade 2 was helpful enough to get you past those difficult puzzles. Now onto Chapter 5!
