
In Sea of Thieves: A Hunter’s Cry, the game’s sixth limited-time story Adventure, you’ll be tasked with making a mad-dash rescue of Merrick, everyone’s favorite shark-bitten swashbuckler who was recently kidnapped by a group of ne’er-do-wells, the Dark Brethren. As always, the steps to follow in this latest Adventure can be a bit tricky–perhaps even more so this time since a timer is involved during one lengthy section, and messing up could send you back to start over. Here’s everything you need to know about A Hunter’s Cry in Sea of Thieves, including all Deeds, Mementos, and how to solve the lighthouse puzzle.
Sea of Thieves A Hunter’s Cry Deeds and Mementos
There are six Deeds, or in-game challenges to complete if you want to earn all free cosmetics included with this story chapter.
- Enter the Sea of the Damned
- Light a lighthouse beacon
- Defeat ghost ships (3)
- Help lower the drawbridge
- Rescue Merrick
- Deliver a letter to Serik
Most of these come with natural progression, so you’ll just want to be sure you defeat enough ghost ships to clear the episode’s only optional Deed. Completing all six Deeds will earn you the Defender of the Damned memento, while simply finishing the story mode will unlock a stylish new Merrick portrait, Hunter’s Repose, for your captain’s ship.
A Hunter’s Cry walkthrough – lighthouse puzzle solution
Follow these steps to complete Sea of Thieves Adventure 6 before September 1, at which time the episode and its limited-time cosmetics will be forever unobtainable.
Speak to Larinna, then the Pirate Lord, on any outpost
As usual, the adventure begins by asking Larinna about it. She’ll tell you there’s no time for chatter and that you must speak to the Pirate Lord, who is waiting for you on the dock by your ship. Speak to him and he’ll tell you your mission: Venture into the Sea of the Damned and rescue Merrick.
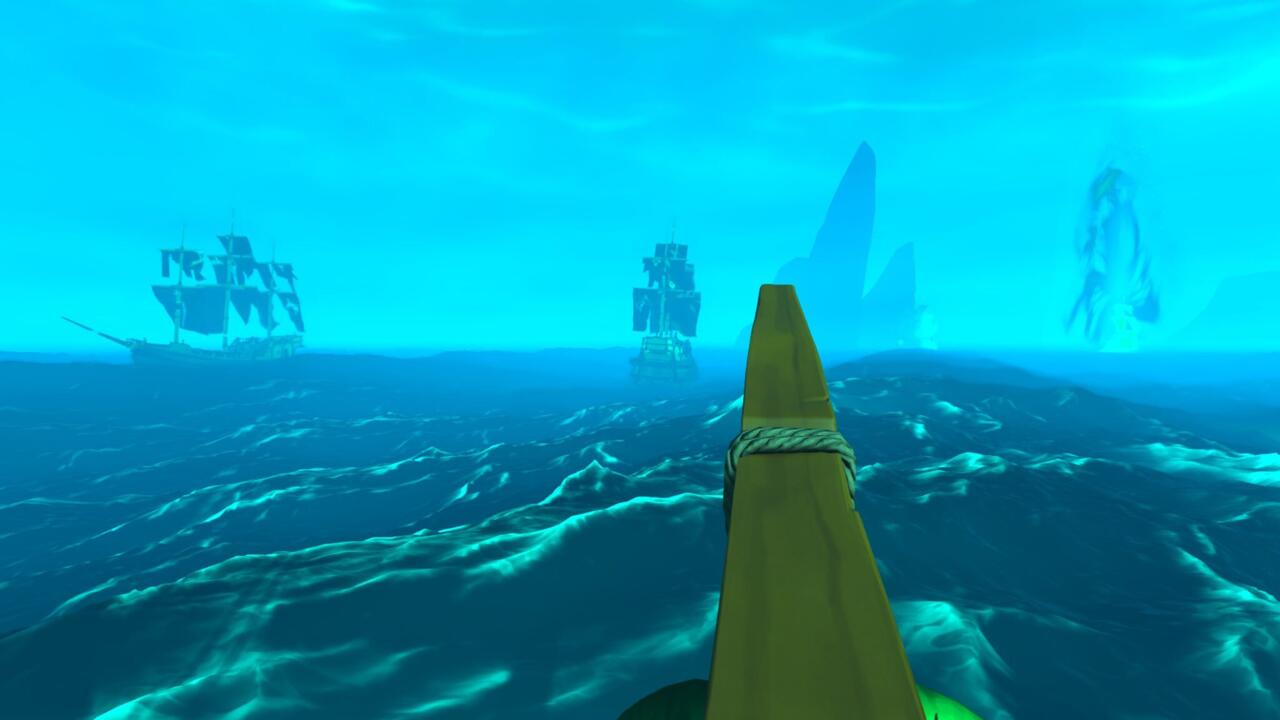
The Sea of the Damned can be accessed by sailing through the can’t-miss glowing green portal near the outpost–it’ll only be there because you’re actively playing this mission. Stock up on supplies, as you’ll be engaging in ship battles soon, then venture into the portal.
Speak to the Pirate Lord on your ship, then sink three ghost ships
Once you’ve crossed the threshold into the Sea of the Damned, the Pirate Lord will appear on your ship and tell you the next steps. You’ll need to reach the top of the Damned Sea Dog Tavern, but it’s in no state to allow such traversal currently.
You’ll need to repair the pathway to its peak by performing a series of tasks, and it’s critical to know that this part is timed. If you’re the first crew to arrive in this region, you’ll be the ones setting off the timer, which goes for about 45 minutes or so. If you arrive later, you’ll be playing with the ongoing timer. This makes things tricky since failing to reach Merrick before the time is up will result in a failure and a need to start over from the beginning.
During this time, as you approach the island with the tavern on it, you’ll want to sink at least three ghost ships to complete the related Deed. If you do that, the rest of the Deeds will come naturally. When you’re ready to head onto land, dock near the southern lighthouse.
Take the Flame of Souls from the nearby brazier, then get inside the southern lighthouse
Head onto the dock and use your lantern to capture the Flame of Souls from the nearby brazier, then carry that light over to the two unlit braziers at the bottom of the staircase leading to the locked lighthouse. Lighting the braziers will open the door, so head inside, then up to the top.
Light the lighthouse
Once you climb to the top, you’ll want to light the lighthouse, then watch out for a few enemy phantoms who will appear and draw their swords on you. Defeat them to give yourself a breather again, then redirect the lighthouse’s light to point directly at the brazier below it and to the right–it’s the only one, so you can’t miss it.
Head to the eastern lighthouse
On this second lighthouse dock, you’ll want to repeat the process: Light the braziers at the bottom of the stairs to unlock the door, ascend the stairs, light the lighthouse, defeat the ghosts, and ignite another brazier on the central building once more. This will allow you to climb onto the dock of this central island.
Ascend the stairs and light all five braziers along the way
On the central island, the puzzle is slightly different. You’ll want to ascend the spiral stairwell and light all five braziers along the way. This allows you to clear a blocked capstan that you need to use in order to enter a rocky stairwell. Once you’ve cleared the capstan and dispatched the phantoms, turn the capstan to open the door, then head upstairs.
Light the brazier beside the broken bridge, then return to the eastern lighthouse
You’ll come to a bridge you couldn’t possibly cross, so light the brazier to its left, which will reveal a second, unreachable brazier across the gap. To light this, return to the eastern lighthouse and redirect the light to repair the bridge.
Return to the bridge, and continue on the path
Now that you can cross the bridge, your next stopping point will be when you get to a broken mast hanging off the mountainside. Light the brazier beside it, which will once again reveal another unreachable brazier nearby.
Head to the northern lighthouse and perform the usual steps
At the northern lighthouse you can once more light the lighthouse, defeat some ghosts, and turn the light’s beam until it’s lighting up the newly discovered brazier. Return to the mast, and keep ascending the path.
Guess what? Light another brazier
That’s right, you’ll eventually come to another brazier, so light it, return to the northern lighthouse, and redirect the light to ignite this unlit brazier. Return to the path once again.
Lower the drawbridge
Your back-and-forth routine is over, I promise. At the end of the now fully built path, you can turn a capstan to lower a drawbridge, allowing you to save Merrick. A cutscene will play out where the Pirate Lord and the Warsmith exchange harsh words. You’ll then respawn on your boat.
Speak to Larinna and take Merrick’s letter
You’re nearly done, but Merrick has a favor to ask. Speak to Larinna back at any outpost and receive Merrick’s letter to his wife, Serick. She resides at the North Star Seapost, (map grid H10) east of New Golden Sands Outpost.
Delivering this letter will complete your adventure and unlock both of this mission’s limited-time cosmetics. You’ll be all set to take on Adventure 7, The Siren’s Prize, in September.
GameSpot may get a commission from retail offers.
The products discussed here were independently chosen by our editors.
GameSpot may get a share of the revenue if you buy anything featured on our site.
