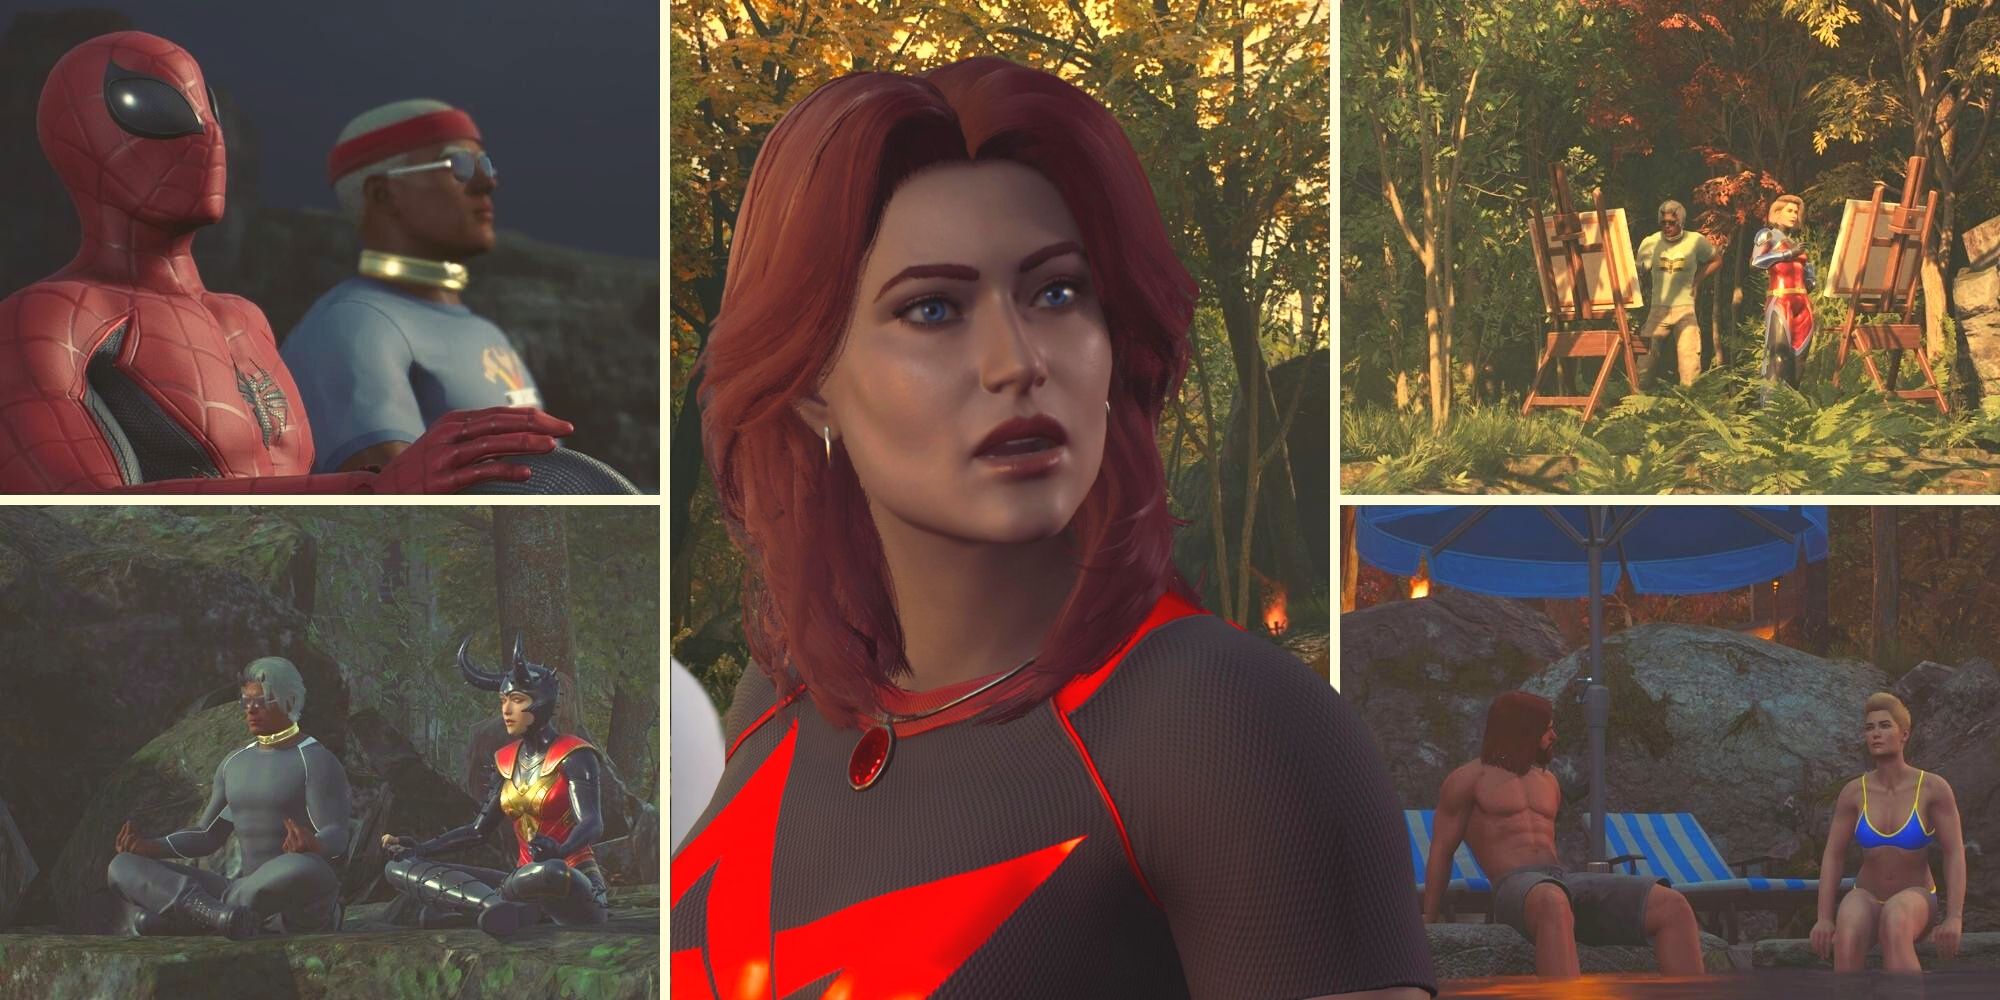
In Marvel’s Midnight Suns, fighting the forces of evil isn’t the only important thing players will spend their time doing. They’ll also be building personal relationships, good or bad, with each superhero on the roster. The social aspect, though not as important as the battles, is still a huge part of the game. Friendships affect mid-battle bonuses and boost passive abilities and overall, better relationships lead to better opportunities throughout the game.
One of the biggest boosts to Friendships is inviting heroes to spend some time at a Haven. Unlike Hangouts which are available often, Havens can only be used a single time, so it’s important to get the best use out of each one. However, finding each of the 15 Havens isn’t an easy task so here’s a breakdown of each location. Note: the names of the Havens change slightly from game to game though the locations are the same.
The Babbling Brook
The Babbling Brook is located just west of The Abbey, a little ways past the community pool. After passing the pool and the bridge, head towards the river. Once players reach the small river, turn right and continue to follow the water. At the very end, on the right side next to a small dock, is the Haven’s blue location.
The Quiet Hill

This location is found west of The Abbey and past the river. It is right next to Agatha’s Altar, where the EMO Kids meetings take place during the game. Players can teleport to the altar, then head left from the entrance up the stairs. The Haven is up top, right next to some busted stone pillars that litter the area.
The Isolated Clearing

Players will need to have the 3rd Word of Power unlocked to get to this location. This Haven can be found on the other side of the once broken bridge in the area just west of Agatha’s Altar. Once past the bridge, the Haven can be found in an alcove to the right, just behind a stone bench.
The Deserted Ruins

This Haven is the closest to The Abbey and is easily found out in the open. The Deserted Ruins can be found just a few steps to the northeast from The Abbey. Start inside The Abbey and head straight north. Once players hit the first path, turn right, and they’ll be able to find the Haven, which is sitting under some trees in a clearing.
The Wooded Hilltop

Teleport to Dreamer’s Descent and head right. Run Hunter past the effigies and shrines in the area and there will be a sharp right turn and some stairs leading up. Take the stairs that wrap around, back towards the path Hunter came from. The Haven is at the top of the little hill, overlooking the area.
The Shady Hideaway

To gain access to this Haven, players will need to have unlocked “Break”, the 4th Word of Power. Northeast of Hunter’s Folly, take the path and turn right. Next, go past the effigies and shrines in Dreamer’s Descent, break the stone wall with the Word of Power and the Haven can be found just on the other side, glowing blue.
The Windy Glade

Players will need the 2nd Word of Power to access this Haven and will need progression with Agatha’s missions to be able to access the area around Standing Stones. Start by teleporting to Stone Terrace from The Abbey. Heads towards the blood gate, which is just past the bridge in the distance and off to the right of the bridge is the Windy Glade Haven location.
The Serene Clearing

Players will have to progress the main story mission to access the area around Shaw’s Church. Start by teleporting to Shaw’s Church from The Abbey. Take the stairs up towards the main path and make the first right after getting away from the church a bit. In a little clearing with some broken stone pillars is the Serene Clearing Haven.
The Foggy Clearing

On the way to Agatha’s Cottage from Shaw’s Church, players should keep an eye out for the second left from the path. This one can be easy to miss, so if players hit the north-most part of the map, they need to turn around. Once there, head up the stairs and in the middle of the path, Hunter will run into the Foggy Clearing Haven.
The Mysterious Hill

This Haven can be found once players have access to the area around Agatha’s Cottage and the 3rd Word of Power in the game. This area opens pretty late in terms of game progression. In front of the cottage, between some chairs and tables with books on them, Hunter will discover this Haven location.
The Mystical Bridge

Players will have to progress the main mission enough to access the area around Shaw’s Church. Just northwest of Shaw’s Church, players will discover the next Haven tucked away into some skinny trees. Take the path heading north and off to the right, it may be difficult to see at first, but the blue glow of a Haven location is peeking out.
The Shady Oaks

Players will have to have the 4th Word of Power to access this Haven and will have to progress enough with the Agatha missions. In the long stretch north of Dreamer’s Descent, players will come to a wall that Hunter will have to use “Break” on. This will reveal Gideon’s Cross and the Haven is a few steps in and to the left.
The Dead Crags

This Haven is located in the far northwest corner of the map and players will have to access the 4th Word of Power to get it. Head north and west until getting to the Garden of Envy, just past that is another stone wall. Use “Break” and open the Devil’s Den area to find the blue Haven, sitting in the open.
The Quiet Valley

Players will need the 4th Word of Power unlocked for this Haven as well which means progressing with Agatha’s missions over the main story. Just north of The Shop and Misty Moors, head up the main path and use “Break” on the stone wall to continue. The blue Haven is tucked away in a clearing just to the right of the path under a large tree.
The Worn Ledge

This Haven can be found once players can access Lilith’s Garden by progressing in the game. This one will take both the main mission and Agatha’s mission progression to access. Heading around the greenhouse, this Haven is behind one of the back corners, under some tall trees and some sheer rock behind that.
