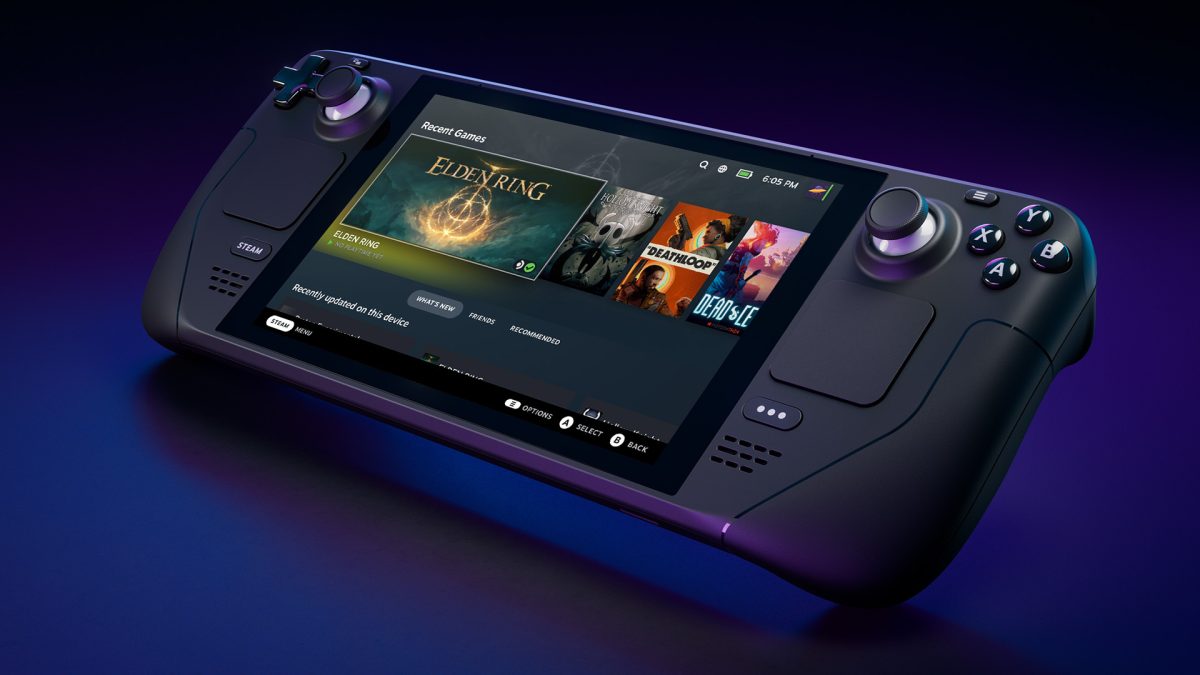
If you’ve been enjoying the Valve Steam Deck for a while, you may be wondering if you can upgrade the internal SSD. The good news is you can, and it’s not as daunting as you may think provided you have the right tools.
Despite being one of the more impressive pieces of hardware to be released over the last few years, the Steam Deck has a problem with onboard storage. That’s especially true for the lower-price $399 USD model that comes with just a 64GB eMMC drive. With the size of many of today’s larger games, that just isn’t enough space. And while the device has a high-speed microSD slot for expanding the storage, it isn’t the same as a larger main storage space.
Now before getting into it, the Steam Deck uses only 2230 NVMe drives, which are less available and oftentimes more expensive than the standard 2280-sized drives. It should also be noted that Valve states that swapping the internal storage is “not intended for end-user replacement.” The reason being is that it does take a bit of part removal to get to and remove the drive. Again, though, it’s not as difficult as you may think.
How to upgrade the Steam Deck SSD – What you’ll need
Before getting started, you’ll want to make sure you have all the right tools and parts to make the swap as easy as possible.
- Phillips head screwdriver size 0
- Plastic pry tool to remove the back of the Steam Deck
- USB C drive with at least 8GB of free storage for SteamOS recovery. Instructions for that can be found via Steam support.
- Replacement 2230 NVMe drive
The last thing to note before making any changes is to please be careful and use the proper safety measures. You are modifying the Steam Deck at your own risk so utilizing static-free gloves and placing the Steam Deck on a static-free surface is recommended.
Replacing the Steam Deck SSD
Ahead of getting inside the device, the first thing you’ll need to do is power down the Steam Deck. It’s best to remove any microSD card you have, as well as make sure the battery is nearly drained to prevent any possible issues. The battery thing isn’t the most important, but it’s always better to be safe than sorry.
Now, onto the actual replacement.
Removing the back of your Steam Deck
Image via Valve
On the back of the Steam Deck, locate the eight screws. There are four in the corners around the hand grips and four more towards the middle. Use your small Phillips head screwdriver to take these out.
From there, you’ll need to take the plastic pry tool around the sides of the device starting toward the top. For this step, it’s key to take your time and not try to be too forceful. Gently use the tool and the tabs inside will come free with just a little movement.
Swapping out the storage
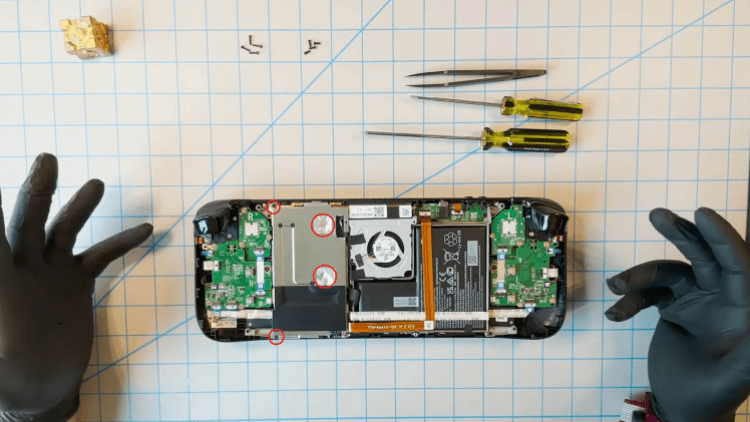
Image via Valve
Once you have the back of your Steam Deck off, there will be more screws that need to be removed on the metal plate. Two are visible on the left corners, while two are hidden under silver stickers. Take the screws out and move the plate to the side for later.
With the plate off, locate the battery and disconnect it by gently pulling out the cable from the connector. Just across from that you’ll see the original drive wrapped and held down with a screw. Remove the screw, and carefully pull the drive out.
With the drive out, remove the wrapper and put it around your new 2230 drive. Then place the drive in the socket and screw it down.
Putting it all back together
To reassemble the Steam Deck, just follow the prior steps in reverse:
- Reconnect the battery
- Place and screw in the metal plate
- Snap the back into place
- Screw in the eight exterior screws
Next Steps
With your new drive installed and everything back in place, you’re not going to just be able to turn the Steam Deck on and jump right in. There are a few more steps to take before enjoying the extra storage space.
- Download a SteamOS recovery image
- Depending on your OS, use a utility like Rufus or Balena Etcher to flash the image to the USB C drive
- While holding the volume down button, press power on the Steam Deck until you hear the chime — you’re then free to let go of the volume button
- Select your USB device from the boot manager — just be aware it could take a little bit after selecting, so be patient.
After everything loads, there will be options to select. Because you have a brand new drive in your machine, it’s best to select Re-image Steam Deck. This option will perform a full factory reset of the Steam Deck. There is an option to just reinstall SteamOS, but without having any data on your SSD, there’s no need for that.
With your selection made, the reinstallation process will begin. It’s going to take some time, so just stay by it to follow any instructions that might pop up.
And that’s it. You’ve successfully completed the Steam Deck SSD upgrade. What are you going to do with all that extra room?
