
How do you unlock Star Wars Jedi: Survivor Perk slots? In Star Wars Jedi: Survivor, Perks are essential to helping you make the most of your game experience. You can unlock many perks to enhance your gameplay, so getting as many perk slots as possible can make it easier to progress, particularly on higher difficulties. However, perk slots are not that easy to earn, so if you’re seeking them out, you’re going to have to put in some work.
Here’s what you need to know about increasing your number of perk slots in Star Wars Jedi: Survivor.
How to get more Perk slots in Jedi Survivor
Protagonist Cal Kestis starts the game with 3 Star Wars Jedi: Survivor perk slots, but can earn 7 more for a total of 10. Some Perks take up more slots than others, so even with all ten unlocked, you can only apply a few perks at a time.
However, it’s worth noting that as you begin the game, you won’t have any perks to put in those perk slots. So, as you make your way through the game, you’re going to want to know the best Star Wars Jedi: Survivor perks and where you can find them so you can allocate your perks properly.
There are several in-game actions and puzzles that will increase your character’s number of perk slots. Most can be found on Koboh, but a few are also located on Jedha. Keep reading below to learn more about each of the ways you can unlock more perk slots in Jedi: Survivor. We’ve numbered them for your convenience, though you do not necessarily need to access them in this order.
Koboh perk slots
Perk slot #4: Zee’s shop
After you rescue Zee from the Star Wars Jedi: Survivor Chamber of Duality, she’ll become one of many Jedi: Survivor recruits to end up at Pyloon’s Saloon. Zee will offer several goods at her shop, including a perk slot in exchange for 10 Datadiscs. You’ll find Datadiscs scattered around Koboh, and you can check out our guide to all Star Wars Jedi: Survivor Koboh collectibles to help you find enough Datadiscs to trade to Zee for a perk slot.
Perk slot #5: Rambler’s Reach deserted building
To get this perk slot, you’ll need to have both the Nekko Mount ability and the ability to Dash through green barriers, which you’ll get by collecting Merrin’s Charm just after Brother Armais‘s untimely end on Jedha.
Access this by finding a gray, dilapidated building at the edge of Rambler’s Reach and using a Nekko to jump on top of the building. It will then follow a fairly logical path that will require you to Dash through some green barriers before coming across a hole in the floor that you jump into to an underground area. At the end of this trail, you will find an essence that grants a perk slot. Just remember you can use a double Dash jump toward the end of this cavern to get to the perk slot essence.
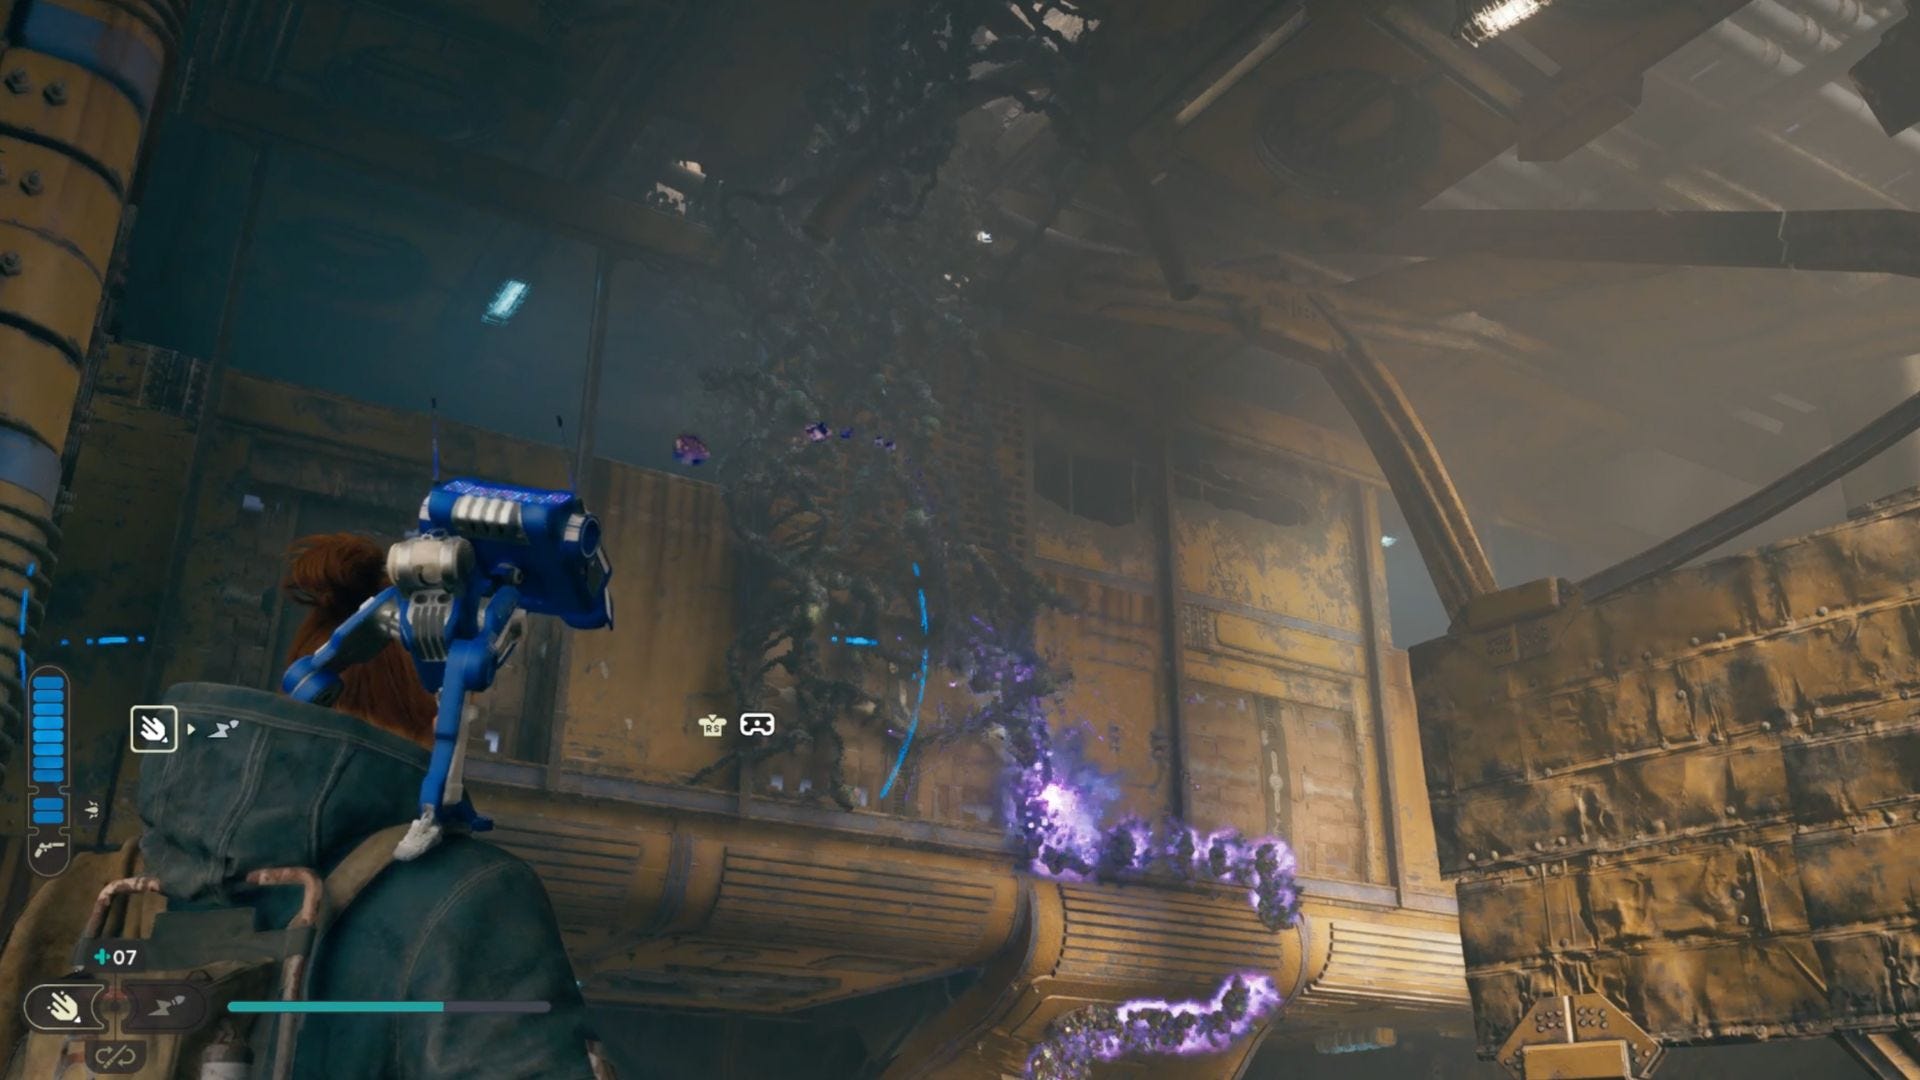
Perk slot #6: Derelict Dam cliffs
Again, this perk slot will require you to have various abilities that you can earn only through gameplay. You’ll access this one right across from the giant creature at Derelict Dam. Fast travel to the Derelict Dam Meditation Point and head toward the dinosaur-like creature in the distance. Once you pass the tar pit and get to the area, walk in the opposite direction of the creature and then use your Force Lift and Pull abilities to pull down the platform so you can climb the cliff ahead of you. Follow the cliff around, and you’ll come to your next puzzle.
As you round the corner, you’ll come to another puzzle similar to the Star Wars Jedi: Survivor Koboh grinder puzzle. You should be familiar with these at this point, as these simply require making sure each orb ends up in an orb coupler and then using the Koboh grinder ability to draw a path from the laser to the Koboh mass to destroy it.
The steps for this puzzle are as follows.
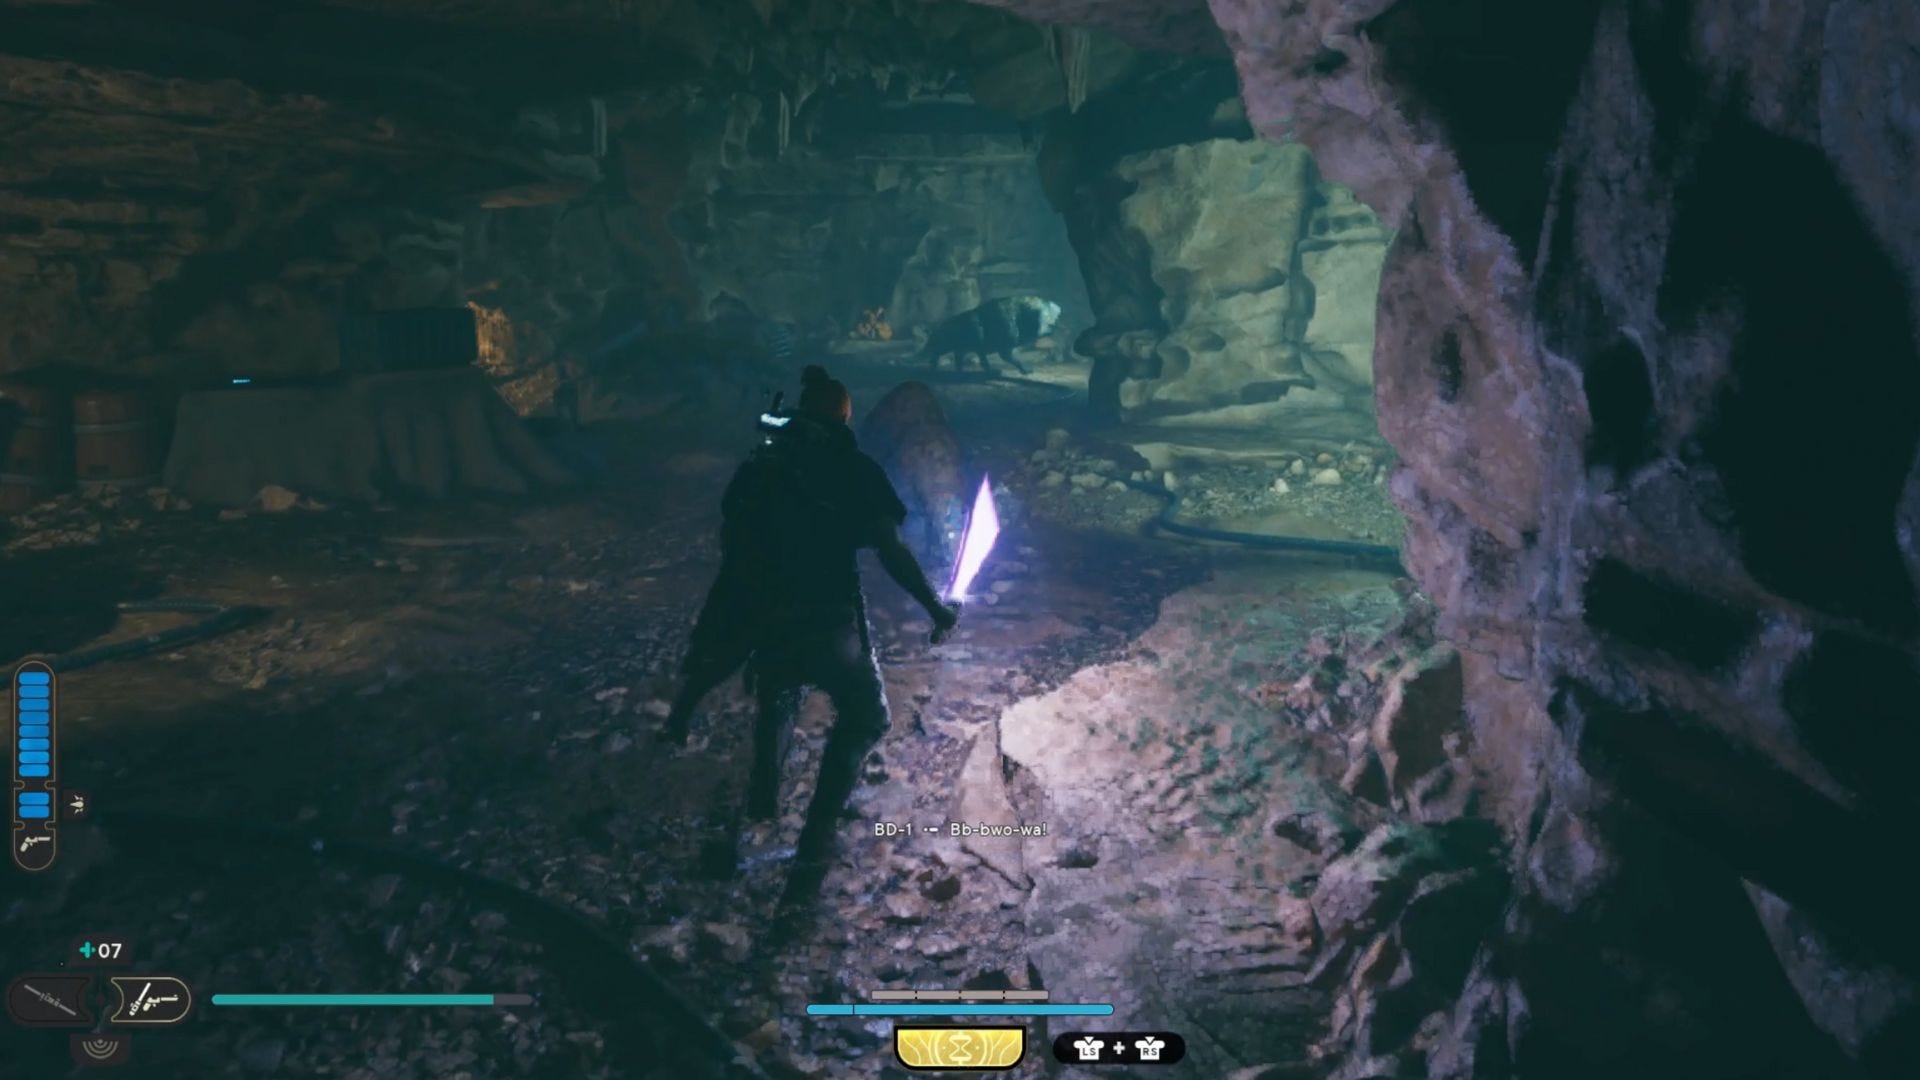
- Follow the cliff edge to a cave, where you’ll see an orb. You’ll need to move this to a coupler, but there is a gap between the cliff edge and the area where you’ll find the orb coupler.
- Bring the orb to the edge of the platform and drop it in a way where the orb lands across the gap, on the platform, and does not roll off of it, or at least where you can quickly jump across the platform and pick it up again. One way to do this is to throw it at the machinery on the far left of the platform.
- Pick up the orb and place it in the orb coupler on the platform. This will now project a laser into the mine.
- Follow the laser trajectory to enter the mine.
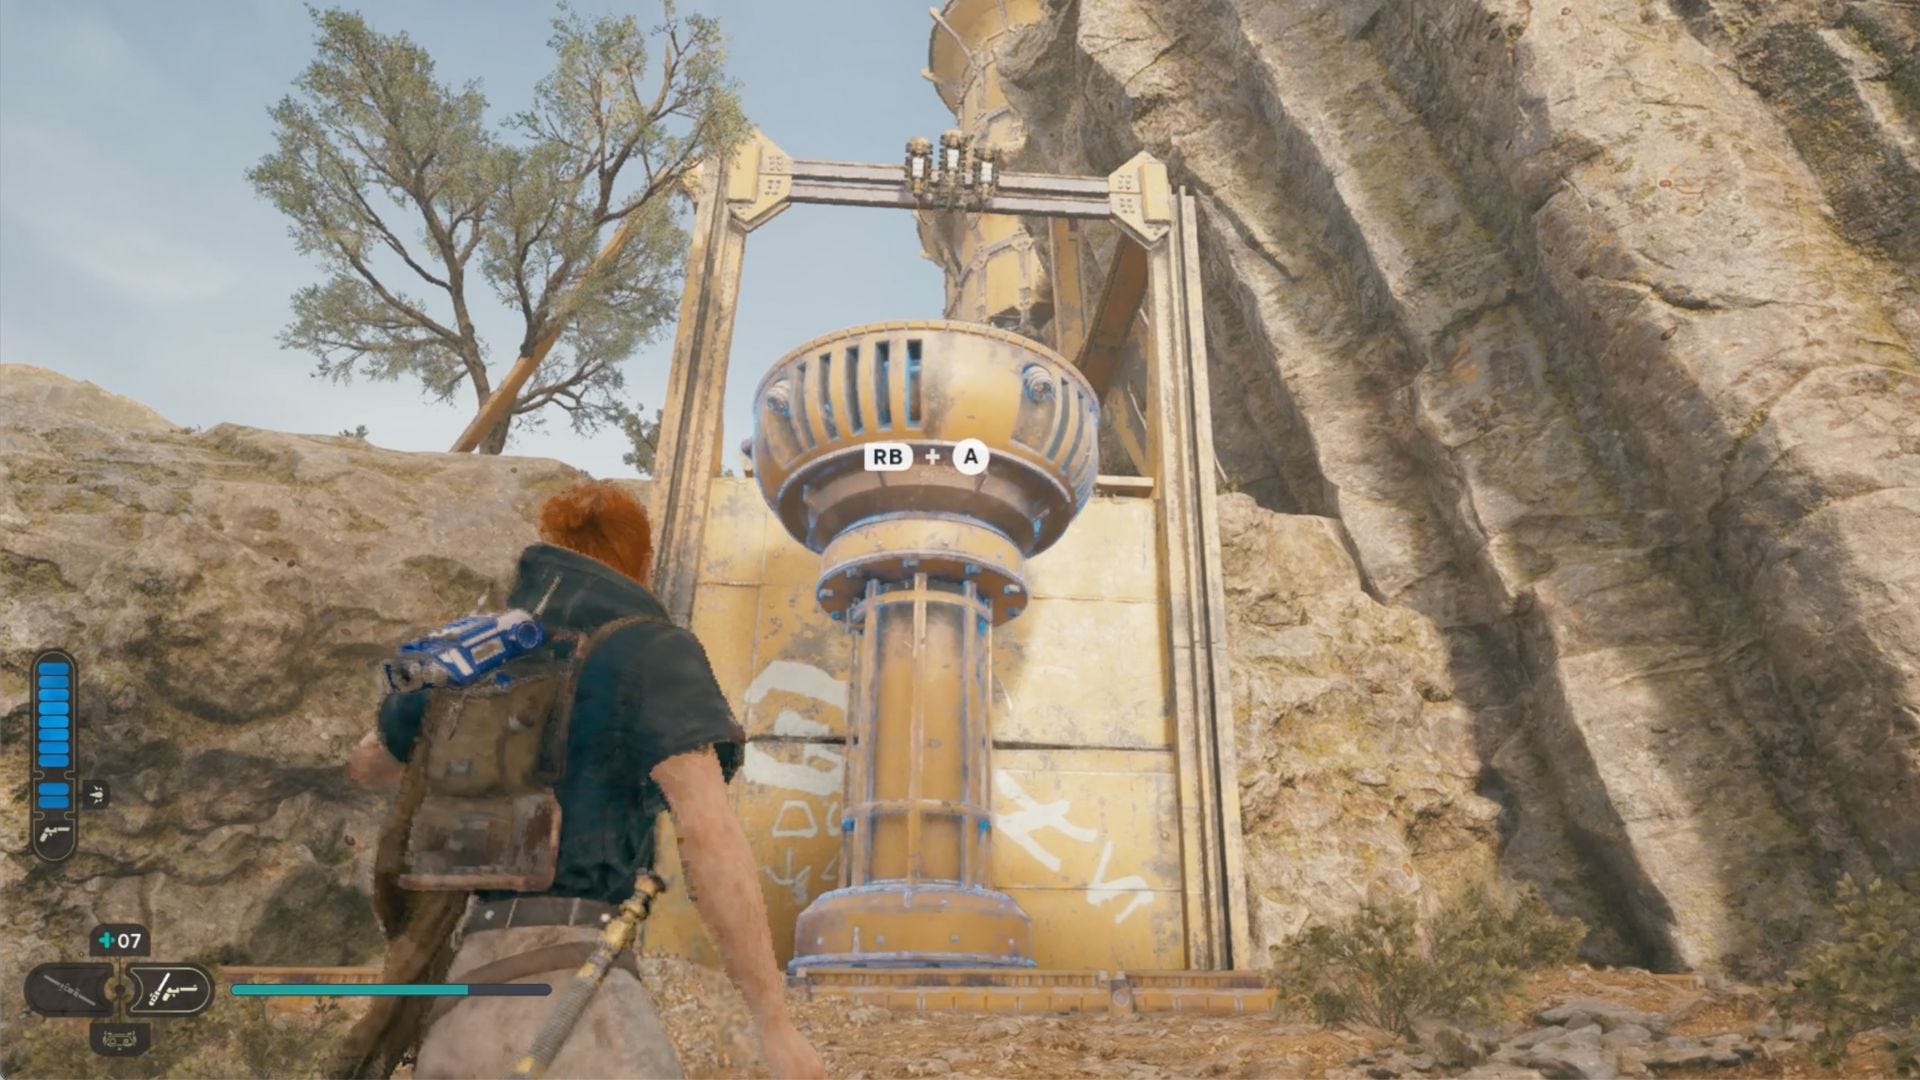
- Have BD-1 summon a mining drone and let it follow you.
- Jump back up from where you came from while the mining drone continues to follow
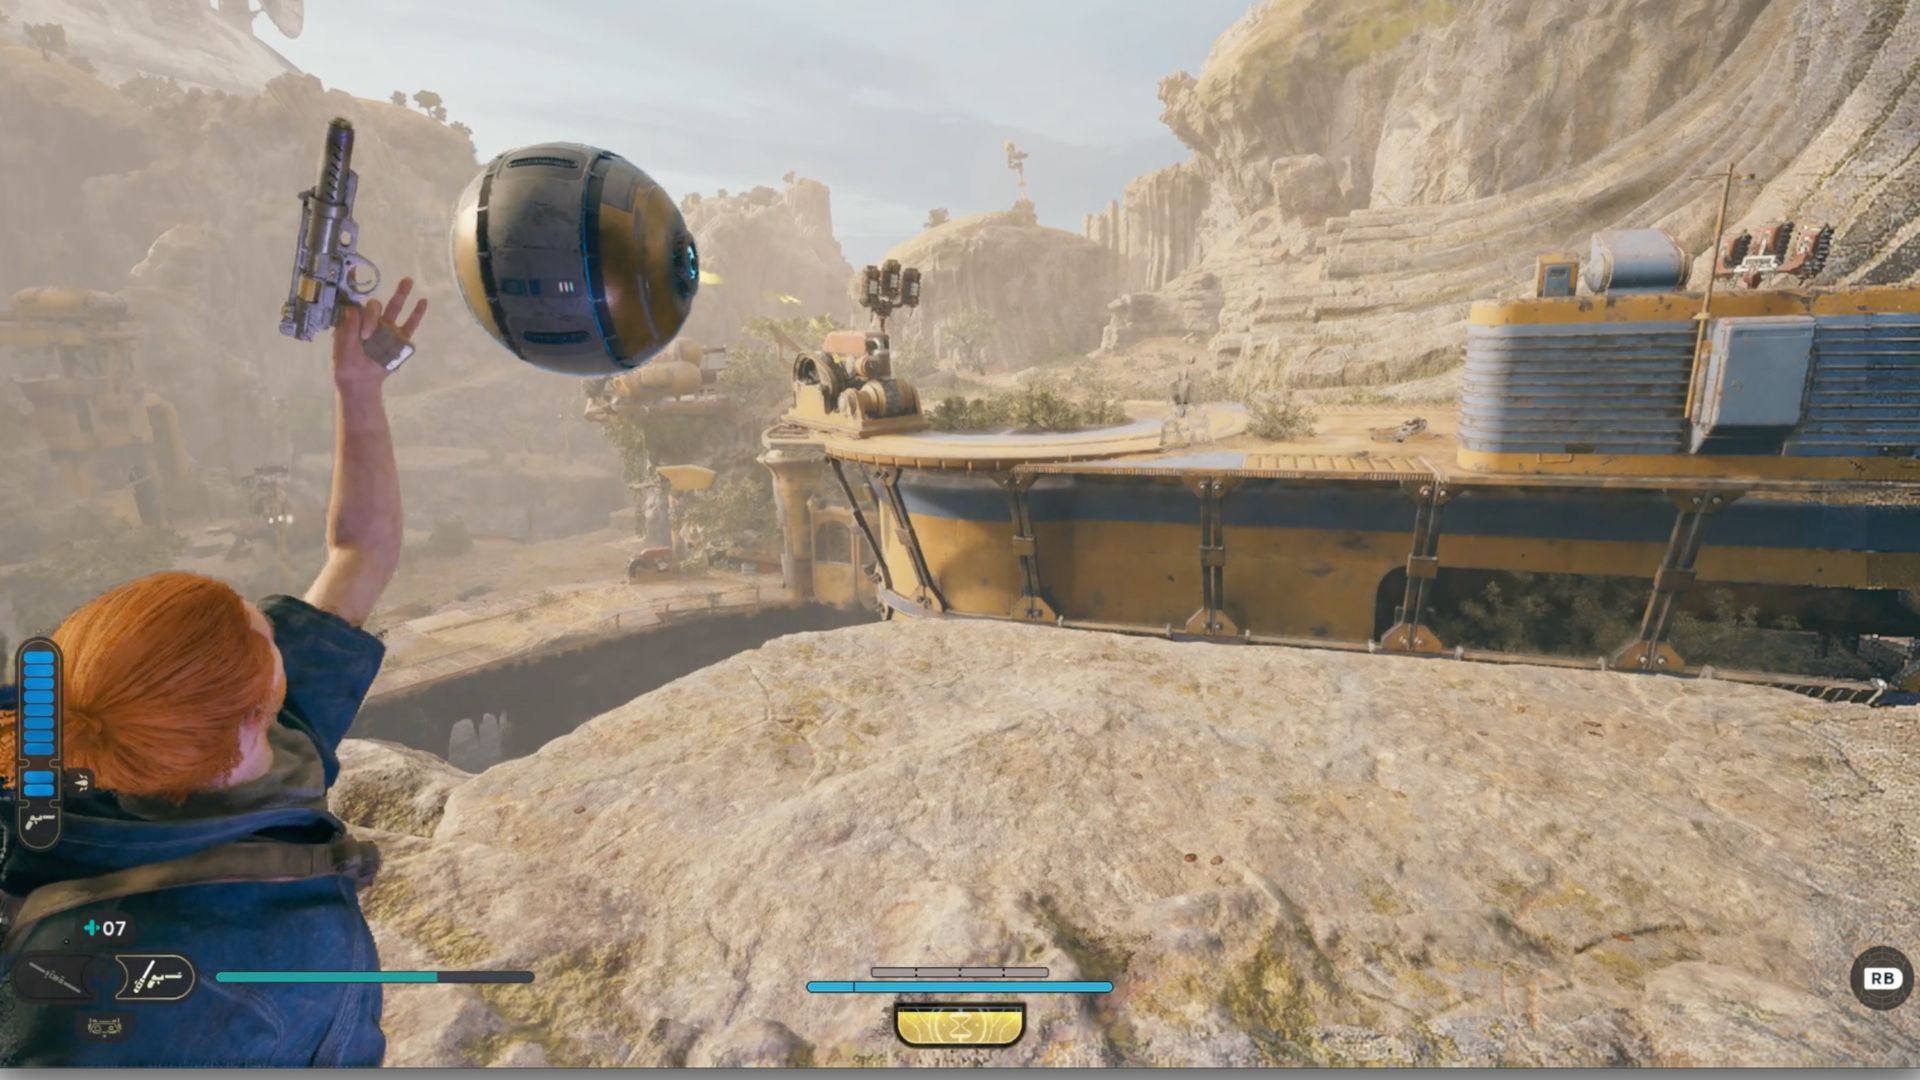
- Use your Force abilities to lift the mining drone quickly over the ledge.
- Go to the left and around the cliff edge.
- Use the mining drone to blast a hole in the wall that appears slicked over with bluish tar or oil. (You’ll have seen this texture in various areas where you had to blast holes in the walls to progress.)
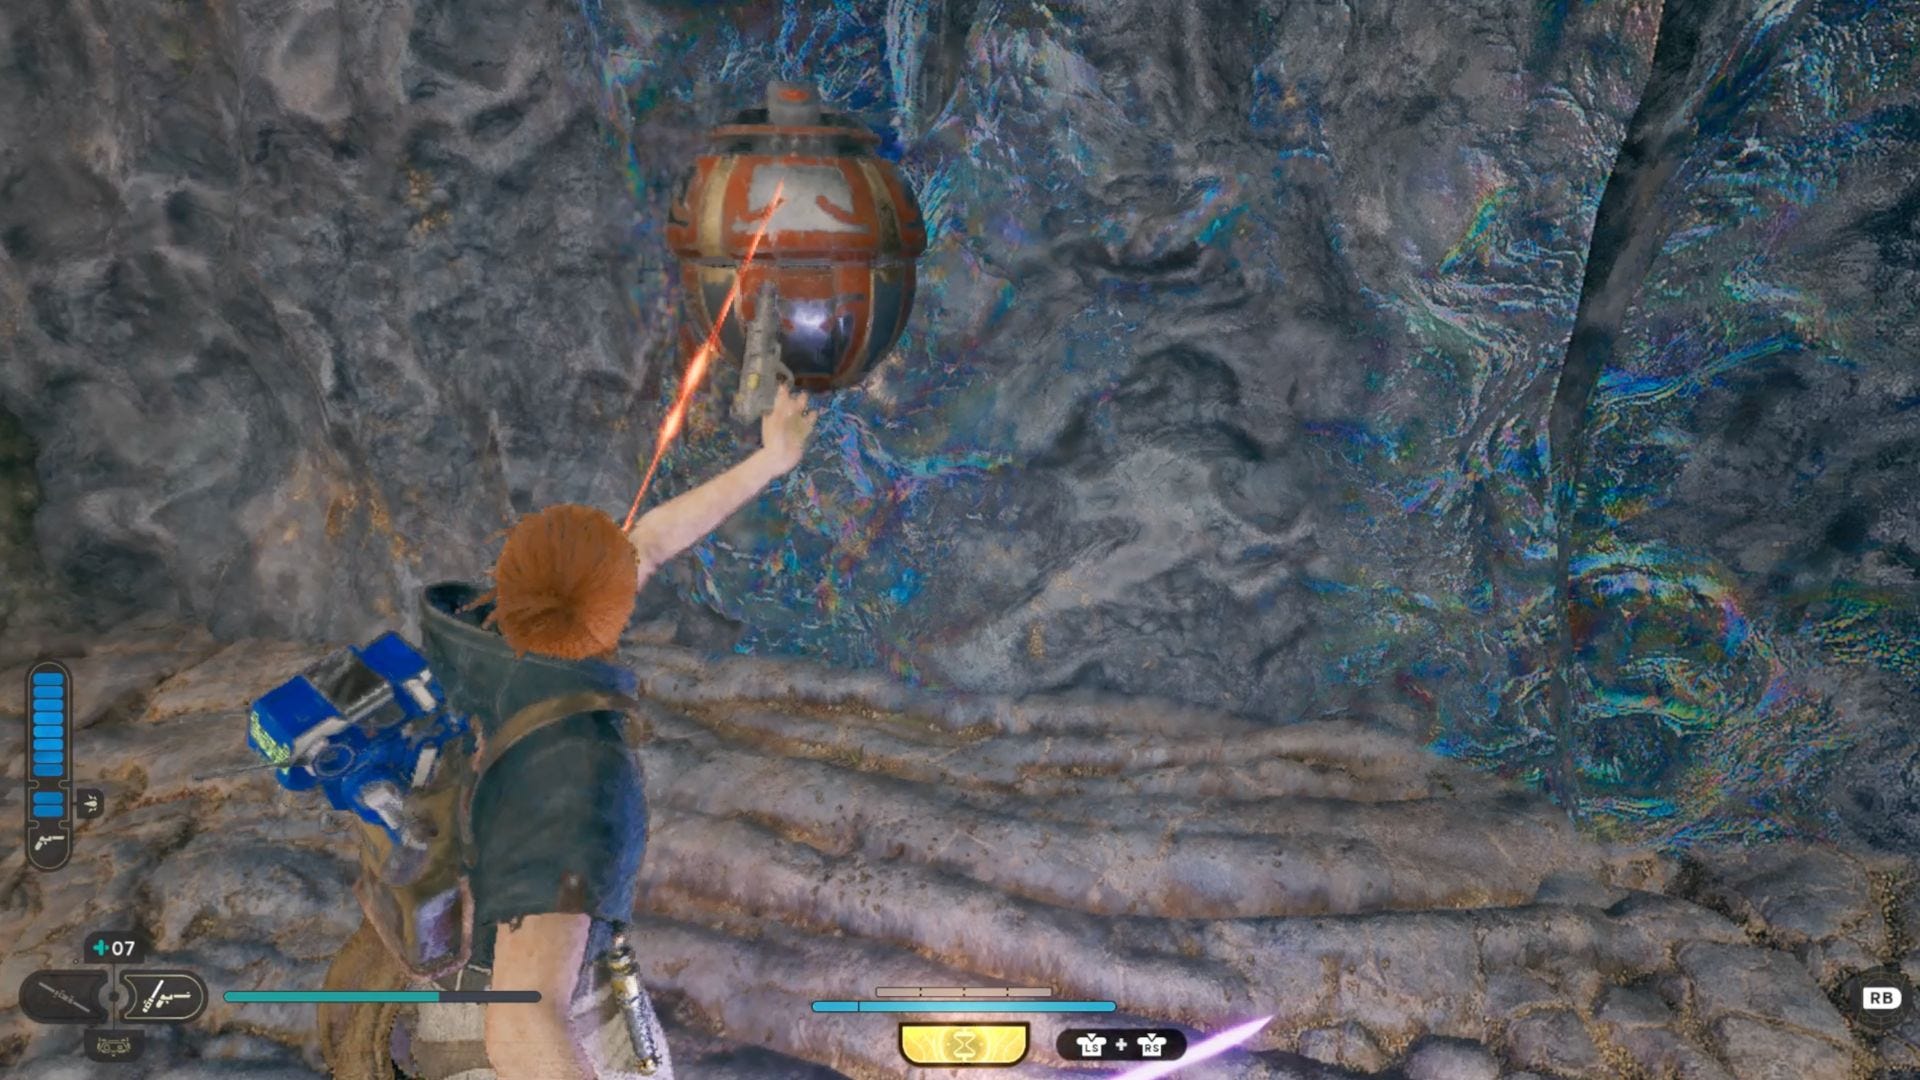
- From here, use the Koboh grinder to make a path from the laser to the Koboh mass above it.
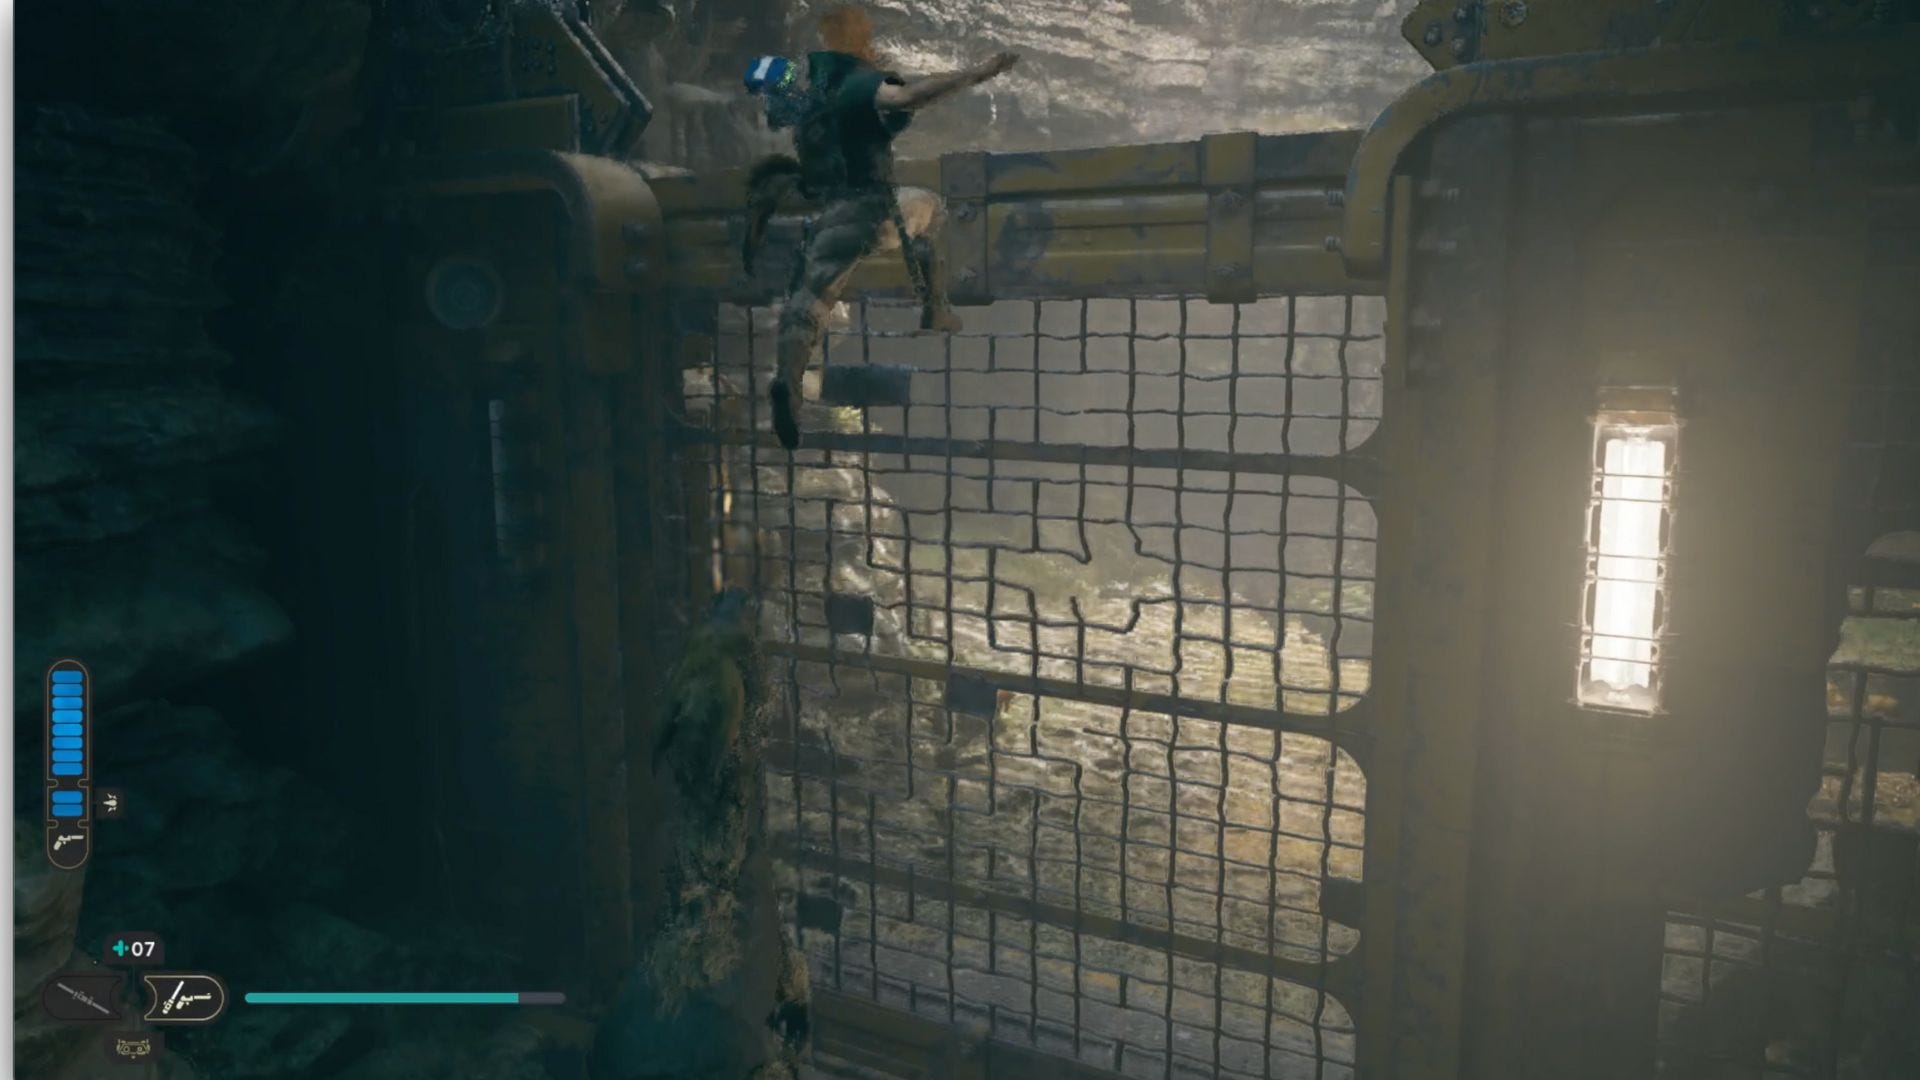
- Use the wall running platforms to cross and grab the newly-revealed gate.
- Follow the platform to the left.
- Once outside, you will see the perk slot essence ahead.
Perk slot #7: Barn above Moldy Depths
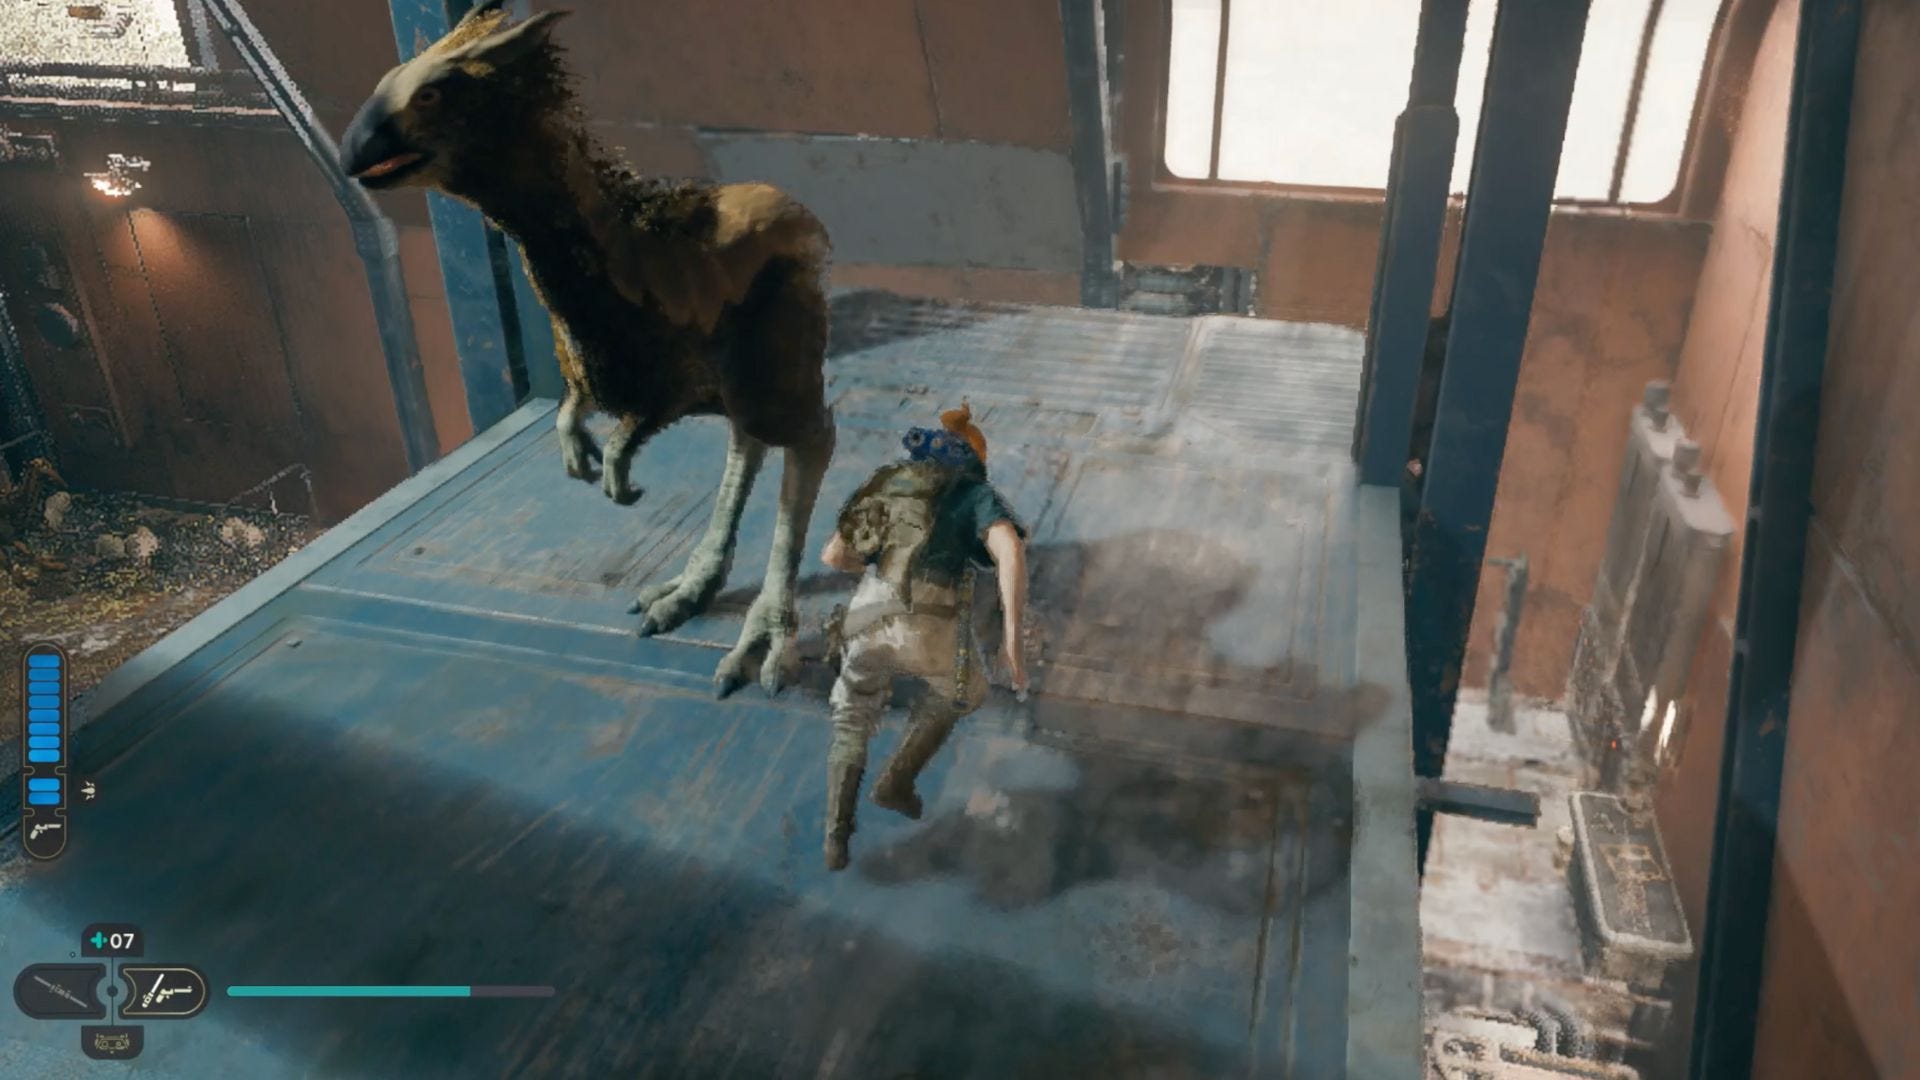
You can find the final perk slot on Koboh by heading to Harvest Ridge, getting a Nekko so you can climb the muddy slope, and then going through a door where you’ll end up in an area called Moldy Depths. This puzzle is tricky, at least until you recall that your Nekko will come to you if you call it. The objective will then be to get the Nekko to a place where you can easily call it, and it will come through the gate while you’re holding the gate open.
To do the first part of this puzzle, you’ll need to follow the Moldy Depths as deep as they go, where you’ll spot a Nekko. Bring the Nekko around to the gate, where you can use the Nekko to launch over it. Then, open the gate and call the Nekko through it. You can then launch yourself up a platform, do some wall jumping, and follow the platform around to the barn.
Defeat the enemies, then use the Nekko to launch yourself up to the wall-running panels, taking a second to note that you must leave your Nekko next to a gate to do this. At the end of this section, you’ll come to a wall that’s too high to climb. You’ll need to do more Nekko cycling to get to this one, so walk to the barn and use your abilities to open the door.
This one is a little trickier, but it’s helpful to consider the various heights of the platforms in the area and understand that you need to get Nekkos near them to launch yourself up.
After you enter the barn, the steps are as follows:
- Walk into the room and jump to the floor below. Turn to the side and note that there’s a pulley rope you can pull with your force ability. This will be across from a platform too high for you to reach.
- Pull the pulley. You’ll also note that this moves a platform and connected gate across the room.
- Call the Nekko you left at the wall running section into the room.
- Use the Nekko to launch on the platform across from the pulley rope you pulled. (There will be a Force Echo at the bottom of this platform.)
- Once you’re at the top of the platform, you can grab the pulley rope and affix it more permanently, keeping the gate open.
- Head outside the gate to where you found the first Nekko and mount a second one.
- Bring this second Nekko inside the building and drop it off on the ramp near the platform with the gate.
- Use the first Nekko to launch yourself to the top of the platform where you affixed the pulley.
- Unhook the pulley rope, letting the gate with the platform down.
- Jump down from the platform and mount the second Nekko.
- Move the Nekko onto the platform with the gate.
- Return to the first Nekko and use it to reach the top of the platform again.
- Reattach the pulley. You should now see that the platform with the gate will rise with the Nekko on top of it.
- Use the grappling hook to reach the top of the platform with the gate, where you can now mount the Nekko.
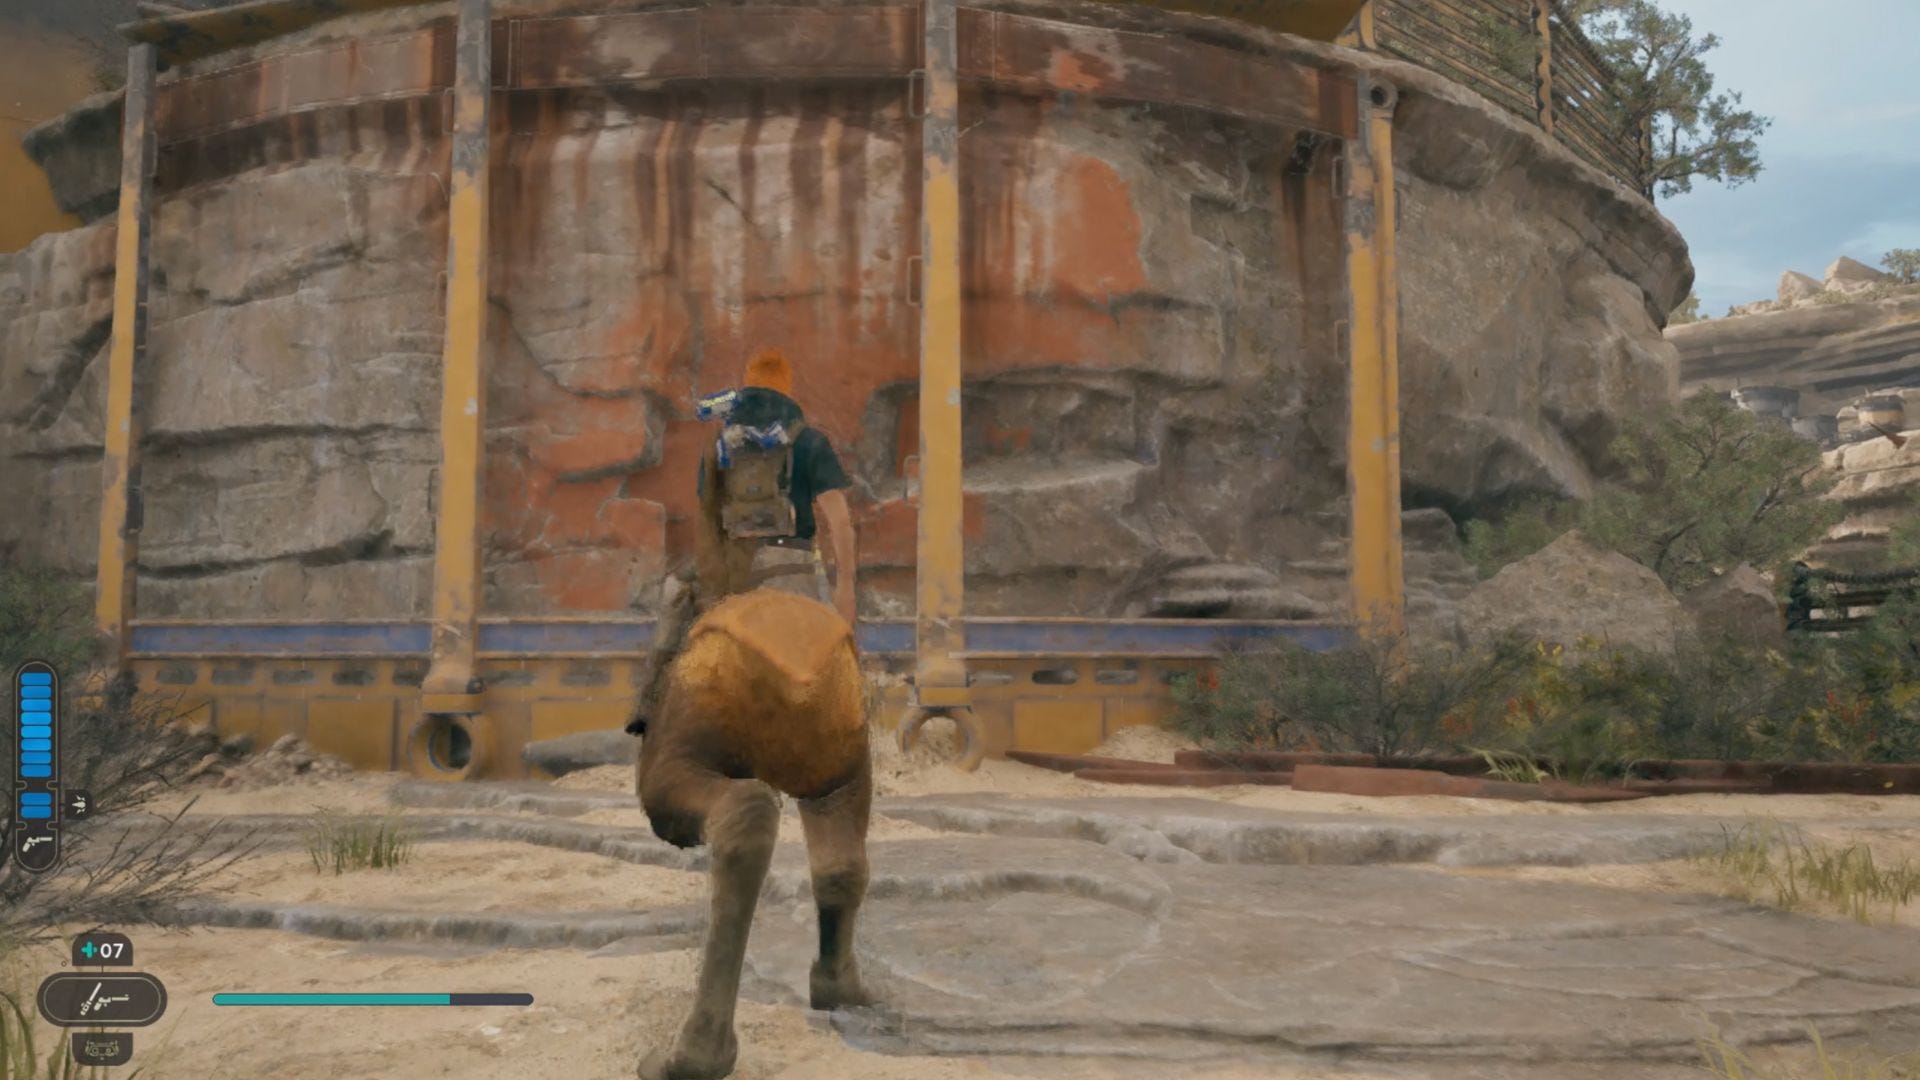
- Ride the Nekko to the outside ledge and use it to boost yourself to the perk slot essence.
Jedha perk slots
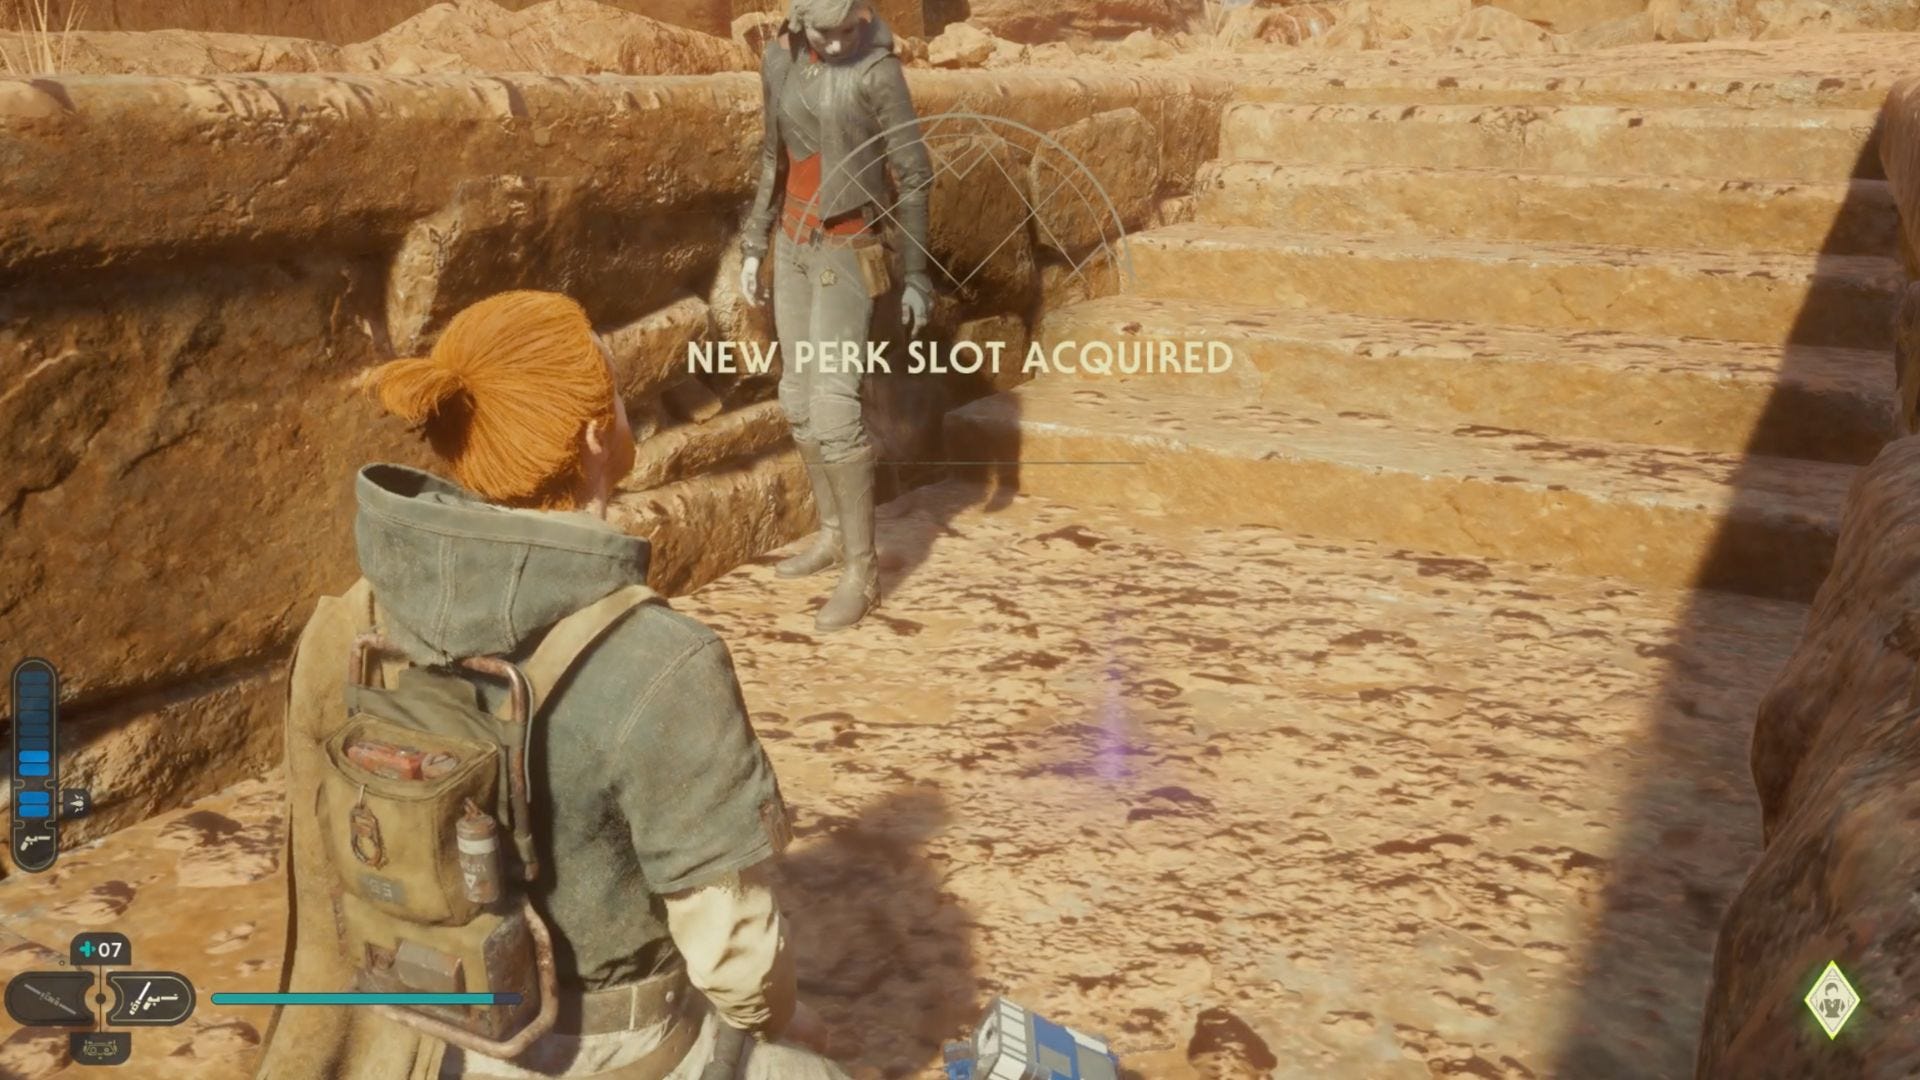
You can unlock three perk lots on Jedha as part of a series of puzzles that involve pushing and pulling spheres through the ancient-looking terrain architecture.
Perk slot #8: Path of Conviction
The Path of Conviction is a puzzle involving a mix of brainpower and speed. Essentially, you will need to push some spheres into a set of positions that will allow one of them to roll up to the top of a plateau, allowing you to ascend and unlock the puzzle reward.
Luckily, have a complete Star Wars Jedi: Survivor Path of Conviction puzzle guide for you, so review that for a step-by-step approach to earning this perk slot.
Perk slot #9: Path of Persistence
Similar to the Path of Conviction, the Path of Persistence is another ball puzzle you’ll need to complete to earn a new perk slot. Fortunately, we have you covered here as well with a separate guide to the Star Wars Jedi: Survivor Path of Persistence puzzle solution guide so you can solve this one, too.
Perk slot #10: Path of Restoration
As with the other two Jedha perk slots, the Path of Restoration also requires solving a puzzle through a series of ball movements. There’s quite a bit going on in this puzzle, but luckily, we have a guide for the Star Wars Jedi: Survivor Path of Restoration puzzle as well.
And, as a bonus, once you finish this puzzle, you’ll also gain access to a very cool Star Wars Jedi: Survivor Jedha collectible that you’re not going to want to miss.
That’s everything you need to know about unlocking Star Wars Jedi: Survivor perk slots. If you’re still making your way through the game, you may want to check out our Star Wars Jedi: Survivor walkthrough for the basics, or, if you’ve already finished, check out our Star Wars Jedi: Survivor ending explained guide for insights into the game’s meaning within the broader Star Wars universe.
