How To Solve All Hogwarts Secrets
Hogwarts Legacy is full of hidden gems and little secrets. As soon as you get to Hogwarts, you can begin to search for the secrets that are hidden within. One challenge that players are given is to find these secrets in Hogwarts. There are three of these secrets within Hogwarts that you can find.
Chances are, you have come across these secrets but had no idea how to get to them. If you find them, you will receive tons of rare loot, including Conjuration recipes and cosmetics. They are vital to anyone wanting to complete the game in its entirety.
What Are Hogwarts Secrets?
Once you complete all the puzzles involved in the secrets, you will complete the Hogwarts Secrets challenge. Each involves complex puzzles and steps to allow you to complete them. You will also need specific spells, including Incendio, Glacius, and Alohomora level three.
- The Viaduct Bridge Puzzle
- The Clock Tower Puzzle
- The Key of Admittance Puzzle
The Viaduct Bridge Puzzle
Requirement: Incendio Spell
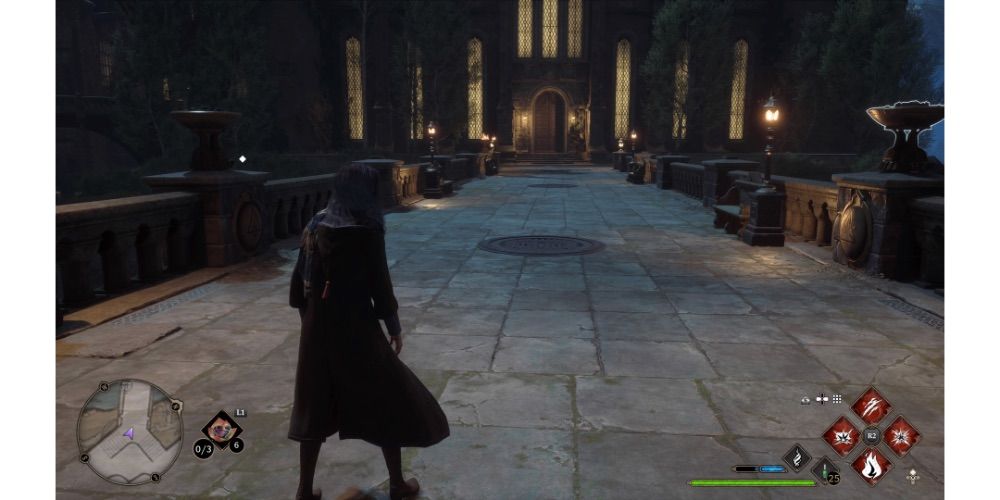
The first Hogwarts Secret that most players will come across will more than likely be the Viaduct Bridge puzzle. This is the large bridge that connects the Library Annex to the Great Hall. Two chests can be found in a secret room underneath the bridge. For this puzzle, you will need the Incendio spell.
There will be four braziers on the bridge. While one is lit, the other three aren’t. After you light each brazier, you’ll notice that each brazier has a Roman numeral in front of it that you can change. (The Roman numerals cannot be changed until after the braziers are lit.)
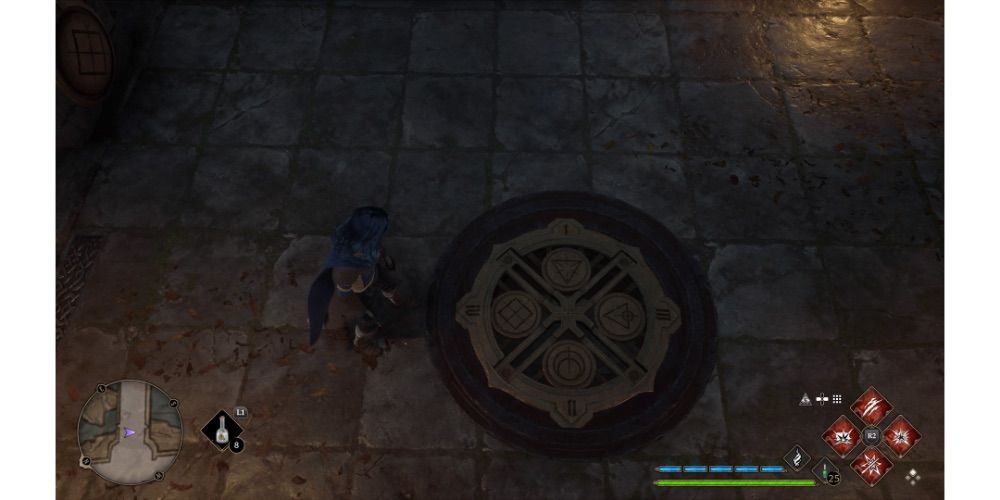
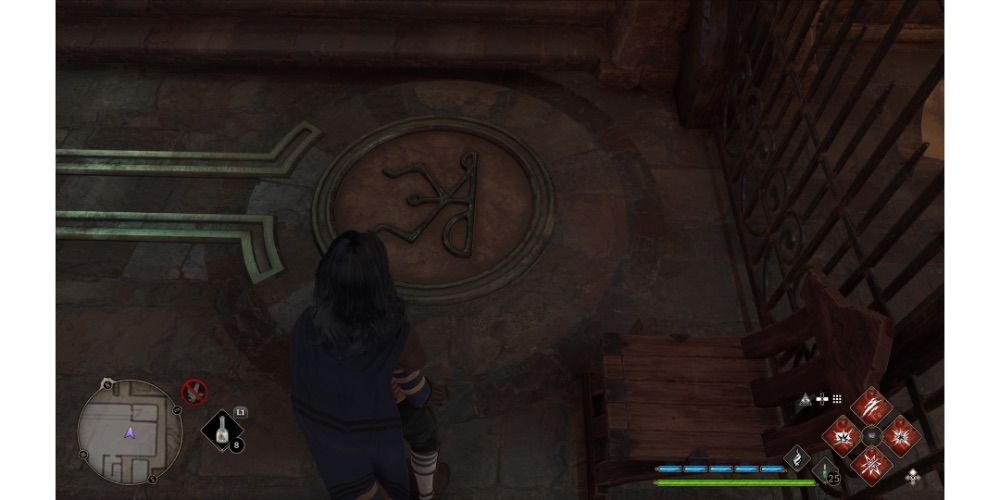
If you travel to the Library Annex side of the bridge, you will notice a large circle on the ground containing symbols and Roman numerals. Each symbol corresponds with the symbols seen on the braziers, and each Roman numeral corresponds to the number you need to change the specific brazier to.
- Upside-down triangle with crosshairs – I (1)
- Crescent with a line – II (2)
- Triangle with circle and line – III (3)
- Diamond with an X – IV (4)
It does not matter what order you light the braziers and change their Roman numeral; all that matters is having the correct Roman numeral for each brazier. After you change the Roman numerals, the puzzle will be completed. Return to the circle on the ground to see it is now opened, allowing you to travel underneath the bridge and open two chests.
Rewards: Legendary Gear and Collection Item
The Clock Tower Puzzle
Requirement: Alohomora and Glacius
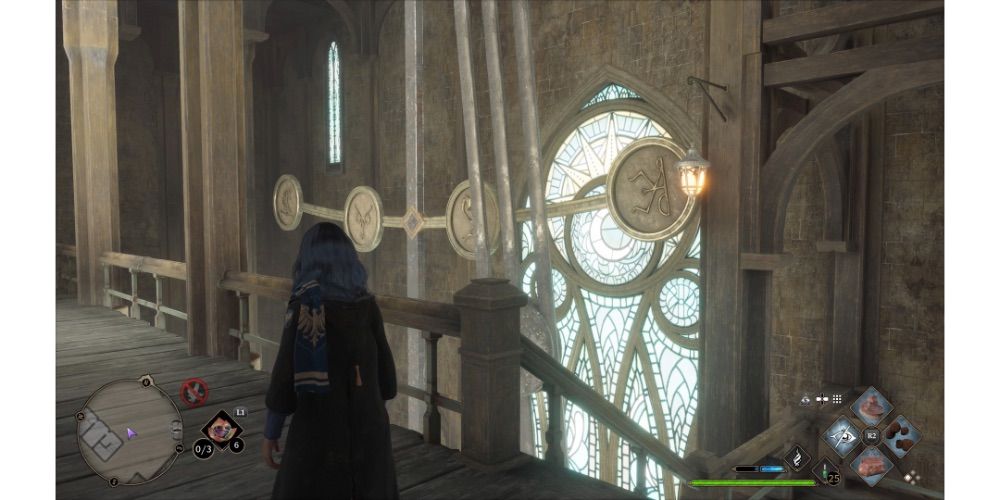
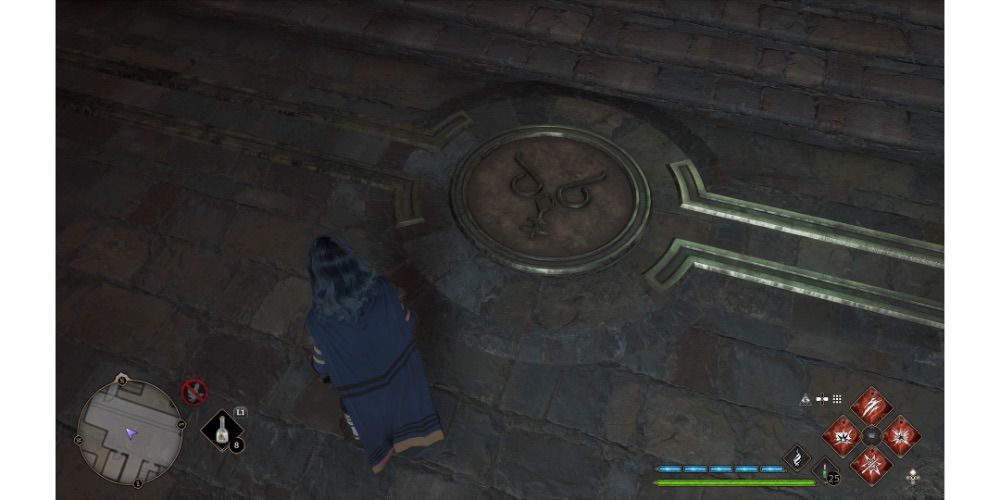
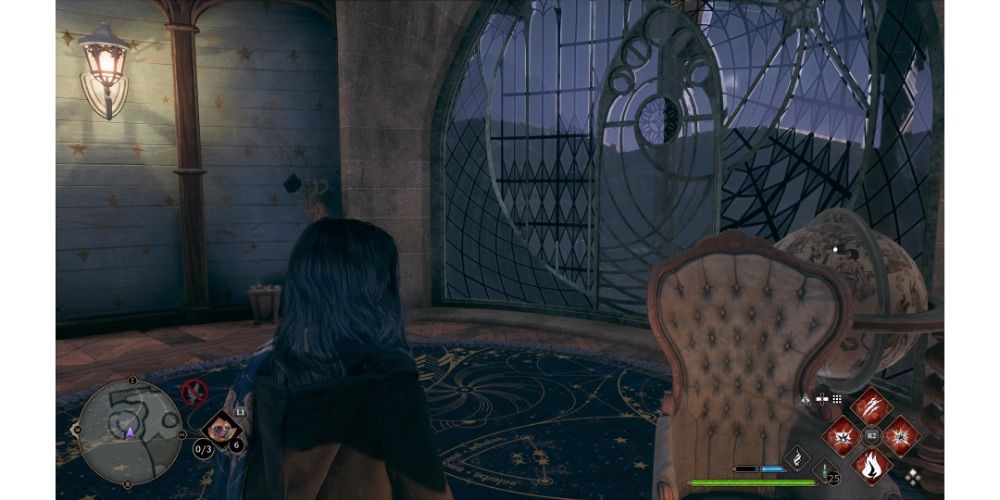
The second Hogwarts Secret you’ll likely encounter is the Clock Tower’s pendulum. To find this area, use the Clock Tower Courtyard’s Floo Flame. Once you load in, you’ll see the Clock Tower’s pendulum swinging from side to side. You’ll also notice that there are four symbols above where the pendulum is swinging. These symbols depict a unicorn, an owl, two serpents, and a scarab. Again, you’ll need to use Glacius to stop the pendulum while it is on each symbol and find that symbol’s corresponding door.
The Unicorn Symbol
There is a door in the southeast corner of the first floor of the Clock Tower just beyond the gated storage area. After you use Glacius on the pendulum to freeze it on the unicorn symbol, this door will unlock. Head inside, and you will find a Collection Item.
The Owl Symbol
This door can be found on the second floor. You can ascend the stairs if you use Alohomora on the door to the right of the gated storage area. Once on the second floor, walk to the left, and you can see the door. You can freeze the pendulum up on the second floor. Once the door opens, you’ll find an Eye-Chest.
The Two Serpents Symbol
This door can be found on the third floor of the Clock Tower. Once you get to the third floor, turn to your right. There, you will find some wooden steps leading to the door. Once again, you’re able to freeze the pendulum on the level as well. Here, you will find a chest containing a Collection Item.
The Scarab Symbol
This can be found halfway between floor three and floor four. You’ll want to freeze the pendulum while on the third floor. Then, ascend the stairs, and you’ll see a doorway about halfway up. Once you enter this doorway, you’ll be in an outdoor area. The final door in the puzzle will be directly in front of you. Inside, you’ll find a piece of Legendary Gear.
Rewards: Collection Items, Legendary Gear, 500 Galleons
The Key of Admittance Puzzle
Requirement: Completing Niamh Fitzgerald’s Trial and Alohomora Level Three
The final Hogwarts Secret isn’t seen until later in the game. While it is the easiest to complete, you have a lot of prerequisites before you can actually accomplish it. You must first complete Niamh Fitzgerald’s Trial and have access to the Headmaster’s Office. You also need Alohomora maxed out. Once in the Headmaster’s Office, you will notice a door leading outside with a level two lock. After unlocking it and heading out, you’ll find a set of stairs. At the top of the stairs, you’ll find a level three locked door. Beyond this door, you’ll find the Headmaster’s Study. (Once you enter the room, you will receive the Trophy “Room with a View,” as this is the tallest place in Hogwarts.) On a desk nearby, there will be a key you can pick up. This key is called The Key of Admittance.
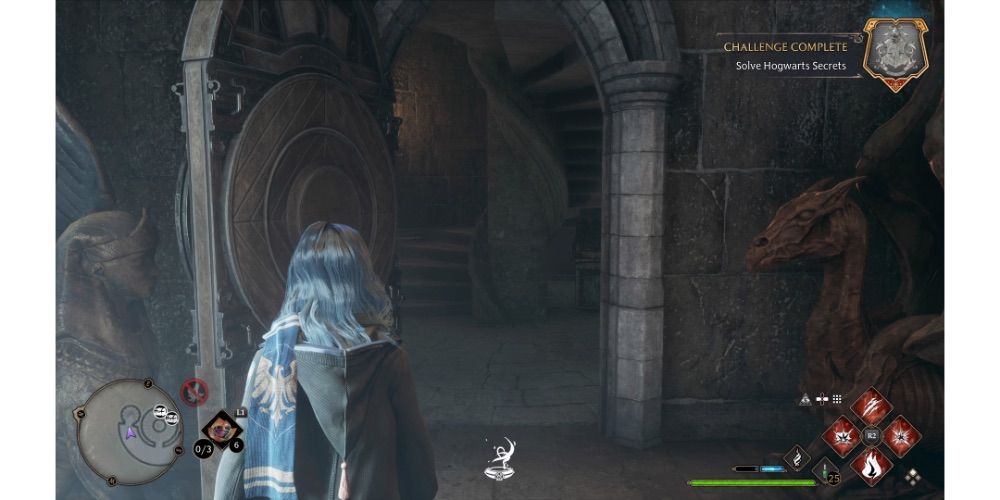
After picking it up, you can leave the Headmaster’s Office. All you need to do is exit through the door and back down the staircase. Once you’re in the Headmaster’s Office again, leave the way you came. After leaving the office, you’ll find yourself on a spiral staircase. You must continue down this staircase until you reach the hallway. Continue down this hallway until you reach a large metal door. This door will be unlocked using The Key of Admittance. Inside, you’ll find a chest and a staircase that will lead you to two chests and a Field Guide Page. The chests will both contain Collection Items.
Finding this area will complete the Hogwarts Secret challenge for you. In addition, the site contains The Quill of Acceptance and The Book of Admittance. It is one of the required Field Guide Pages for Hogwarts.
Rewards: Gear, Field Guide Page, and Collection Items
Challenge Rewards
While completing these challenges is required for anyone wanting to 100% the game, there are other reasons to complete these challenges as well. You will receive rewards for each challenge you complete within your Challenges Menu.
- Completing one challenge will give you the Secret Solver’s Bathing Costume
- Completing two challenges will give you the Tailored Tailcoat
- Completing three challenges will give you the Fashionable Dress Robes

