
Screenshot by PC Invasion
Moon Seals are important magical items in Marvel’s Midnight Suns. They’re directly tied to the exploration arc that takes place in the Abbey Grounds, primarily focusing on Agatha Harkness and the mystical coven that she belongs to. Here’s our Marvel’s Midnight Suns Moon Seals guide to help you get these items and, eventually, acquire the Words of Power as rewards.
Note: We’ll have a Marvel’s Midnight Suns guides and features hub soon, so stay tuned.
Marvel’s Midnight Suns guide – How to get all Moon Seals
Moon Seal #1
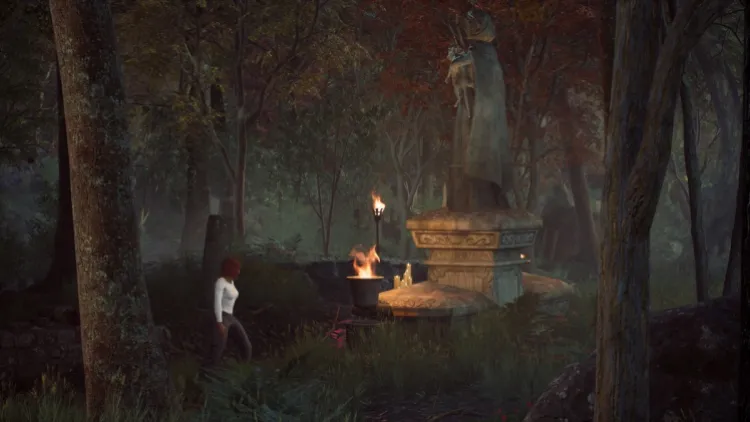
The first Moon Seal in Marvel’s Midnight Suns is found very early in the campaign. Once you’re able to explore the Abbey Grounds at night, look around for a statue of Agatha Harkness. Her spirit will appear, and you’ll be able to talk to her.
She’ll lead you to a sealed cavern known as a Blood Gate. Interact with it to start a challenge encounter. This is mostly just a tutorial of sorts where the Hunter and the dog, Charlie, battle a few weak mobs. When you’re done with this, you can explore the rest of the cave to find the Moon Seal. Place it on the altar and you’ll obtain the Open Word of Power.
Screenshot by PC Invasion
Moon Seal #2
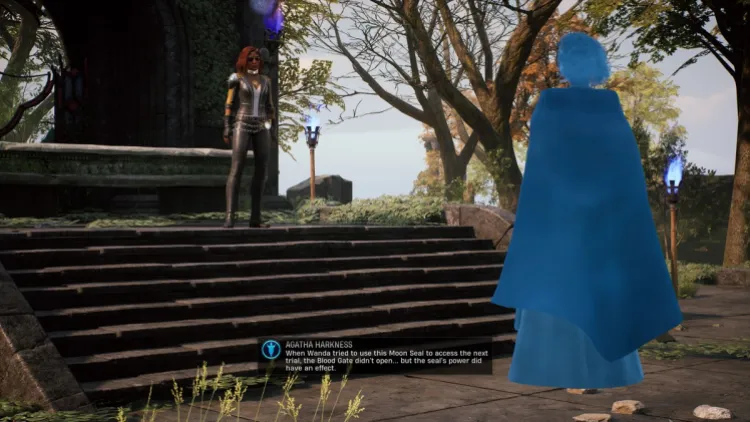
This requires you to find the four Elemental Rods for Agatha’s Altar. After obtaining all of these, you’ll receive the item. You may then tackle yet another Blood Gate encounter just north of the Standing Stones area. This rewards you with the Reveal Word of Power.
Screenshot by PC Invasion
Moon Seal #3
Getting the third Moon Seal in Marvel’s Midnight Suns is a bit more complex. It requires you to solve the Hiram Shaw Church puzzle. It involves the following steps:
- Reach Hiram Shaw’s Church and use Open on the doorways. You’ll also spot three blank parchments, which will be quite important later on.
- Check the runic symbols at the cave entrance, and talk to Doctor Strange to see if he’s able to do something.
- Progress further in the campaign until you complete “The Bell Tolls” mission.
- Research the Venom Symbiote so you can get the vial sample.
- Return to the Church and interact with the runes so you can enter the cave. Inspect the husk therein.
- Go back to the study room in the Church and use the Reveal power on the blank parchments. You’ll see that there are drawings.
- Head to the locations based on the clues and gather the Stained Soil samples.
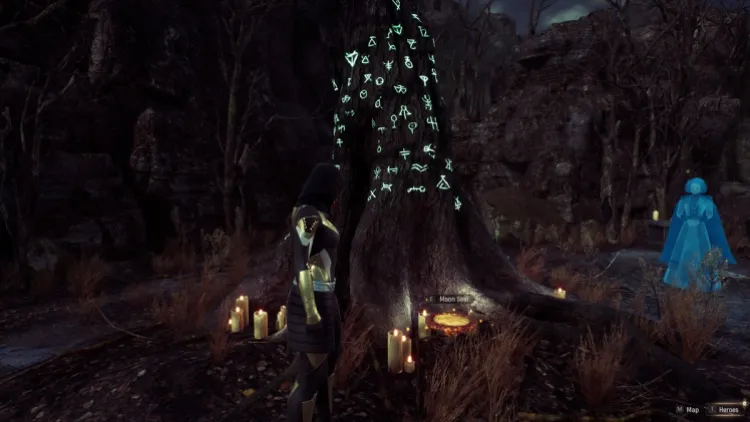
- Hand them over to Agatha, then look for the Hanging Tree.
- Use the Reveal power next to the tree to make the Moon Seal appear.
Once you’ve done all of those, you can complete the next Blood Gate encounter. Place the Moon Seal on the plinth there will net you the Purify Word of Power.
Screenshot by PC Invasion
Moon Seal #4
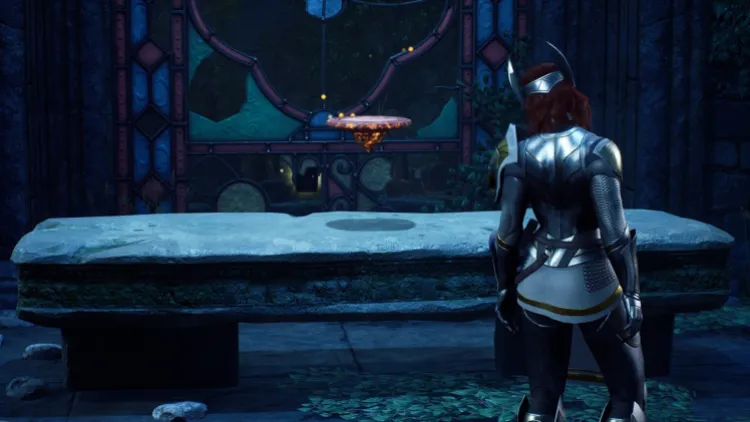
Thankfully, the fourth and final Moon Seal in Marvel’s Midnight Suns is easier to get. Basically, you’ll have to look for the fragments in the Garden of Envy. Once you have all three, Agatha will repair them, and you’ll have a complete item that can be placed on the last altar.
Screenshot by PC Invasion
Marvel’s Midnight Suns is available via Steam.
