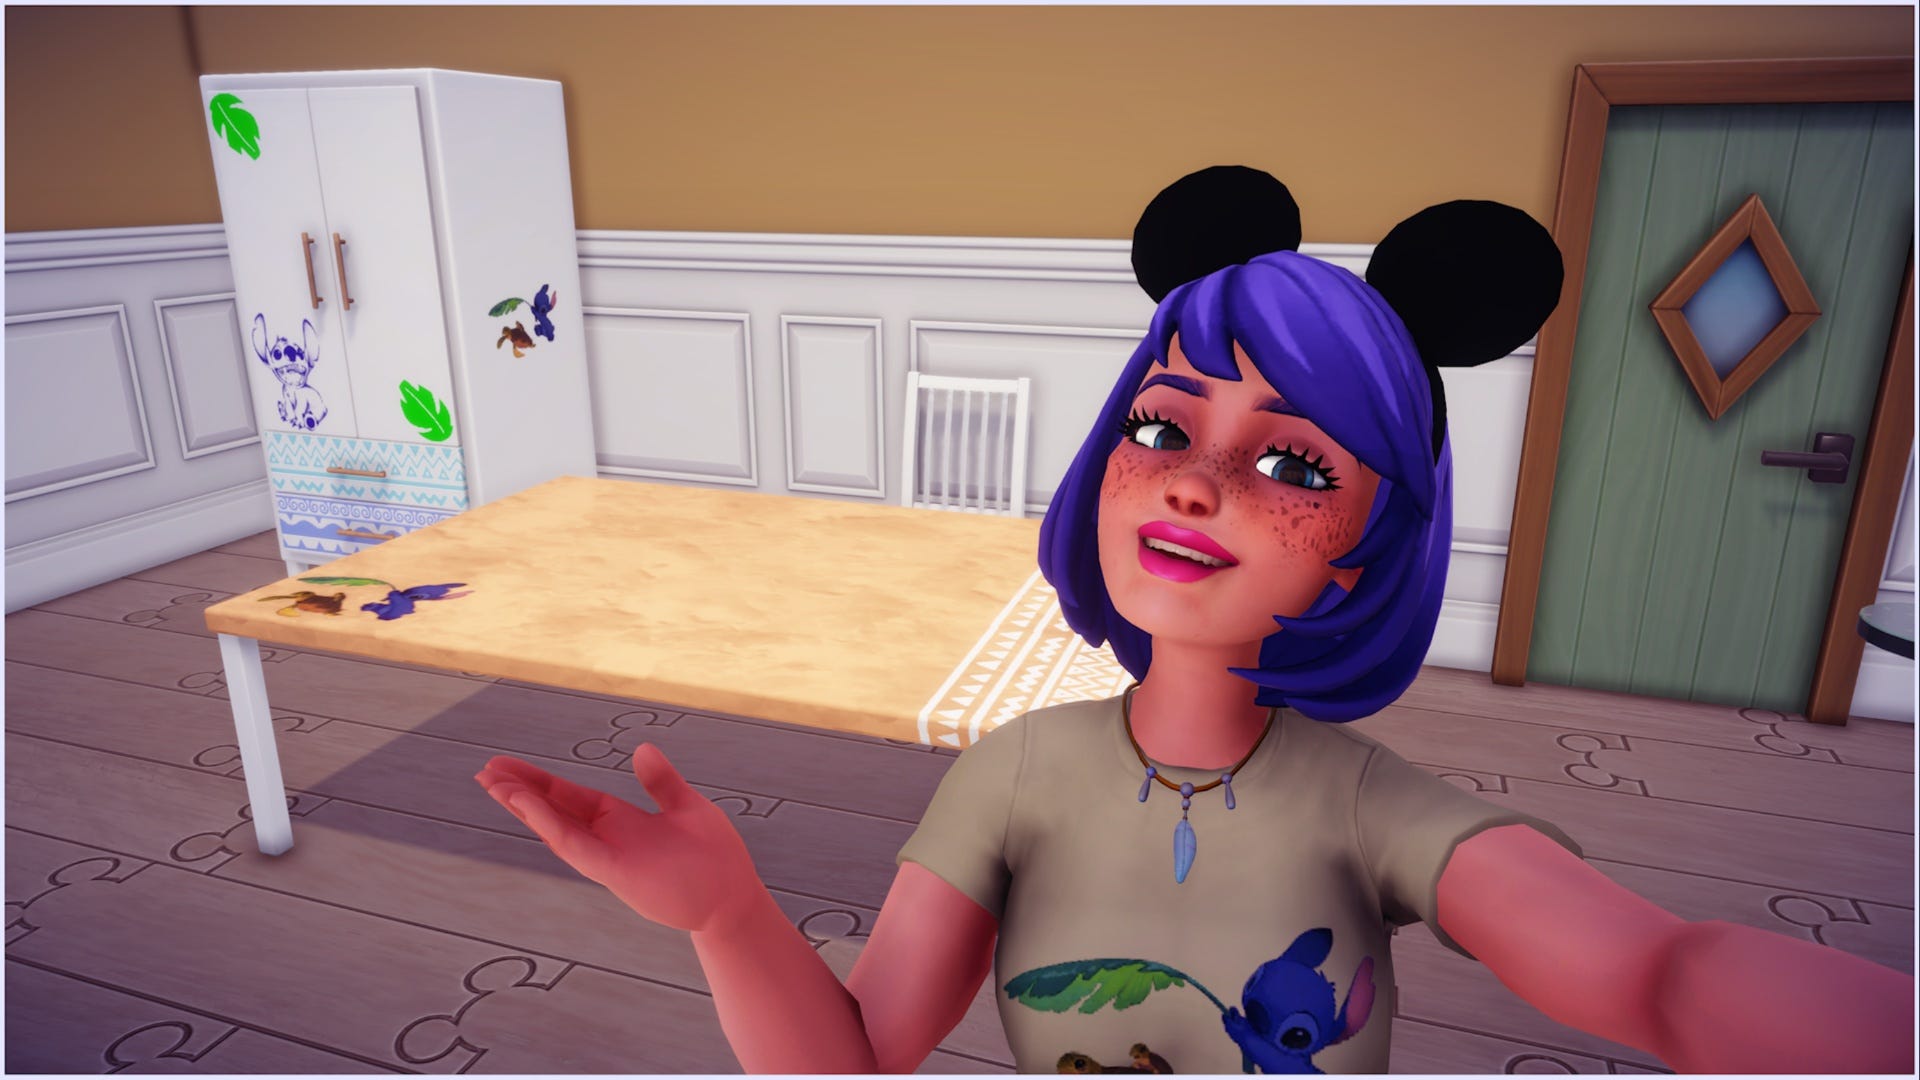
You can now customise furniture in Disney Dreamlight Valley! That’s right, the time has come to use those skills you’ve perfected on custom clothing and apply them to furniture pieces that can be the center of your home, valley, or beachside retreat.
Making the valley your own in Disney Dreamlight Valley is part of the game’s many charms, and being able to make your own unique furniture pieces to celebrate your favourite characters, or just to match your personal style is a big bonus.
Without further ado, we’re going to show you how to customise furniture in Disney Dreamlight Valley.
On this page:
How to customise furniture in Disney Dreamlight Valley
To customise furniture in Disney Dreamlight Valley, you need to open your inventory menu and then select the ‘Furniture’ option.
Once you are here, select the ‘Customize’ option. This will open a second menu that shows you all of the current furniture items you can customise, it’s very similar to the custom clothing menu.
At the time of writing, you can only customise these furniture pieces and the following parts of them:
| Furniture Item | Custom Pieces |
|---|---|
| Basic Wardrobe | Entire Wardrobe
|
| Basic Chair | Entire Chair but only cushion motifs
|
| Basic Large Table | Entire Table but only table top motifs
|
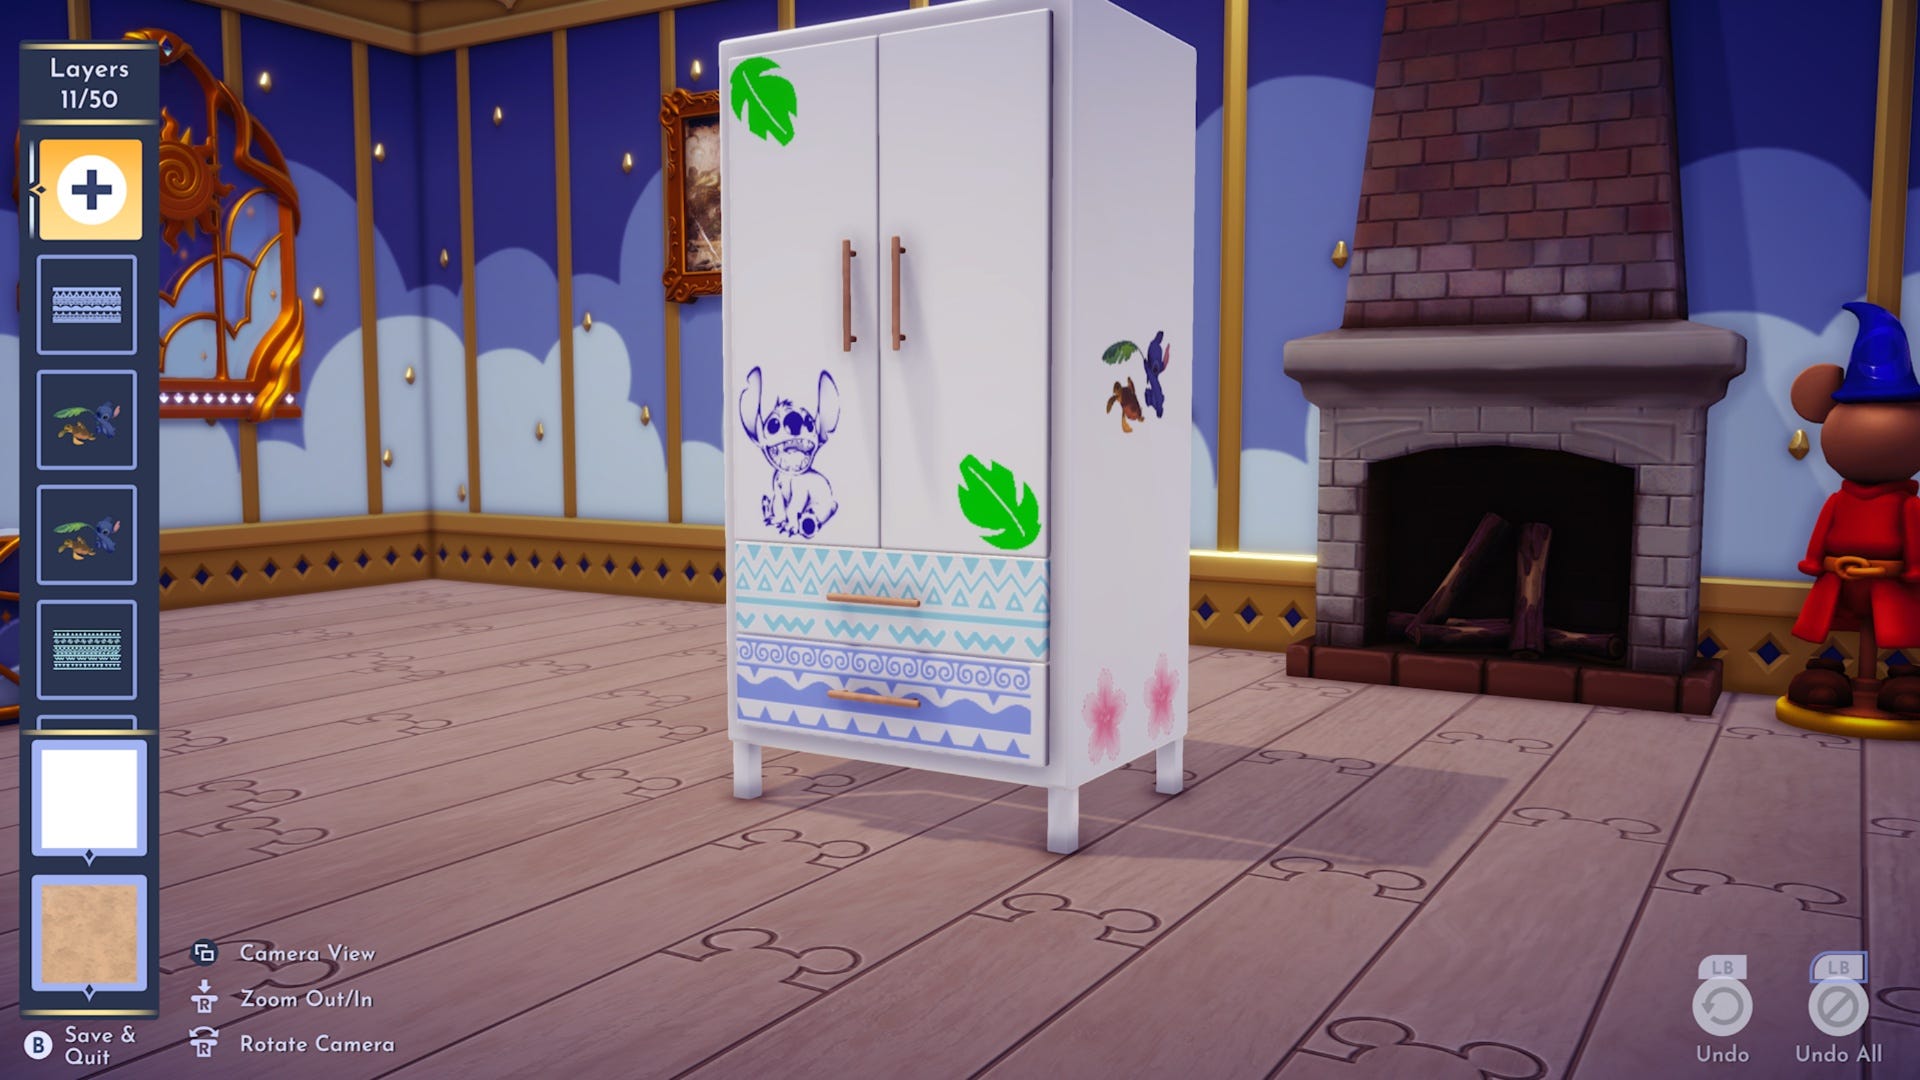
For our main example, we’ve chosen to do a wardrobe.
Select the furniture item you want to customise, and then a new screen will appear. This is where you can access all of the customisation options for your chosen piece.
On the left side of the screen you’ll see a bar with two white squares at the bottom and a ‘+’ in a square at the top. We’re going to go over the bottom squares first.
Bottom White Square
The bottom white square of this menu will let you customise the material of the wardrobe handles. When you select this square, another smaller menu will appear to the left of the screen.
Click on the large square here to open up a menu filled with different materials. You can select any of the materials here for your wardrobe handles.
The smaller square above the large material one is your colour customiser. Select this to bring up a palette of different colours that you can apply to the material you’ve chosen. Some material patterns will have two colour customisation options, like the striped material.
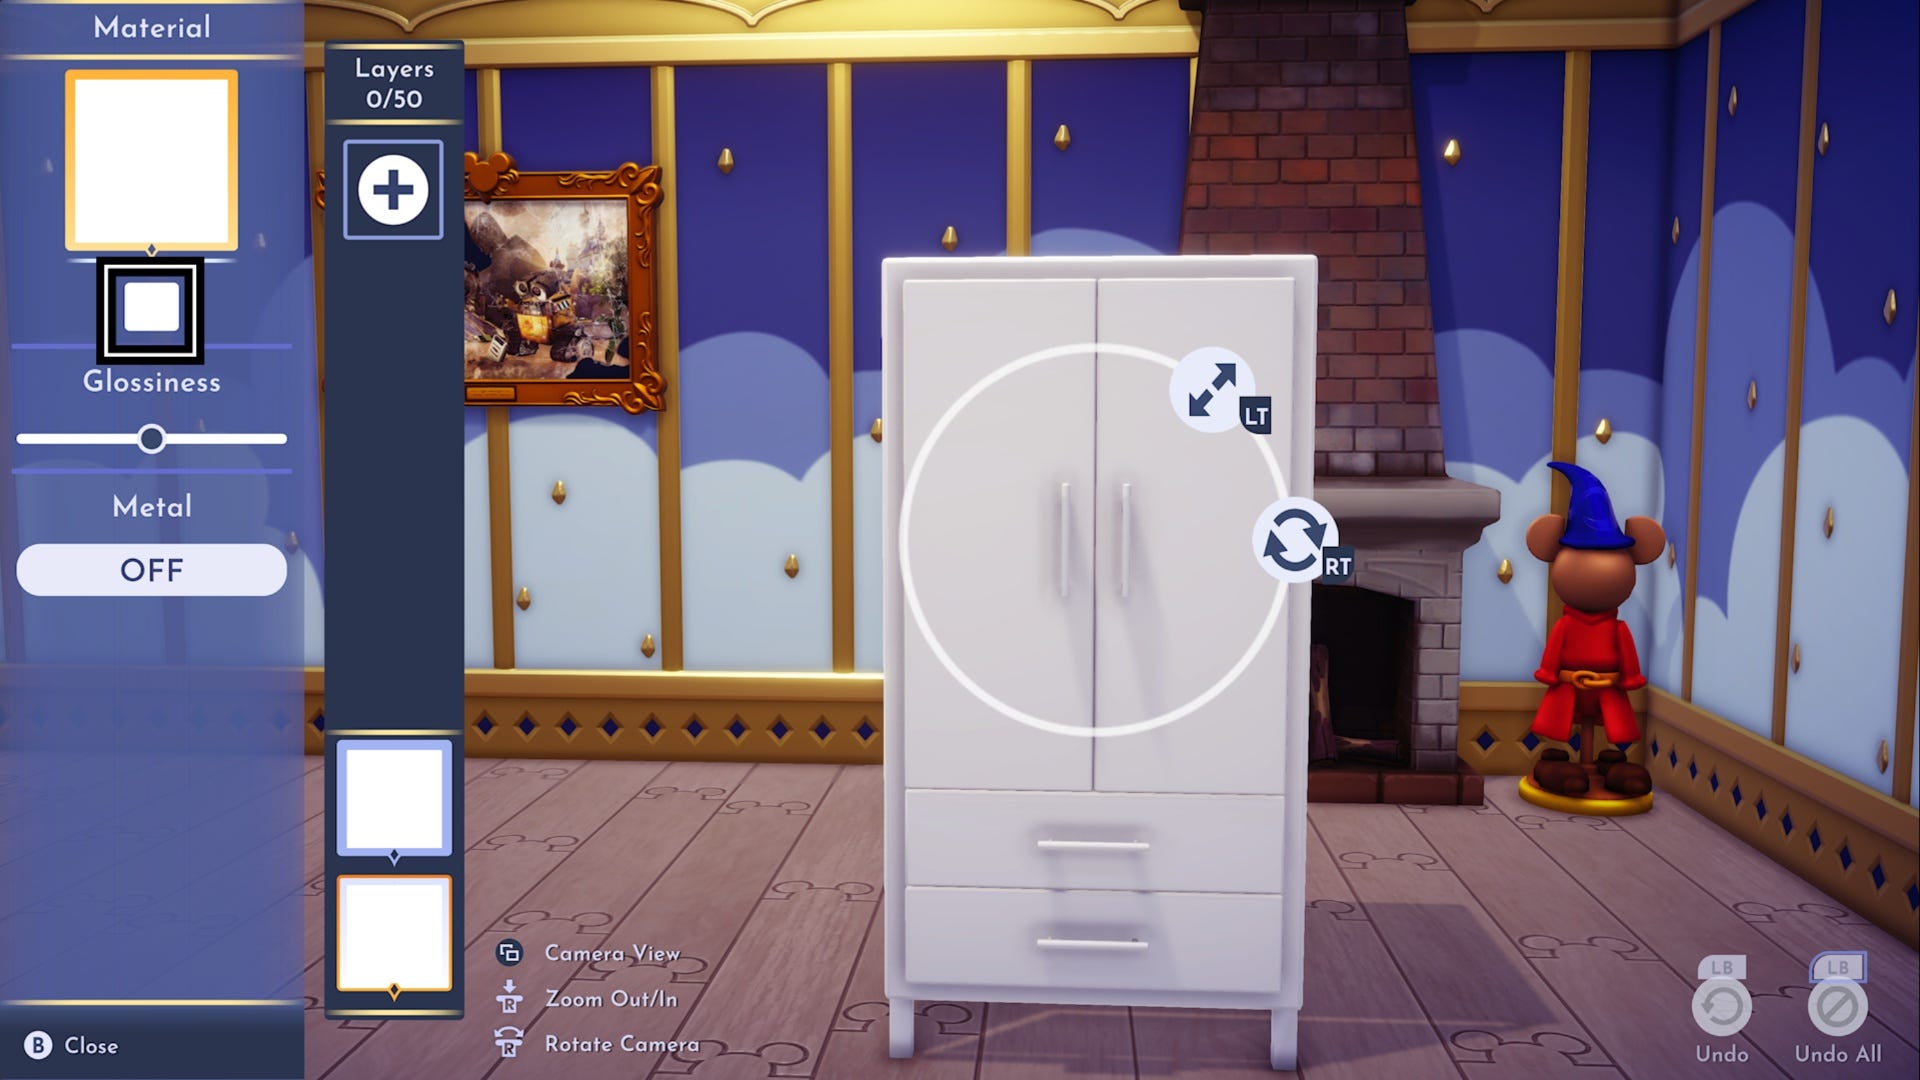
At the bottom of this side menu, you should see an option that says ‘Metal’. You can toggle this on and off to give your material a shiny, metallic effect.
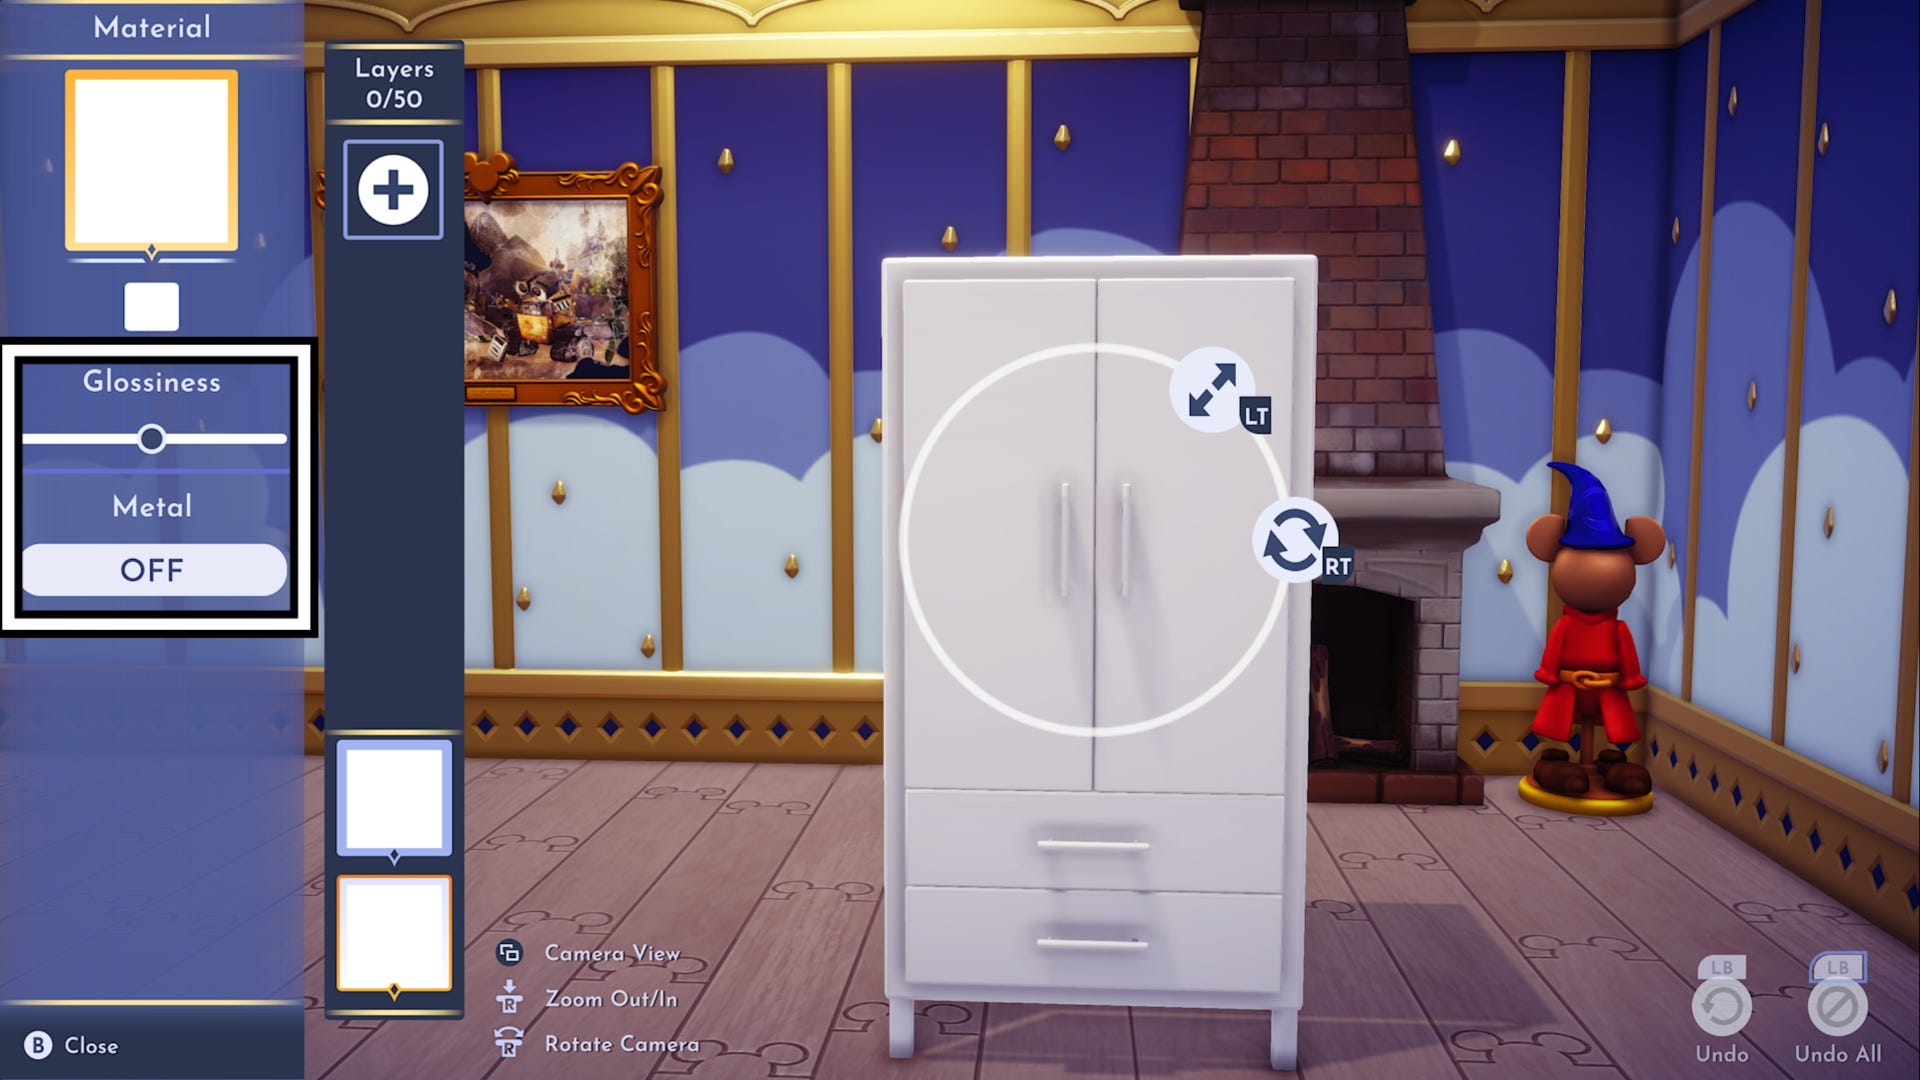
If you choose to have ‘Metal’ toggled to on, you can use the slider menu above it to adjust how intensely shiny your material is. When you’re happy with this, you can press back to get to the main customisation menu again.
Top White Square
The top white square will let you customise the rest of the wardrobe, and the options here are exactly the same as they were for the bottom white square.
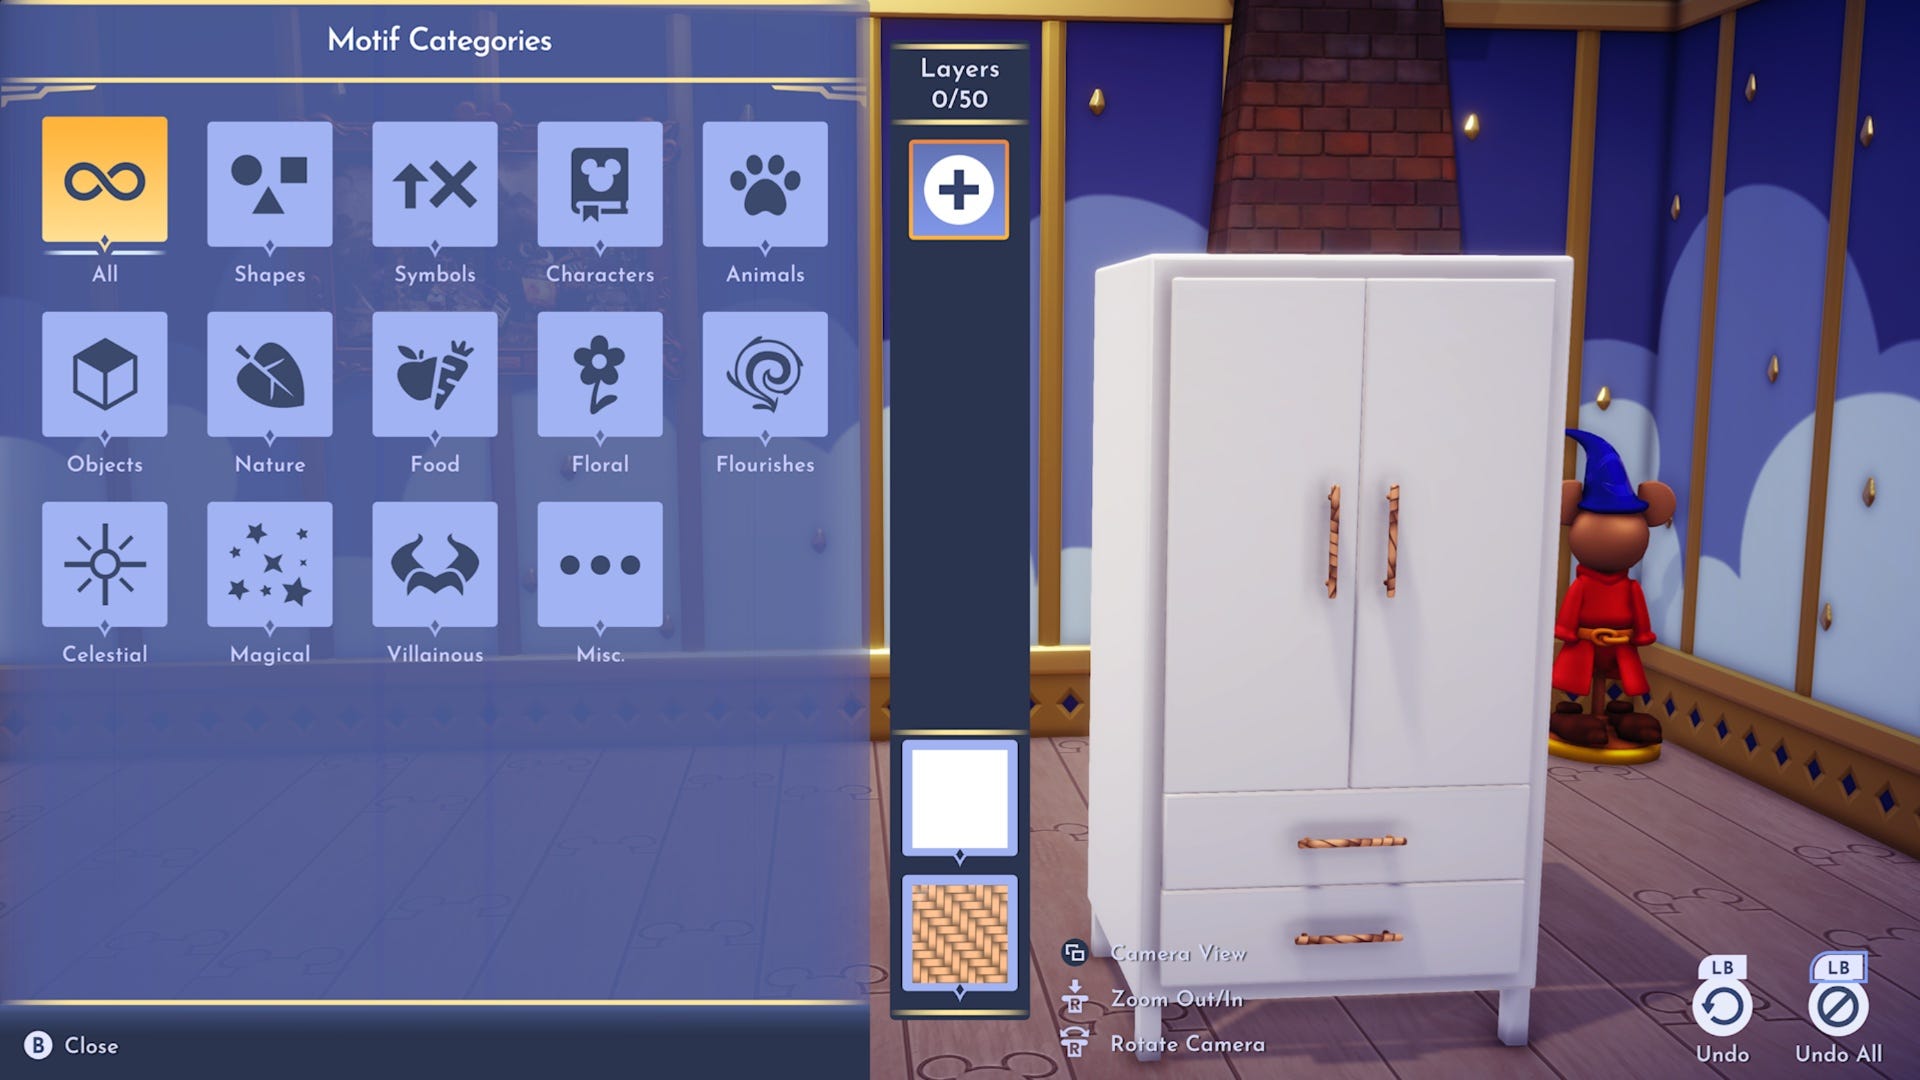
Very Top ‘+’ Square
Now, the very top square with the ‘+’ on it is where you need to go to add your motif stickers to your wardrobe design. You can add up to 50 different motif sticker layers to your design, which is plenty for a truly unique piece of furniture.
When you select this option, you will then get a smaller menu that shows you all of your motif options and these are the same motifs you have unlocked for your custom clothing. Motif stickers that have a little paintbrush icon next to them can have their colour changed once you apply them to your design.
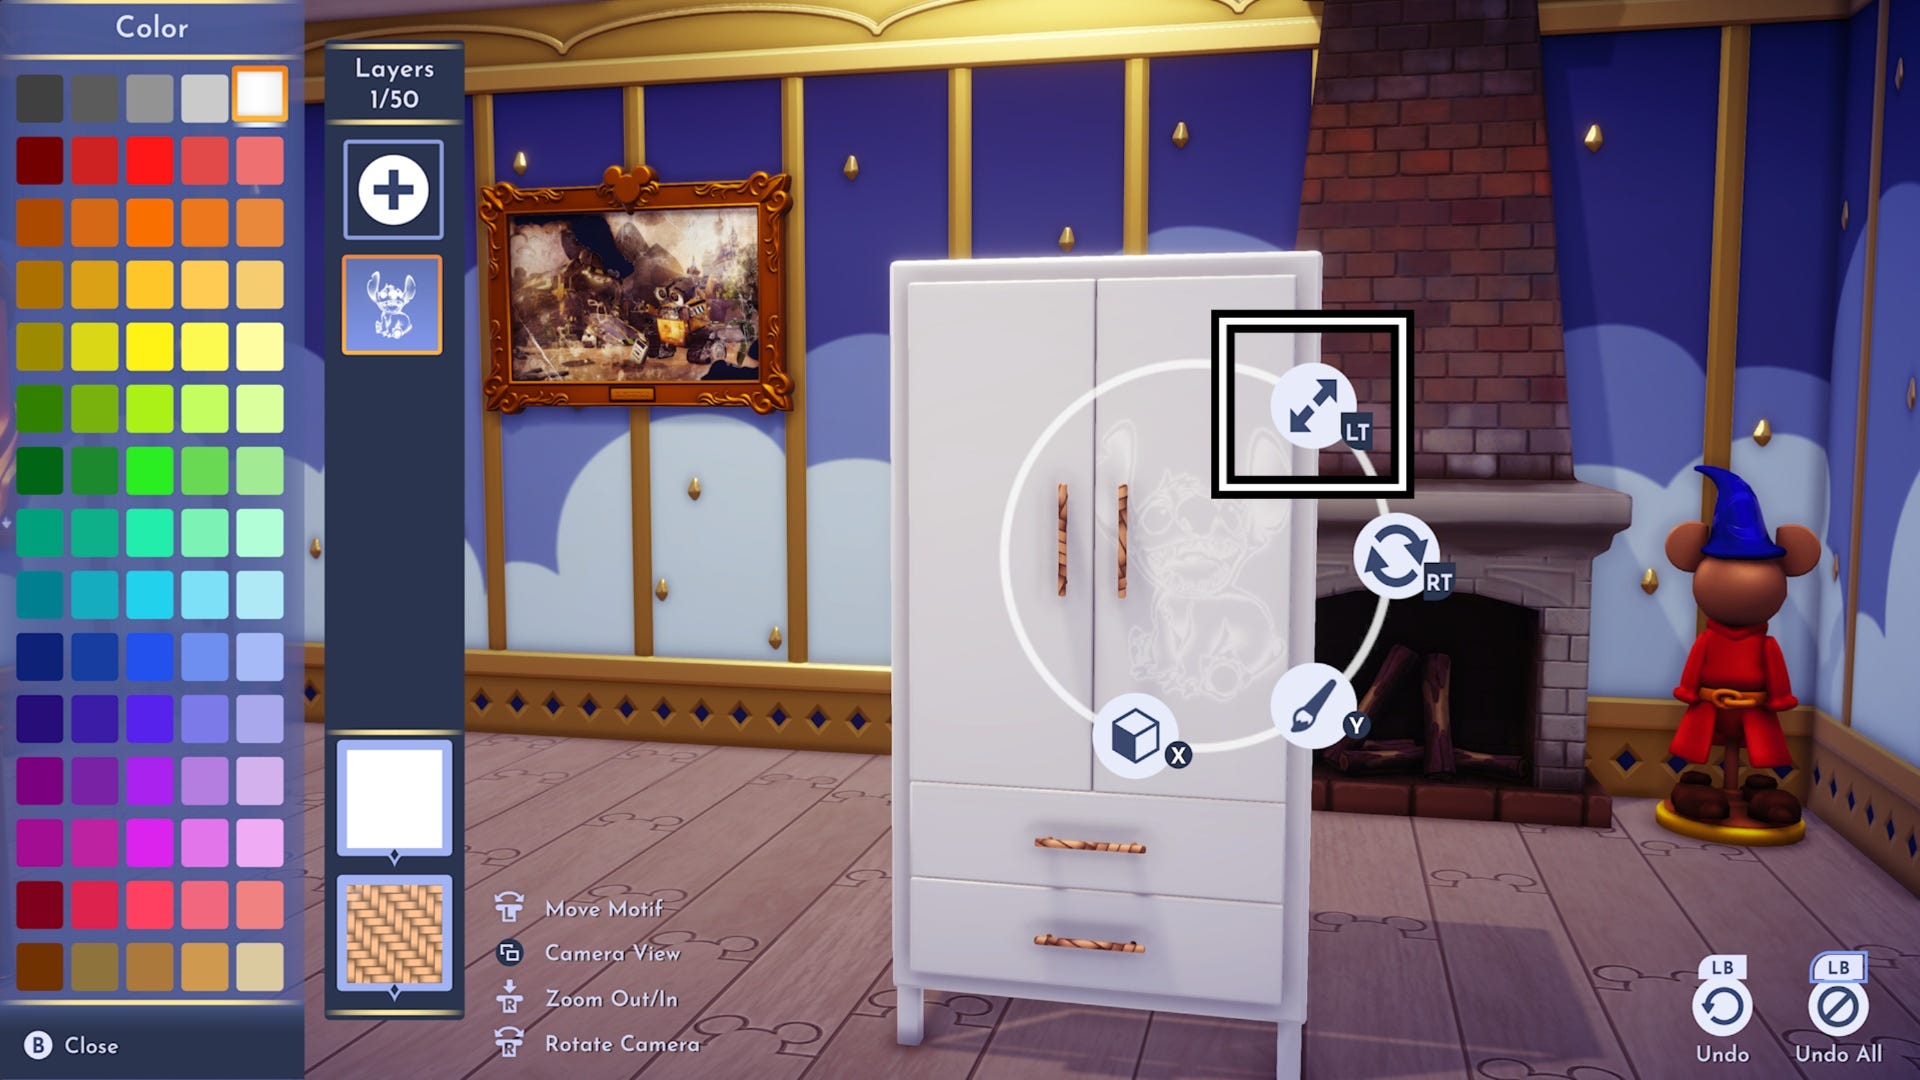
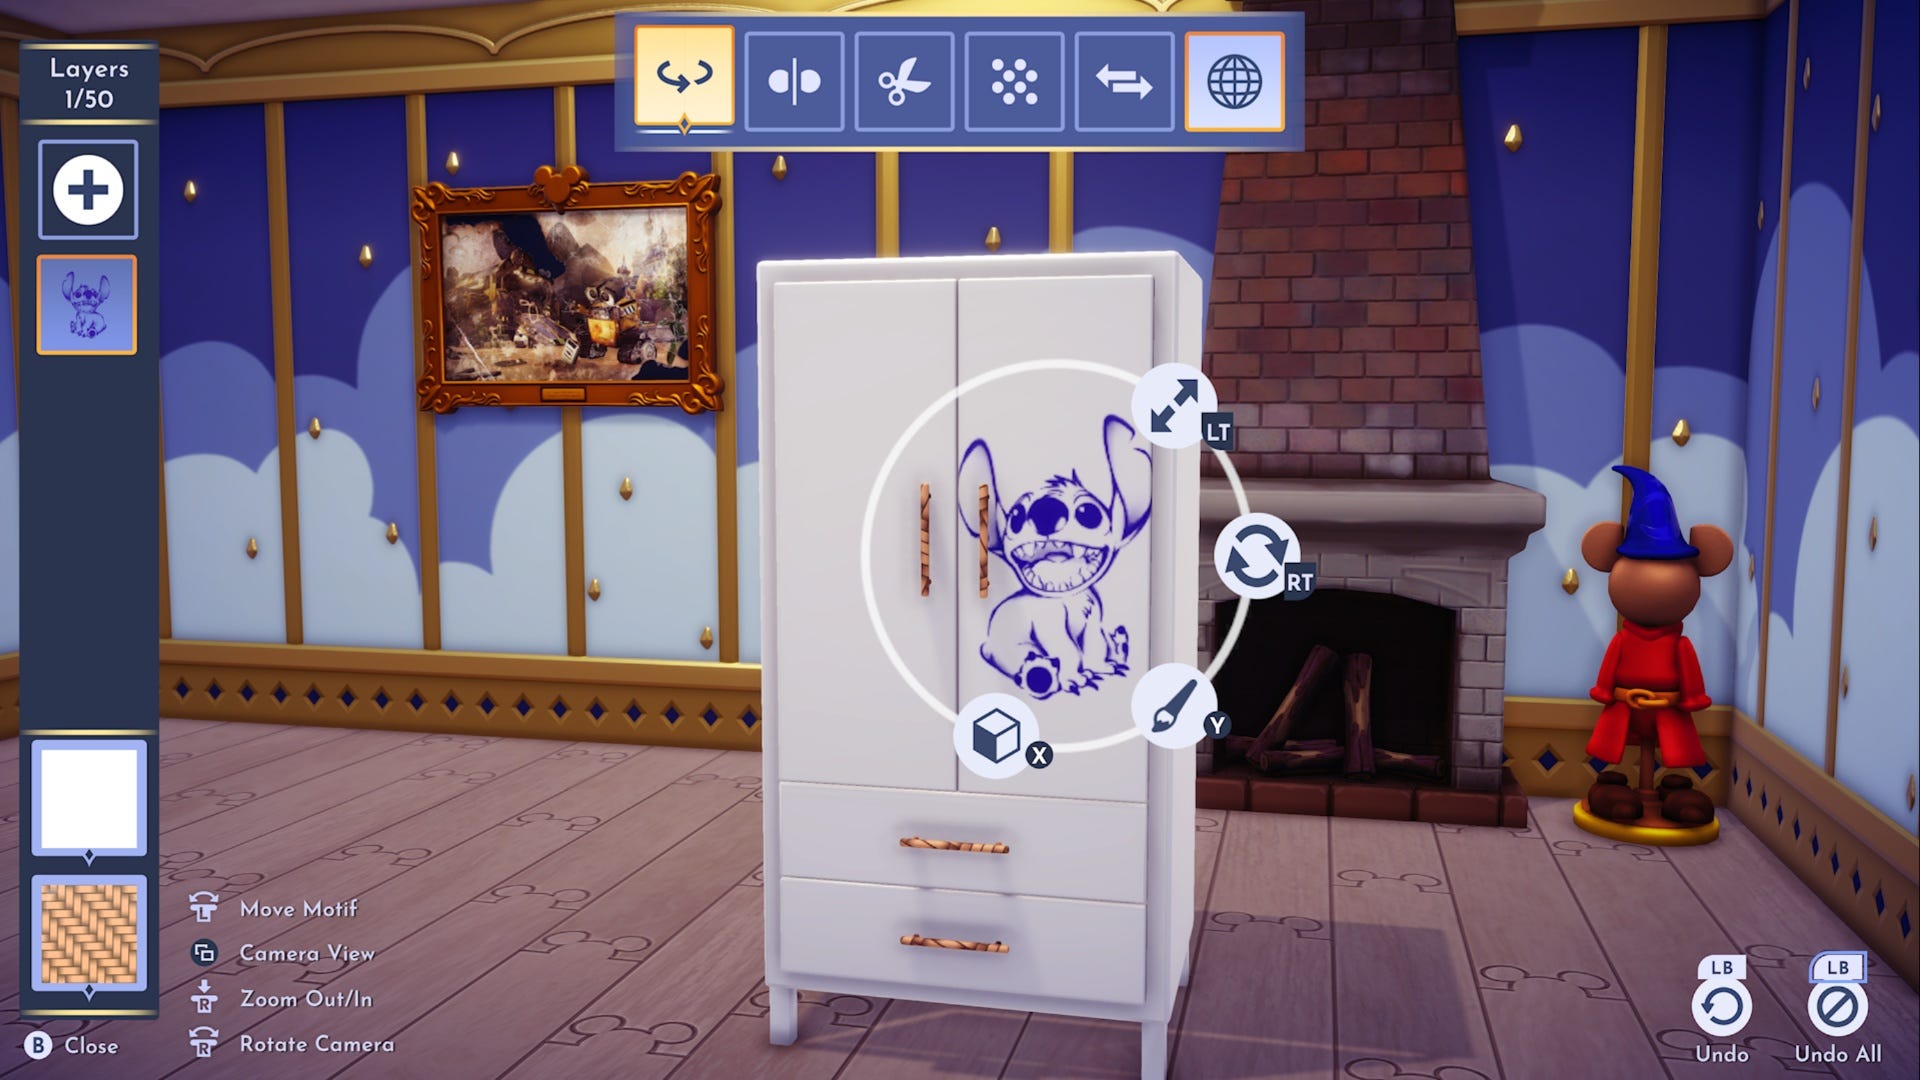
When you’re ready, pick your desired motif and it will appear on your wardrobe/piece of furniture. This is where the new customisation options start to appear.
The two arrows going in opposite directions can be used to make your motif sticker bigger and smaller.
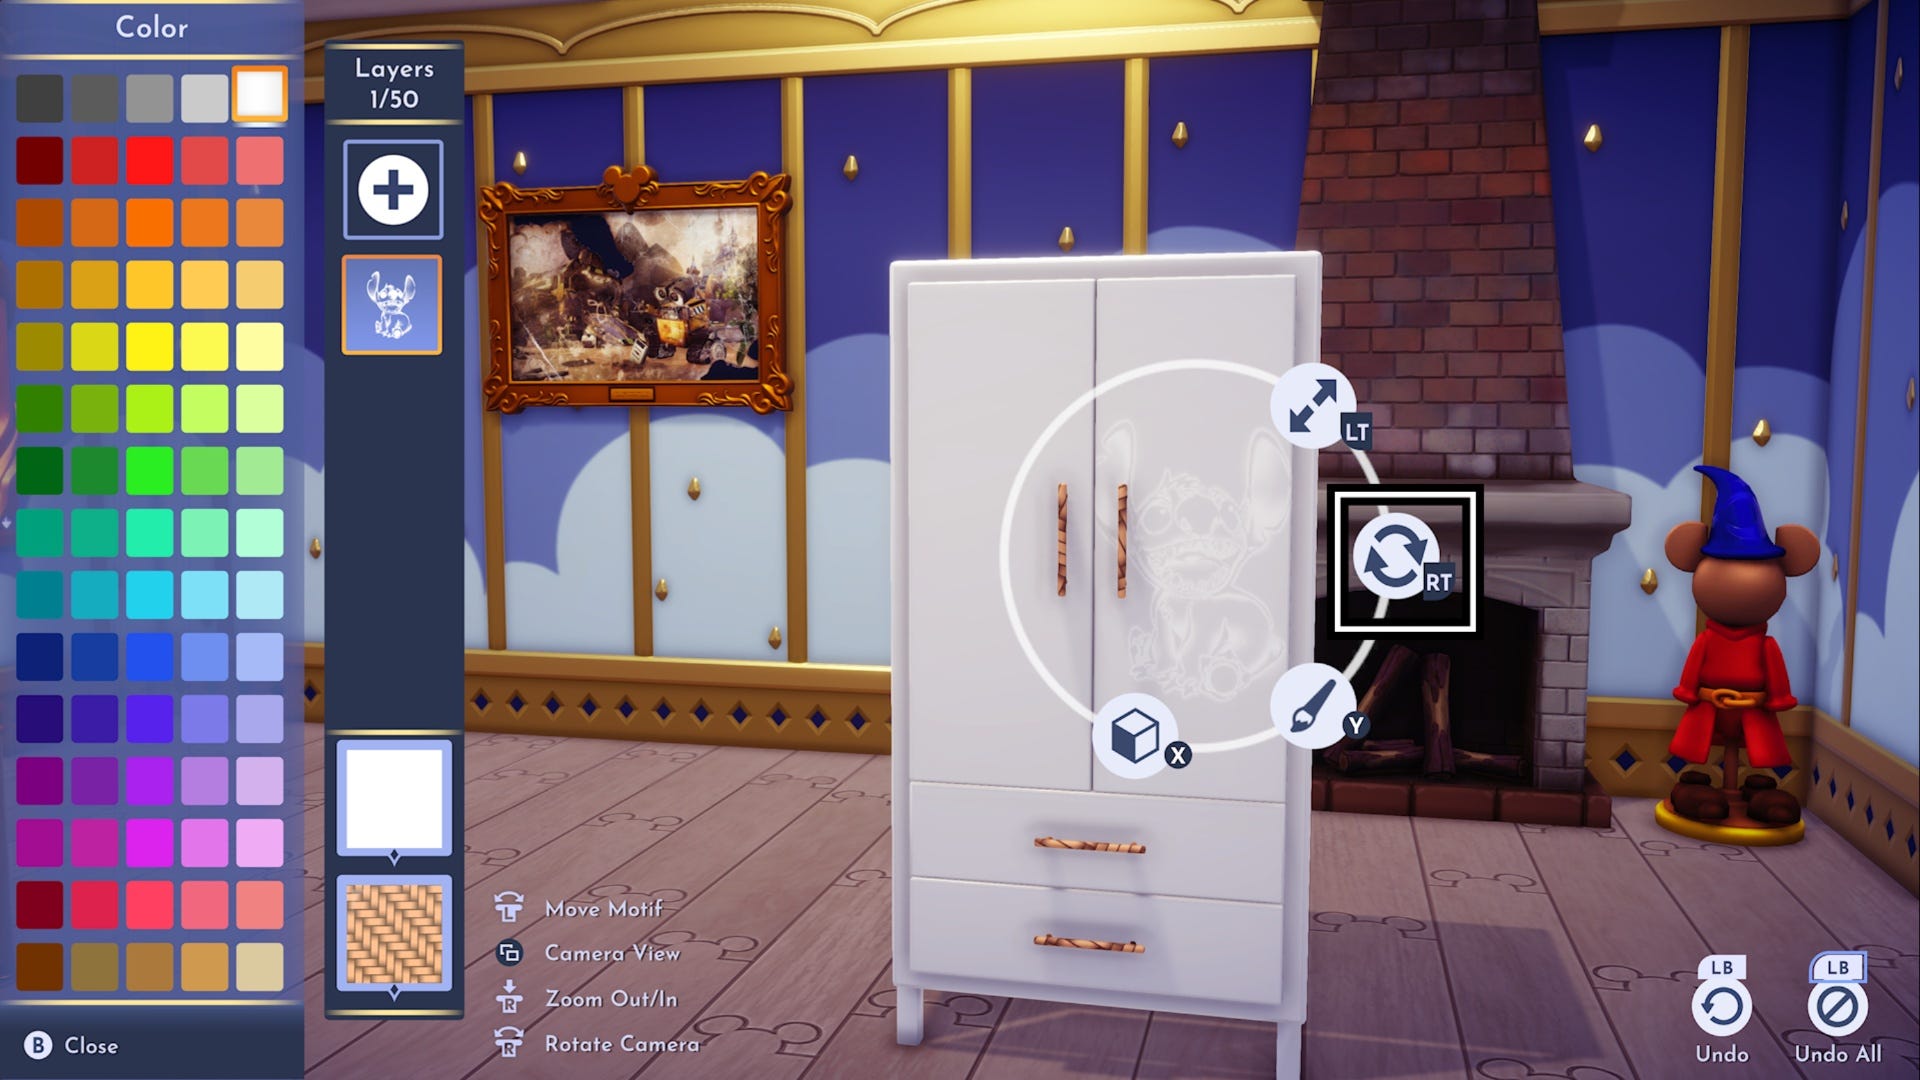
The arrows in a circle can be used to rotate your motif.
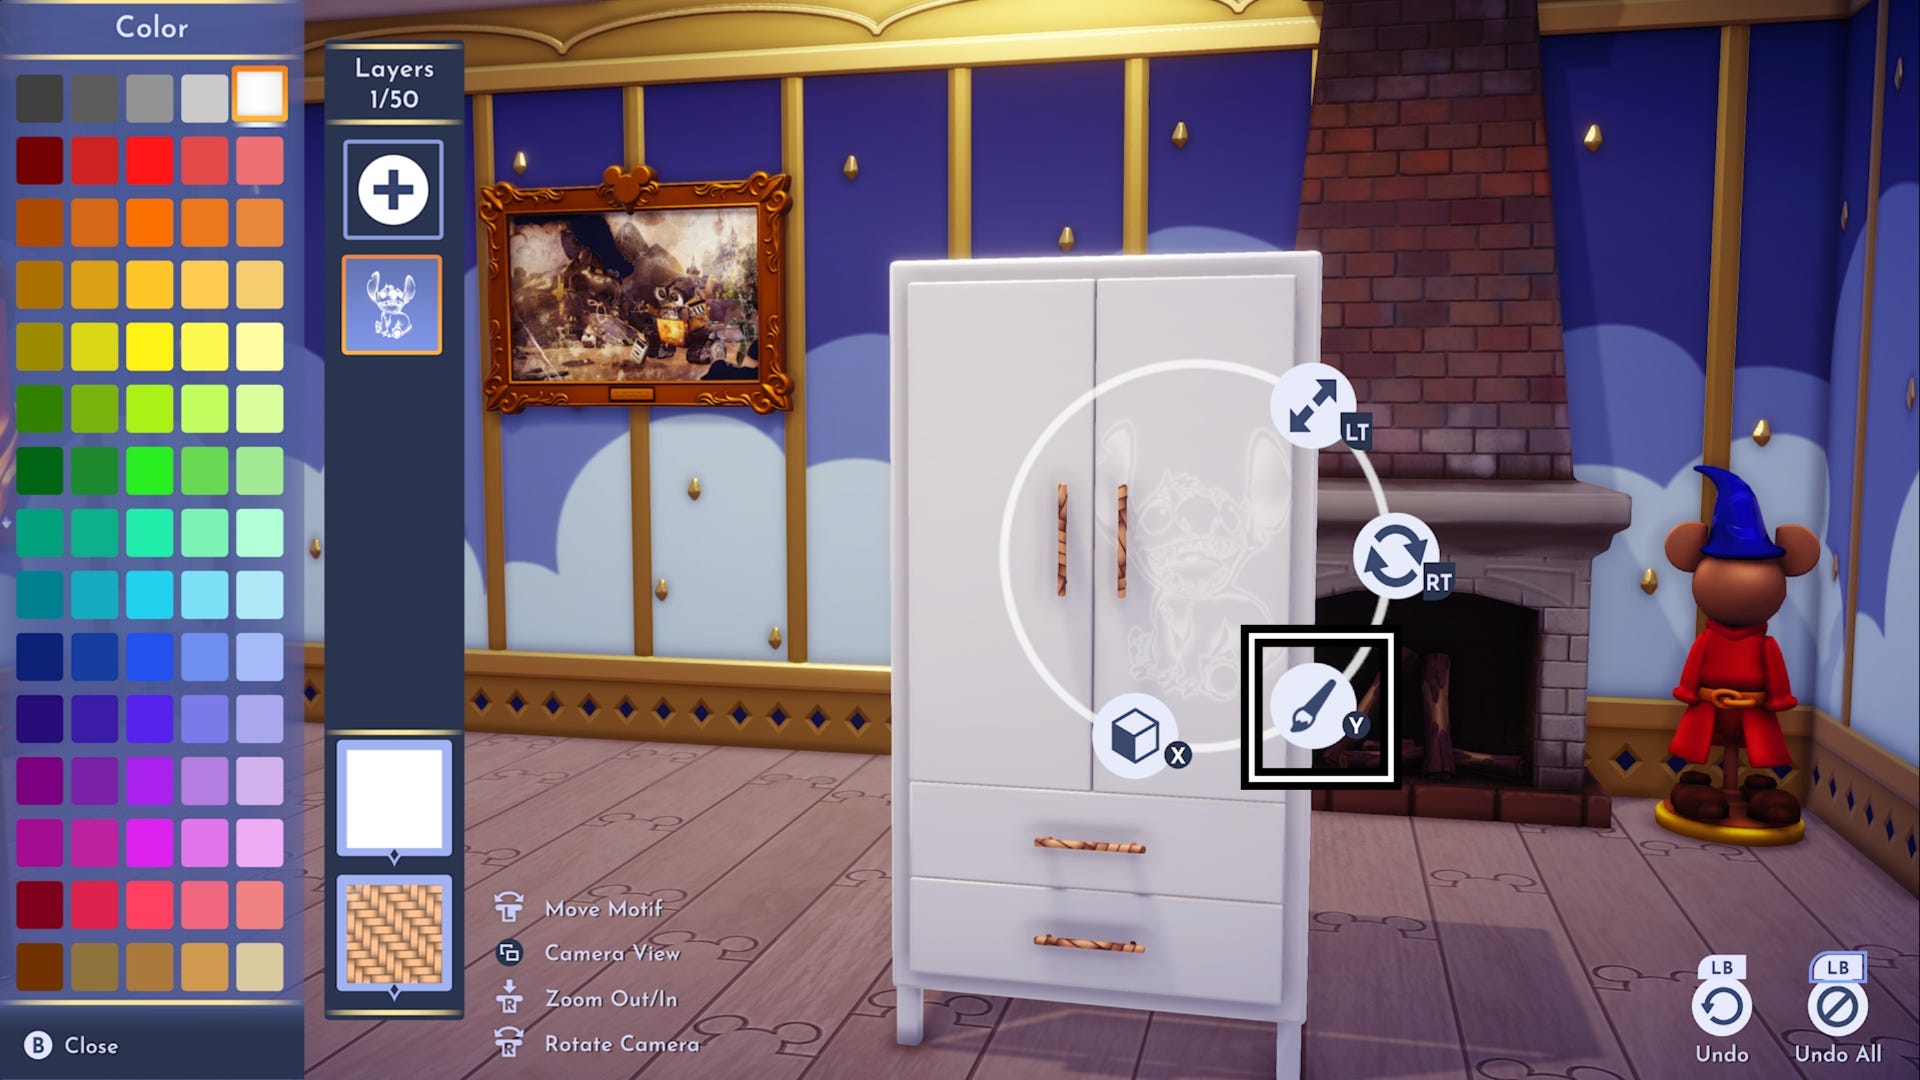
If you have it for that motif, the paintbrush icon can be used to change the colour of your motif.
Finally, the cube will bring up yet another separate customisation menu.
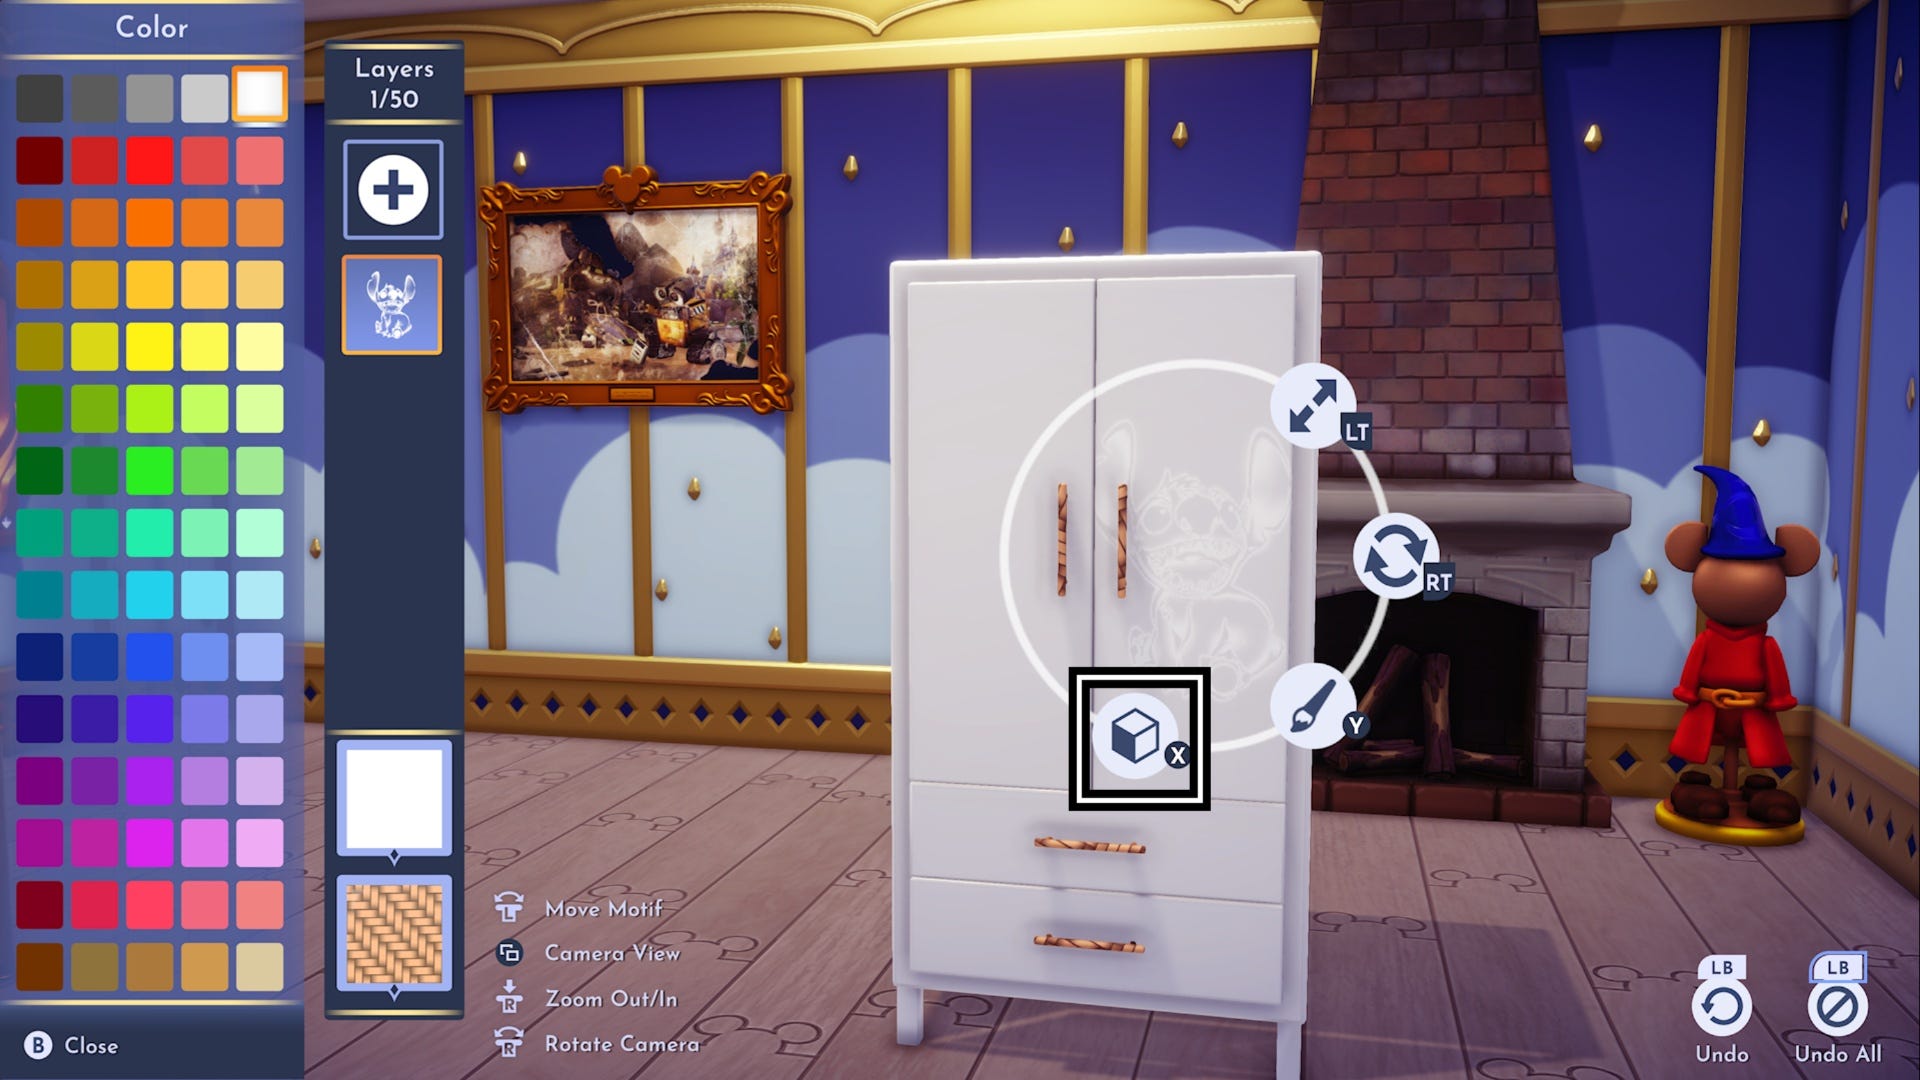
At the top of your screen, you should see six different option boxes. Here’s what all of them do.
The first option flips the motif in the opposite direction.
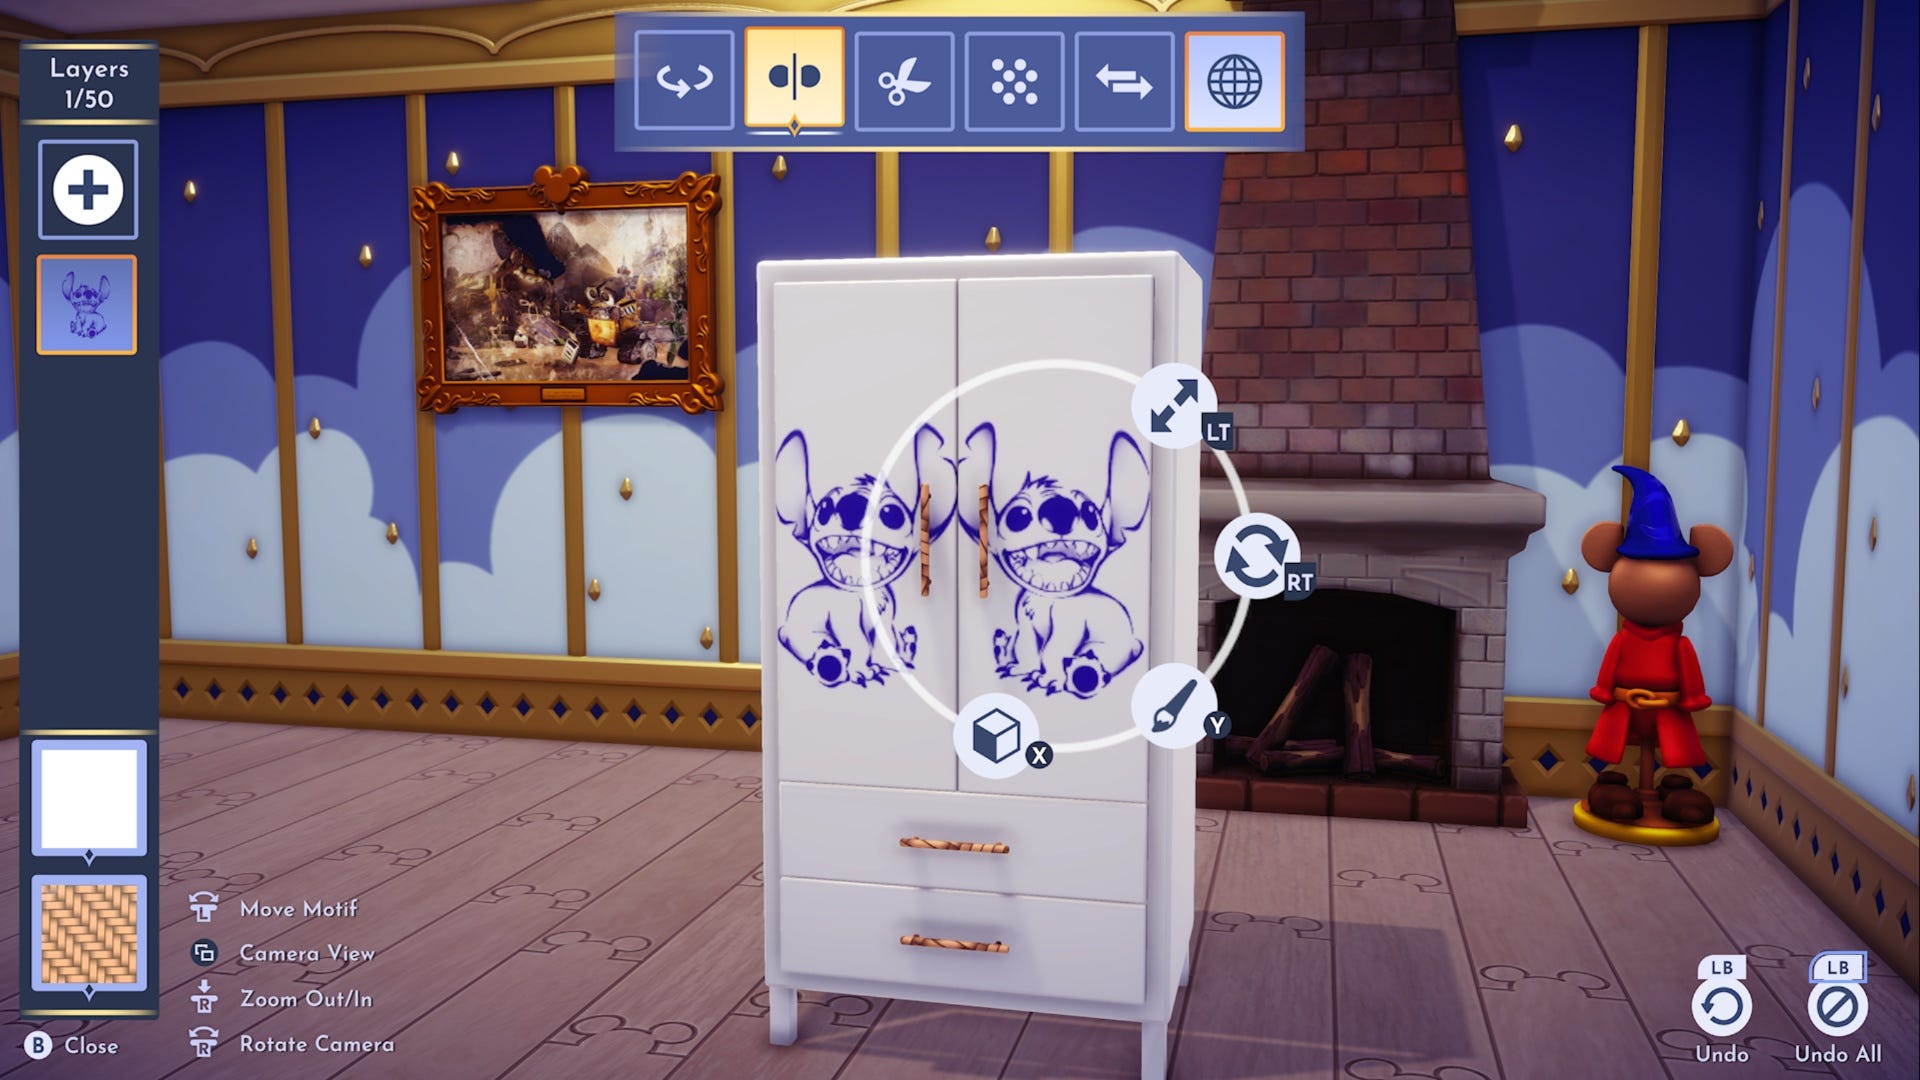
The second option mirrors your motif onto your design.
The third option cuts your motif off the design for the time being, but it will still be waiting for you in your side menu.
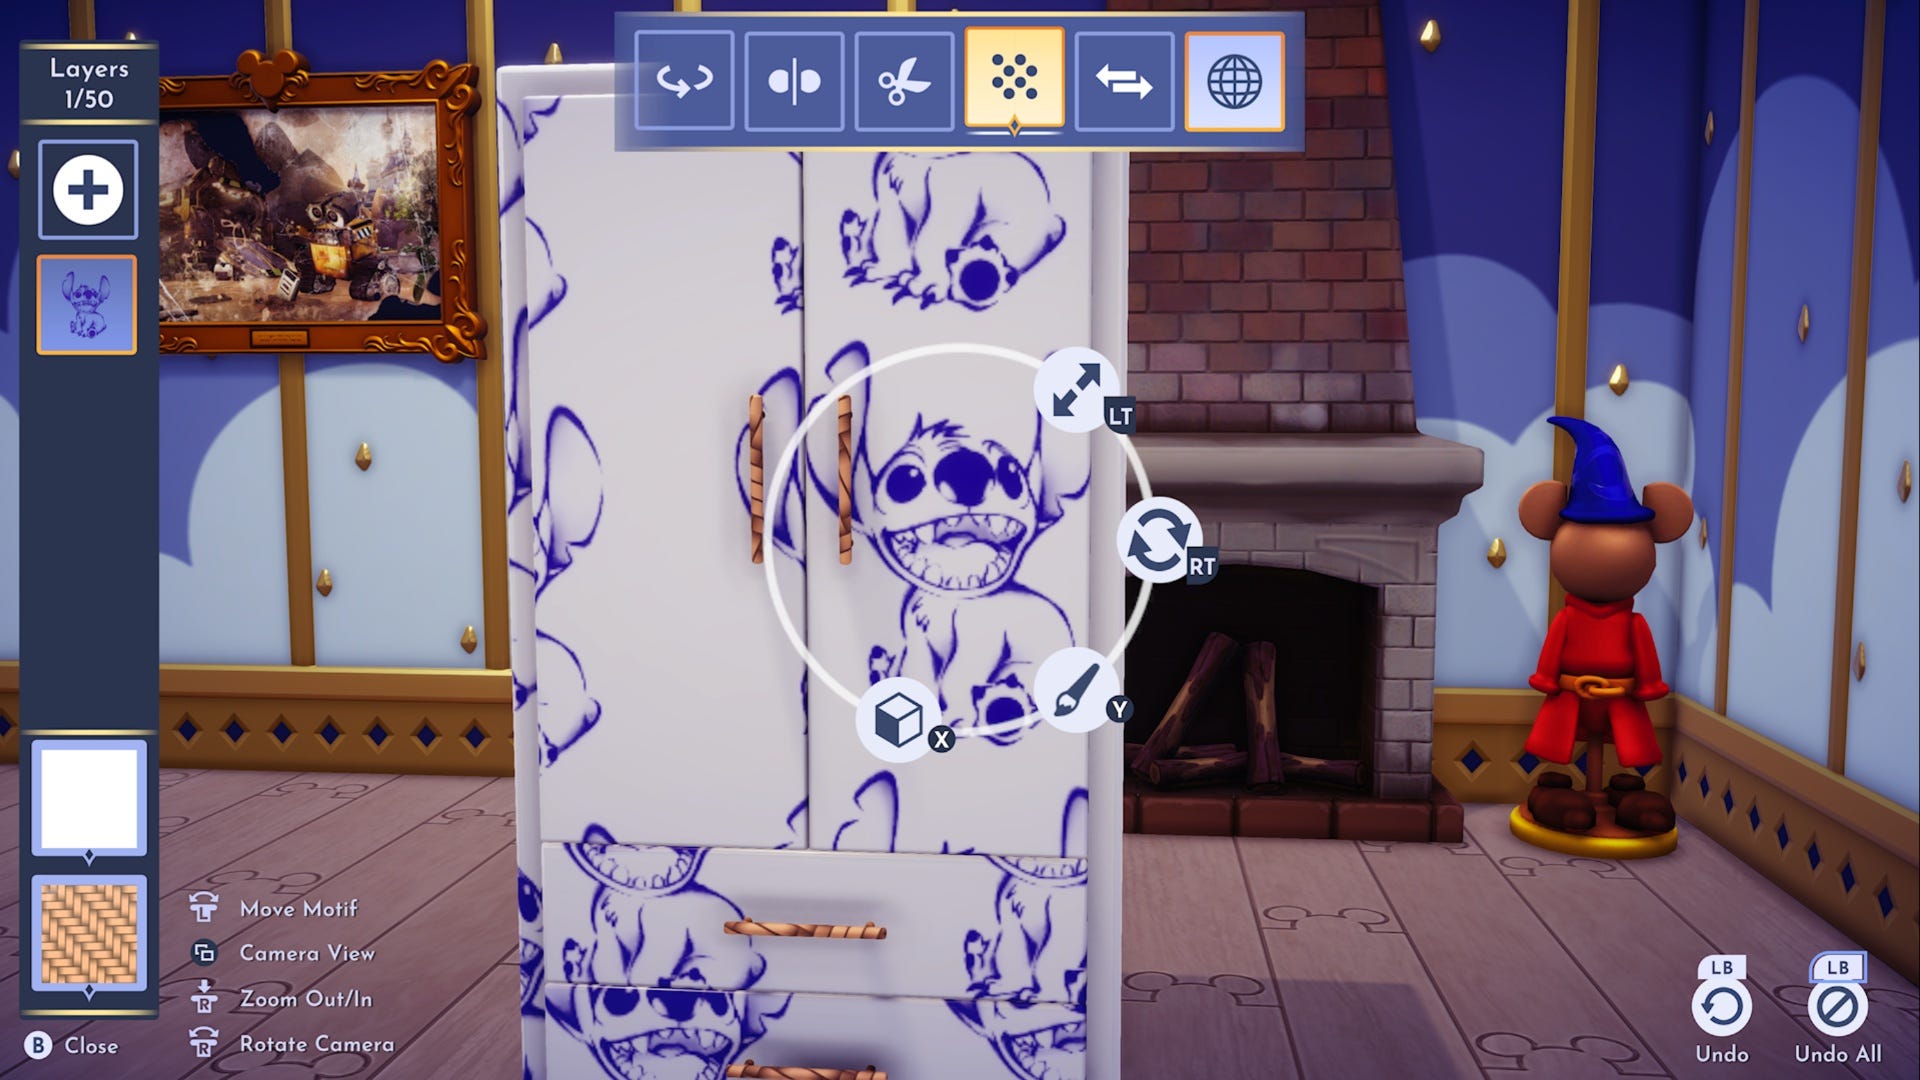
The fourth option will spread your motif across your piece of furniture in a pattern similar to polka dots.
The fift option will let you angle the motif in more detail.
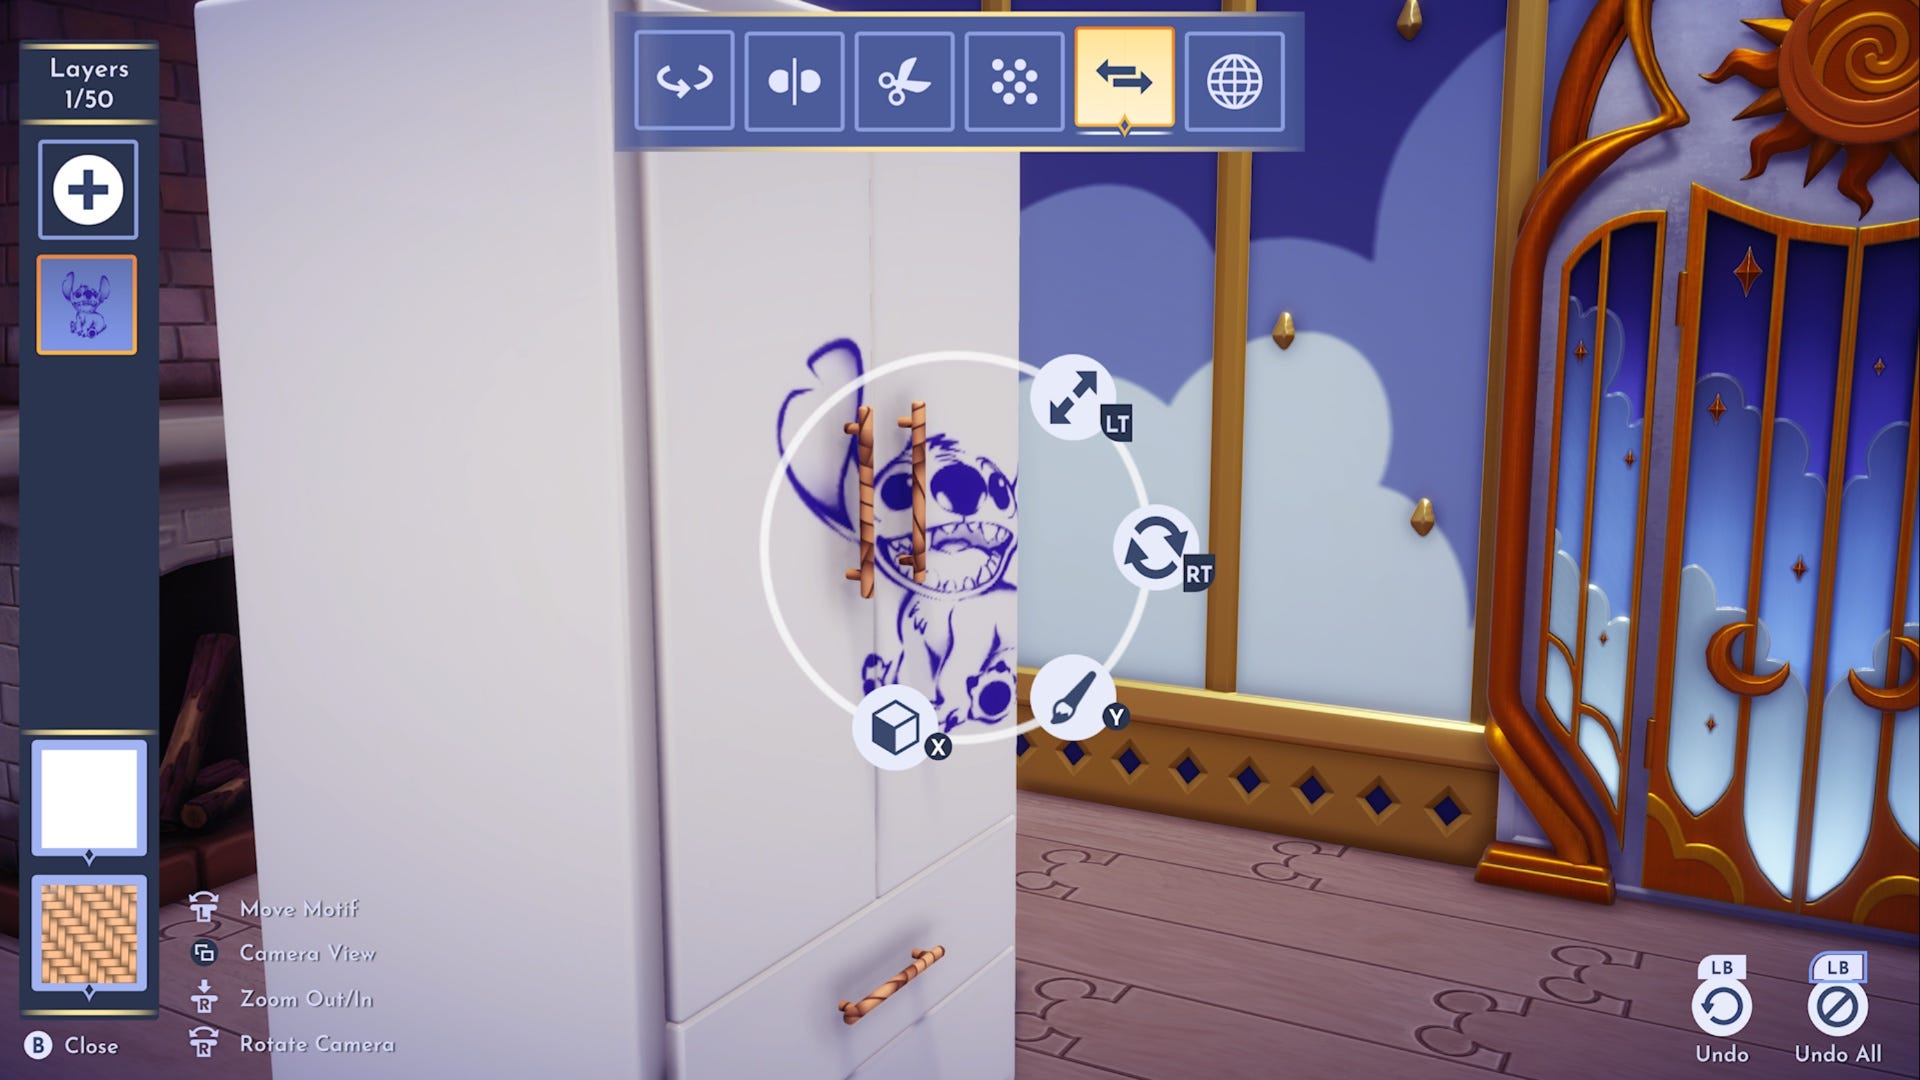
The sixth, and final, option on this menu will increase the size of your motif to spread it across a panel or piece of your design.
Phew, that was a lot but stay with us, we’re nearly there.
To move your chosen motif around your design, you can use your movement control. Remember, with some pieces like the Wardrobe you can move the motif around the entire furniture piece.
When you’re happy with the placement of your motif, you can press your action button to stick it down.
How to delete a furniture motif
Not happy with something you’ve done? You can select your motif from the layers menu on the left side of the screen and use the prompted command to delete it.
Be careful with this, once you delete a motif you will need to resize it and customise it from scratch if you choose to add it again.
How to place down custom furniture in Disney Dreamlight Valley
To place down a custom furniture piece in Disney Dreamlight Valley, go to the custom furniture menu as though you are creating a brand new piece.
Pieces that you have already created or that are in progress will appear in your inventory here. Select the piece you want to put down and place it as you would do with any other furniture piece.
Now that you have custom furniture, you should check out our guide on how to place multiple player homes in Disney Dreamlight Valley to find more places to fill with your epic creations.
