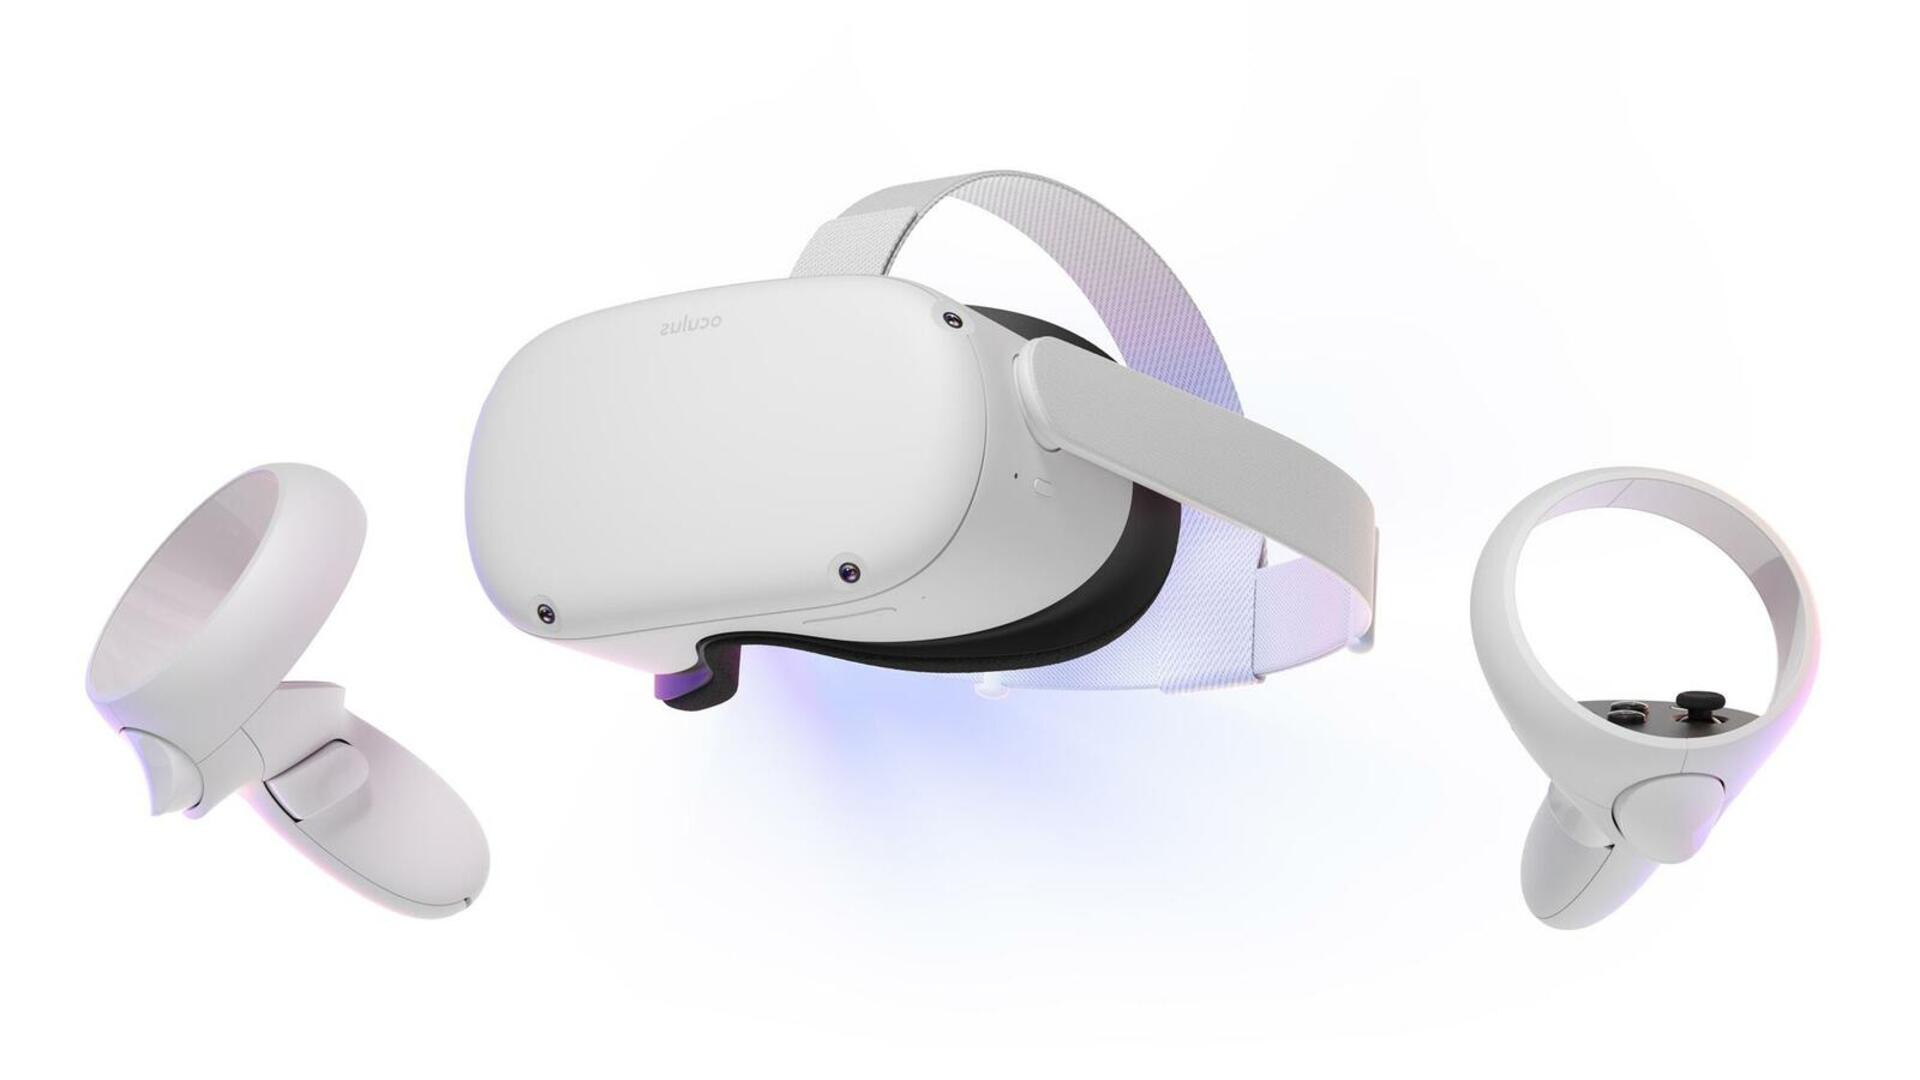
So, you just got a brand new Meta Quest 2 and are ready to play some virtual reality games. The great thing about the device is that you don’t need a dedicated PC in order to play games on it. For the most part, you can dive in right away and check out the Meta Quest store for the latest and greatest in VR. But what if you want to load up Steam VR instead? In that case, you’ll want to know how to connect the Meta Quest 2 to a PC — let us be your guide.
There are two ways to connect your Meta Quest 2 to your PC. Both options come with positives and negatives to keep in mind, and we’ll go through everything so you can stay aware. The first option is via a USB cable. Your Meta Quest 2 has a USB-C port on the left side — that’s your ticket in. The second way to connect the headset to your PC is via wireless, but that takes a few extra steps.
How to connect Meta Quest 2 to a PC
Wired
On the left side of your Oculus Quest 2 headset is a USB-C port, just underneath the strap. You’ve more than likely been using it to charge your headset. If you haven’t, then you should really charge your headset. These devices only come with a 3640mAh battery, and its charge life isn’t as long as you think — especially if you play high-performance games.
Your first step is to download the Oculus Rift software. Navigate over to the Meta Quest website, and scroll down until you see the section that reads ‘Air Link and Link cable.” Download the software and install it. Once you have it installed, you’ll need to a few steps to connect your Meta Quest 2 to your PC.
- Connect the Meta Quest 2 to your PC using a USB-C cable to a USB 3.0 slot.
- Put on the headset and hold the controllers.
- A screen will show, reading: ‘Allow connected device to access files? The device that you’re connected to will be able to accsss files saved on your headset.’ Click on ‘Enable.’
- Next, you’ll see a new window that reads: ‘Enable Oculus Link – Access Rift apps while your Quest is plugged into your PC. You can enable/disable this from Quick Settings at any time.’ Again, click on ‘Enable.’ You can also click on ‘Don’t Show Again’ if you want to skip this second step for next time.
With that, you’re now connected to Oculus Rift and can play PCVR games and activate Steam VR. To do the latter, scroll toward the bottom of the page.
Wireless
To connect your Meta Quest 2 wirelessly to your PC, you’ll need to follow some different steps.
- Put on your headset and grab your controllers.
- Make sure your headset is connected to your Wi-Fi (this is kind of important). If not, do this first before moving to the next step.
- Navigate to the Settings menu, signified by a ‘cog’ icon.
- Scroll down until you see the option that reads ‘Experimental’ and click on that.
- You’ll see an option called ‘Air Link.’ Toggle that on.
- On the next screen you’ll see a list of Air Link Requirements. Note, you should use this screen to determine if you can link to your PC wirelessly without issue. Hit continue if it all looks good.
- In the main menu, you’ll see a new option called Air Link. Click on that, click on your PC, then hit ‘Pair.’
- In the next screen, you’ll be asked to confirm a pairing code. Remove the headset and go back to the Oculus Rift app on your desktop PC. Click on ‘Confirm’ and follow the instructions.
- Put your headset back on and click the ‘Launch’ button to open up Oculus in your headset.
- You’re in (cue hacker music)!
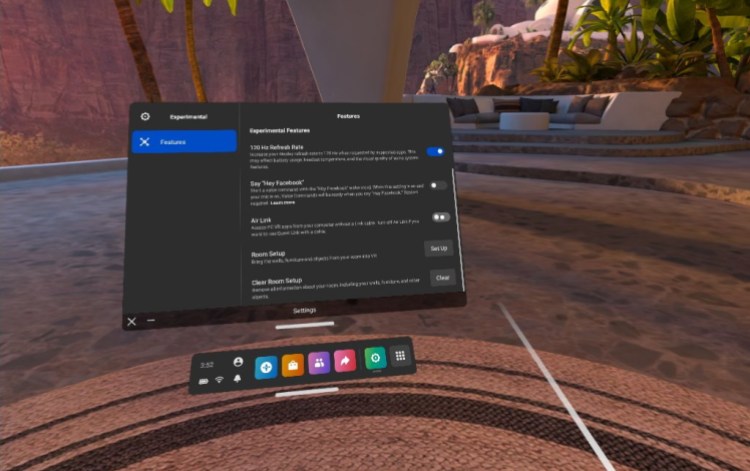
Screenshot by PC Invasion
Once you’re done following the above steps, you’ll be good to play your games wirelessly. But before that, there are a few caveats to note.
Things to think about before playing wirelessly
To play the Meta Quest 2 wirelessly, you do have a few things worth knowing. For one, you’ll need a wireless router that is at least capable of 2.4Ghz. Keep in mind, you’ll likely lose video game quality with 2.4Ghz and you may also run into syncing issues (we have with both). It’s recommended that you have a decent connection and pair your headset with a router capable of Wi-Fi 6. It supports a higher linkrate than Wi-Fi 5, which means the quality of your games can be displayed at a level that’s near a wired connection. Plus, you will be less likely to run into any performance issues. If you don’t have Wi-Fi 6, then make sure your router is capable of 5GHz.
Playing wirelessly does have its benefits, of course. If you play wired, then you’ll need a long USB 3.0 cable, that way you can move around a little without yanking the cable from your rig. However, unless you have a 15-foot cable, you may still have problems if you like to wander. Plus, a cable that long can be a tripping hazard. Ultimately, the best way to play the Meta Quest 2 is with a wireless connection on Wi-Fi 6. There are benefits to playing wired. For one, your game quality will be at the maximum you have set for your headset. Plus, being connected prevents the headset battery from draining too quickly. It still will in many cases, especially for heavy-duty games, but not as fast as it would on wireless.

You can play Among Us VR wired or wirelessly. It’s your choice. Image via Innersloth
How to connect your Meta Quest 2 to Steam VR
A major benefit to connecting your Meta Quest 2 to your PC is being able to enjoy VR games on Steam VR. To do so, you’ll need to download and install the free Steam VR app from the Steam Store. It’s roughly 6.5 GB, so it’s not so bad on your storage space. You’ll need your Oculus Rift app and Steam open to play Steam VR. With Steam open on your monitor, put your headset back on.
When you’re in the Oculus menu (it’s big and white), click on the Desktop icon that looks like a little monitor. Choose the monitor with your Steam app, navigate to Steam VR, and press ‘LAUNCH.’ This will take you to a large, black room usually. Press the button on your left controller that looks like three lines stacked on each other. That will open the game library, where you can play any Steam VR game you have downloaded. Have fun!
