Horizon Forbidden West: All Rebel Camp Locations
In Horizon Forbidden West, you are presented with a plethora of engaging activities beyond the main story missions and side quests. Among these is the task of clearing out Rebel Camps, which are occupied by the fearsome Tenakth Rebels and their leaders. These camps pose a unique challenge, as they are larger than the typical Rebel Outposts but are fewer in number.
To succeed in infiltrating and neutralizing these Rebel Camps, you must employ the right combination of skill and strategy. If you find yourself struggling to locate these camps, this comprehensive guide provides the exact locations of each camp, as well as expert advice on how to successfully clear them out.
Rebel Camps Overview
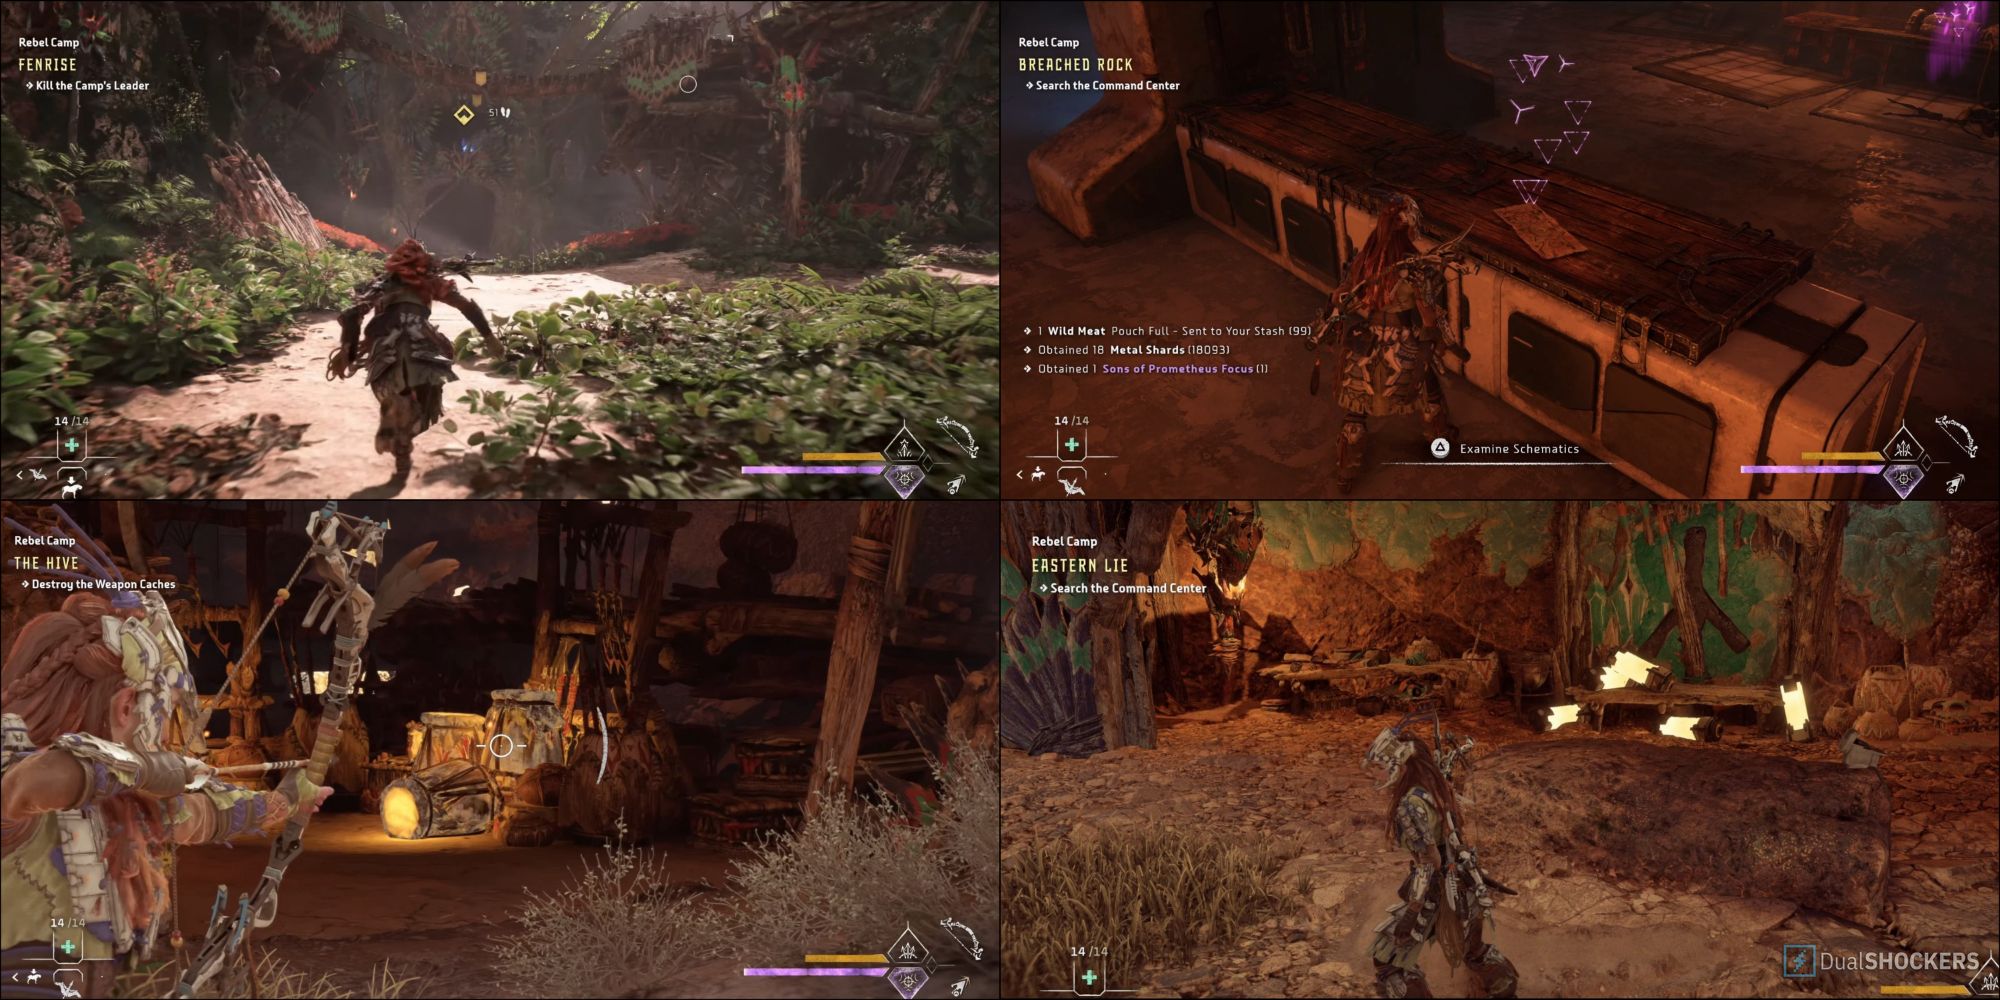
There are six Rebel Camps scattered throughout the game world, each posing a challenging obstacle to overcome. These camps — Eastern Lie, The Hive, Devil’s Grasp, Fenrise, Breached Rock, and First Forge — require you to eliminate the camp leader and complete a variety of tasks in order to fully neutralize the base.
While you are free to tackle these camps in any order you choose, the final camp must be completed only after the other five have been cleared. Once all of the Rebel Camps have been successfully neutralized, you will earn a prestigious trophy and be rewarded with the highly coveted Sun Scourge Legendary weapon.
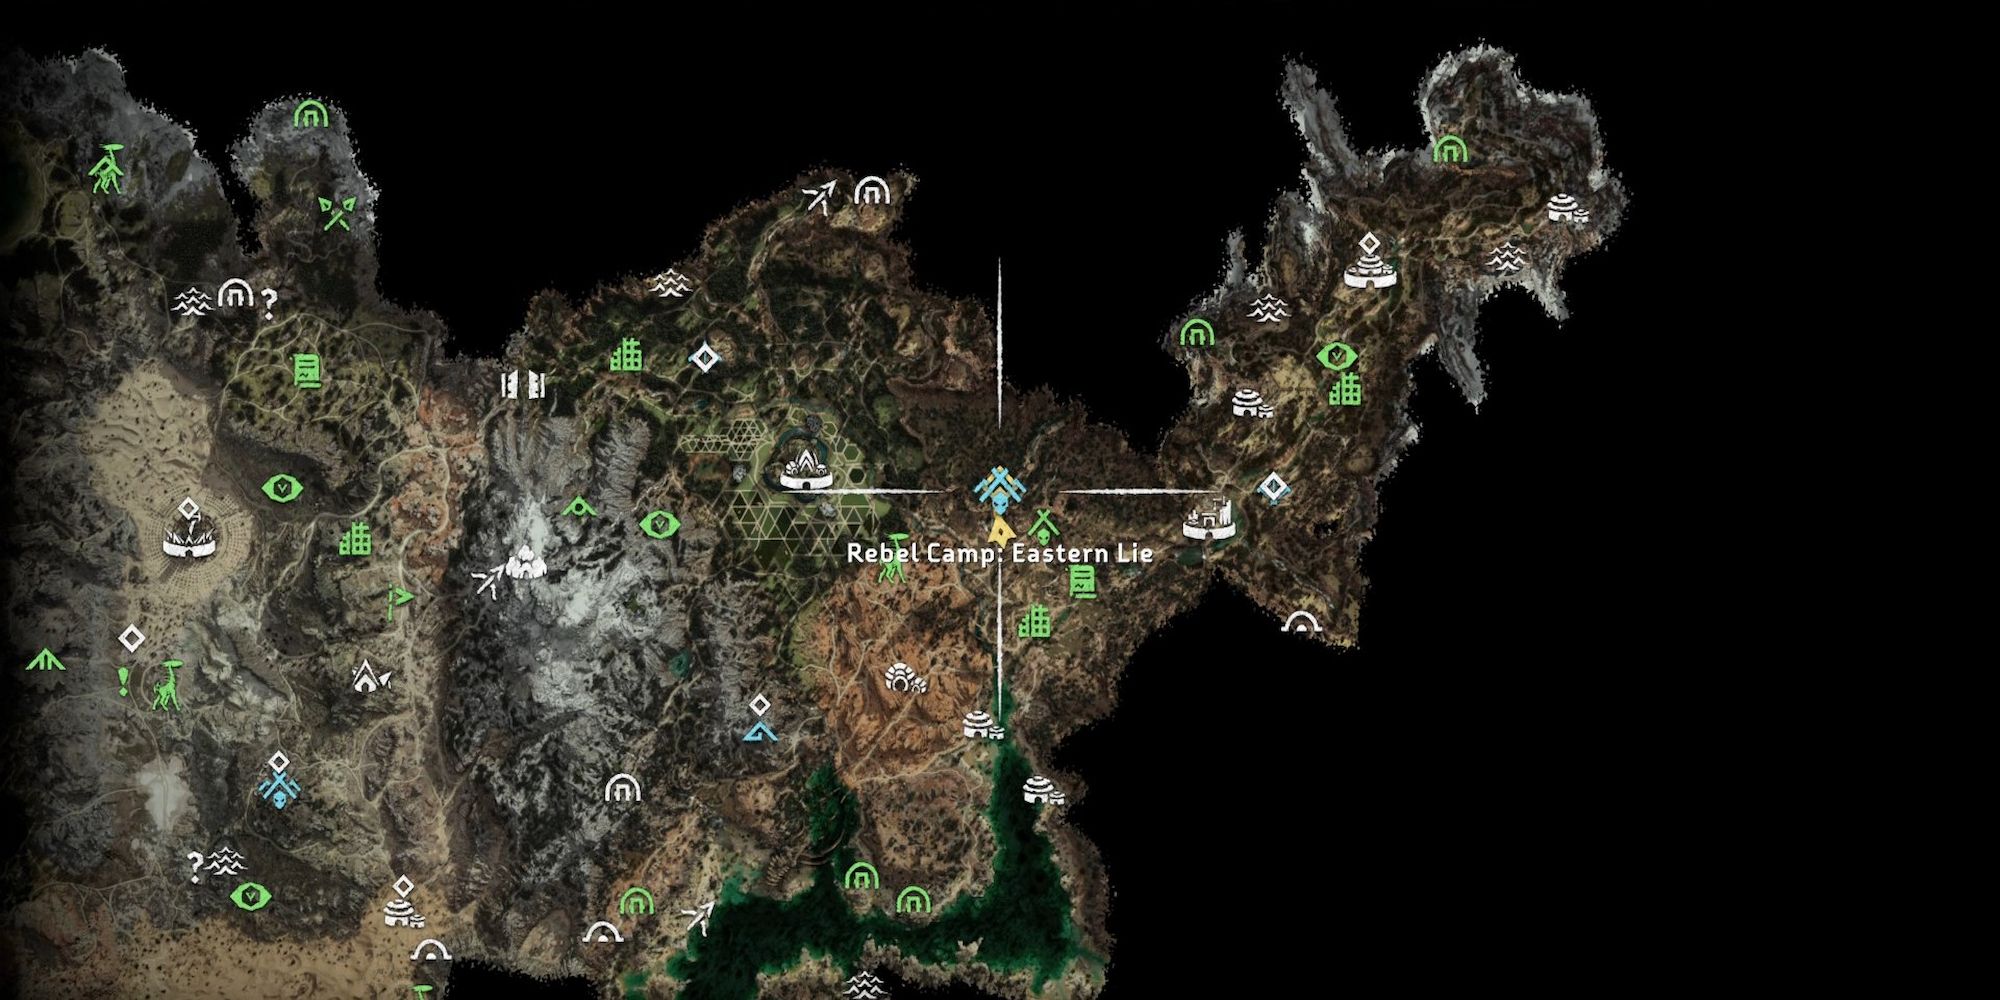
Eastern Lie – No Man’s Land
The journey to clear all six Rebel Camps in Horizon Forbidden West starts with the Eastern Lie Rebel Camp, the easiest one to take down located Northwest of Barren Light. While it’s advisable to maintain stealth while infiltrating these camps, players seeking a more action-packed approach can certainly do so, as long as they have enough ammo and supplies to back them up.
Upon reaching the Eastern Lie Rebel Camp, you will encounter the guards closing the front gate, obstructing your path. To bypass this, you must follow the river on the left side to sneak your way in. Once inside, you’ll need to lower the drawbridge with your reliable bow to enter the heart of the camp.
Be prepared to face the camp leader, who will undoubtedly put up a fierce fight. These leaders are typically much stronger than regular enemies and will require a significant amount of damage to be defeated. Once the leader is eliminated, you must search the Command Center to fully clear the camp.
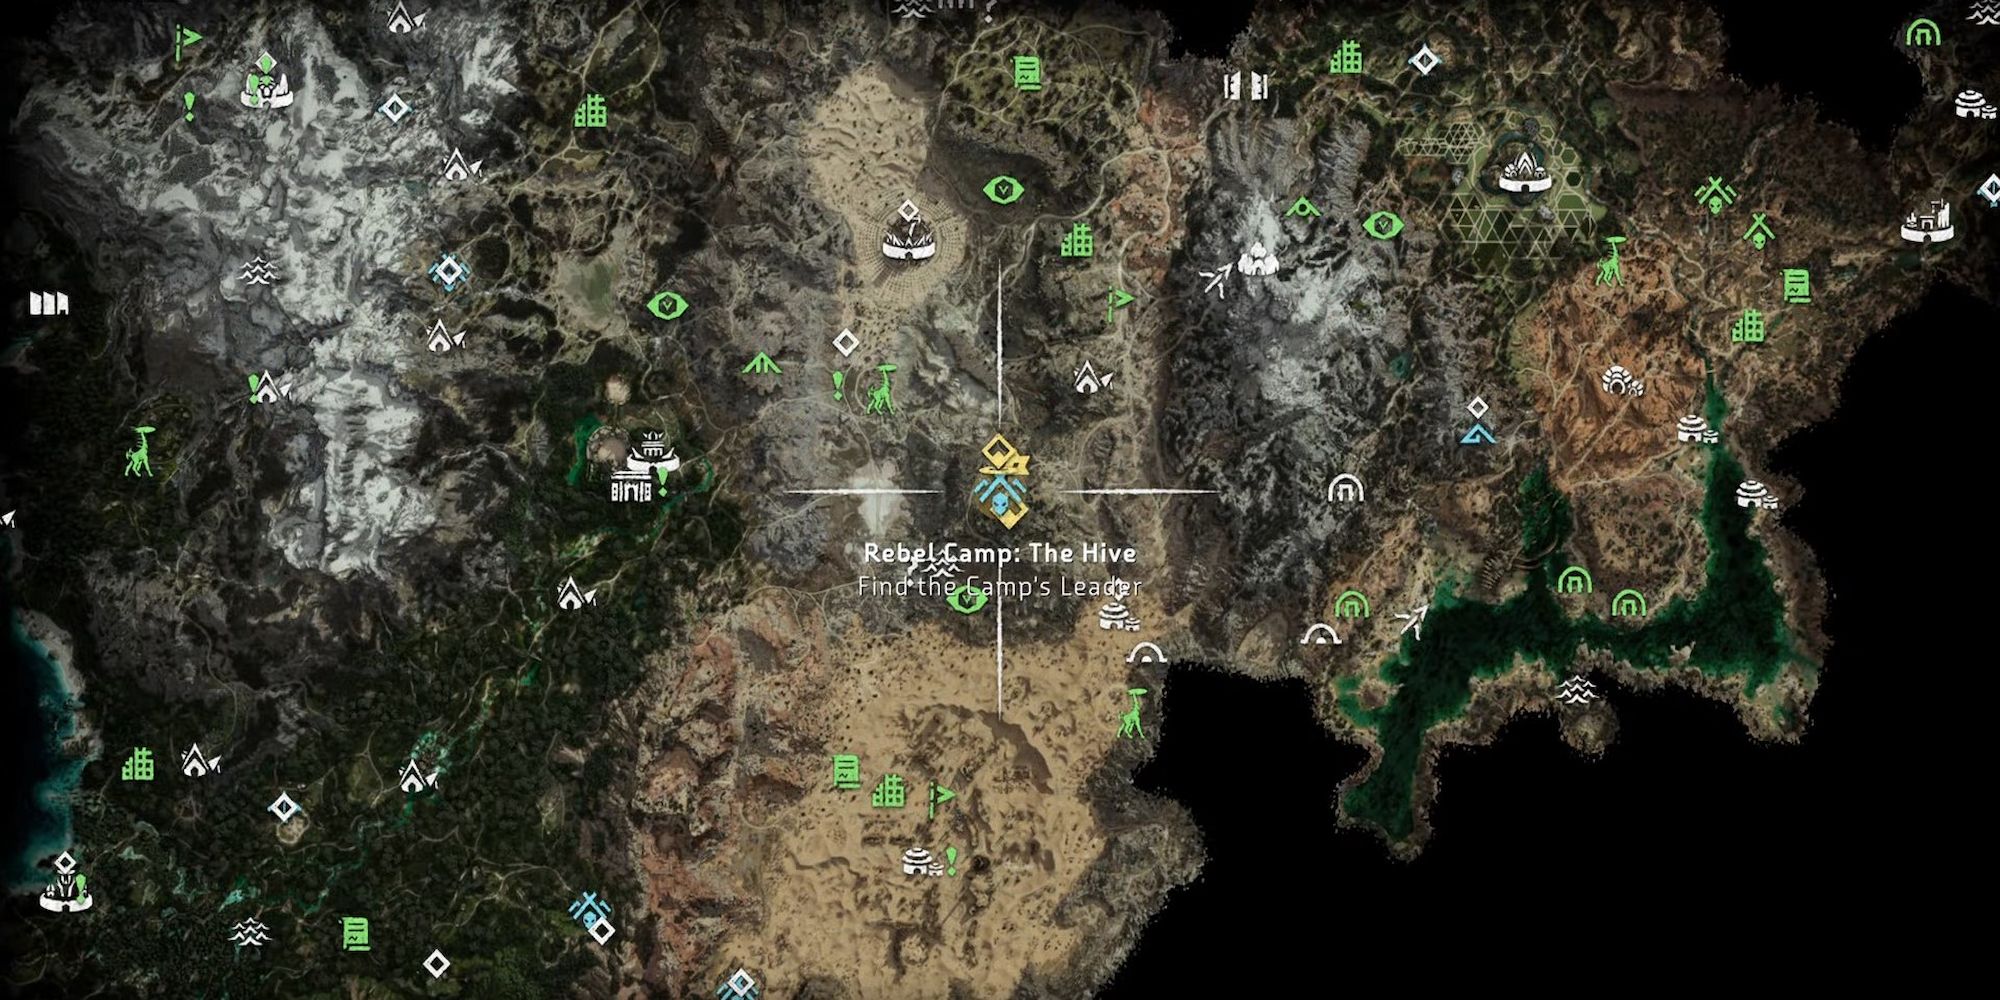
The Hive – The Shining Wastes
The second Rebel Camp, The Hive, poses a greater challenge and requires a bit more effort to locate. You may come across it while exploring the vast map of the game, or you may stumble upon its location through rumors spread by helpful NPCs.
Situated between the Scalding Spear and The Stillsands, The Hive is a level 18 Rebel Camp that demands a stealthy approach. Eliminate the Rebels quietly to avoid setting off the alarm and attracting more enemies. In some of the camps, you may find prisoners who, once freed, can lend a helping hand in taking down the remaining enemies.
To access the heart of The Hive, you must lower the bridge by taking aim at both anchor points. Throughout the camp, you can also find heavy weapons left behind by other Rebels, which can aid in your quest to eliminate the camp leader.
Once the leader is vanquished, you must destroy the weapon caches that are scattered throughout the camp. Finally, head to the Command Center to fully clear the camp of all threats.
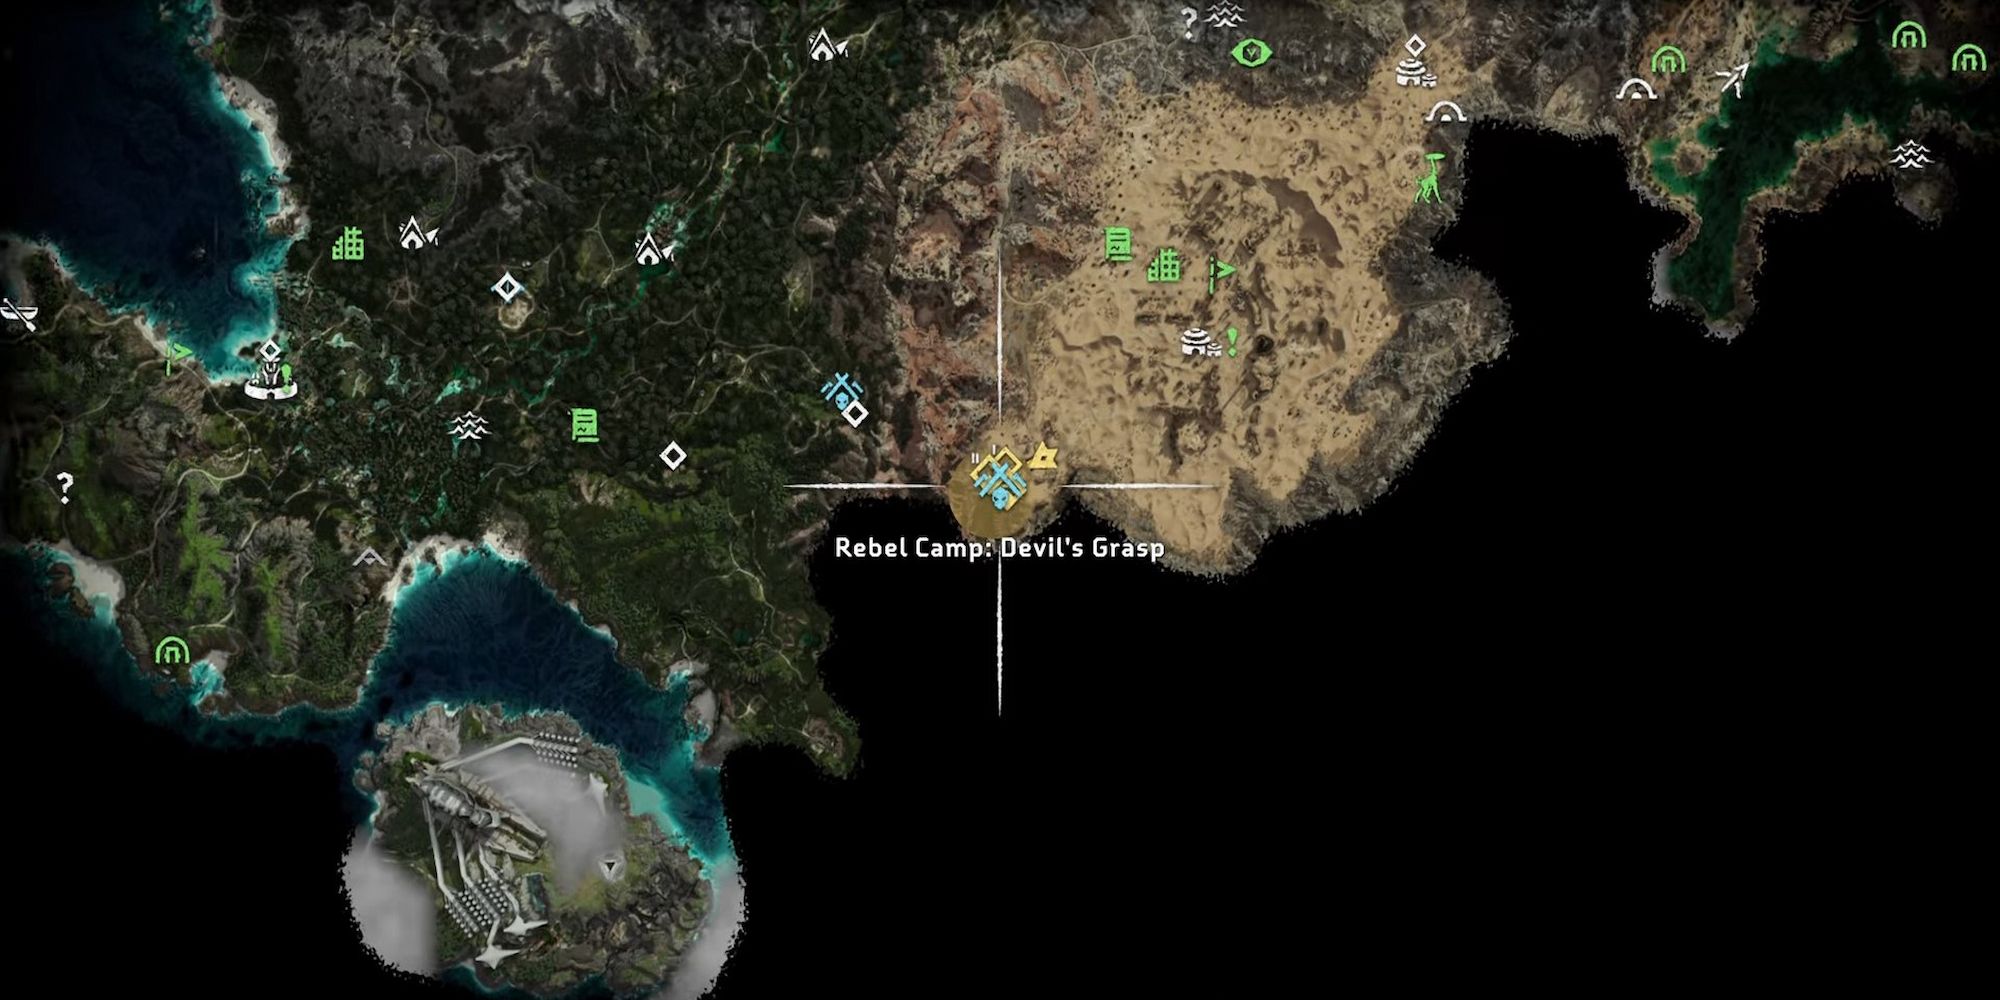
Devil’s Grasp – Stillsands
Located in the Southwest desert area of the map lies the formidable Devil’s Grasp, a Rebel Camp that poses a considerable challenge to anyone brave enough to infiltrate it. The Rebels here have employed fierce machines to protect their stronghold, making it difficult to infiltrate. Engaging the machines from a long range is the best strategy, as they can deal severe damage if you get too close.
The Rebels at the Devil’s Grasp are heavily armed, and it’s essential to keep a lookout — especially if you’re lower level, as they can deal some serious damage. However, if you manage to find heavy weapons, it can tip the scales in your favor, making the fights more manageable.
Like any other camp, the ultimate objective is to eliminate the leader, who is the linchpin of the Rebels’ operation. Once the leader is eliminated, a thorough search of the Command Center is necessary to gather valuable intel and finally, the Overriding Equipment must be located and destroyed to neutralize the camp.
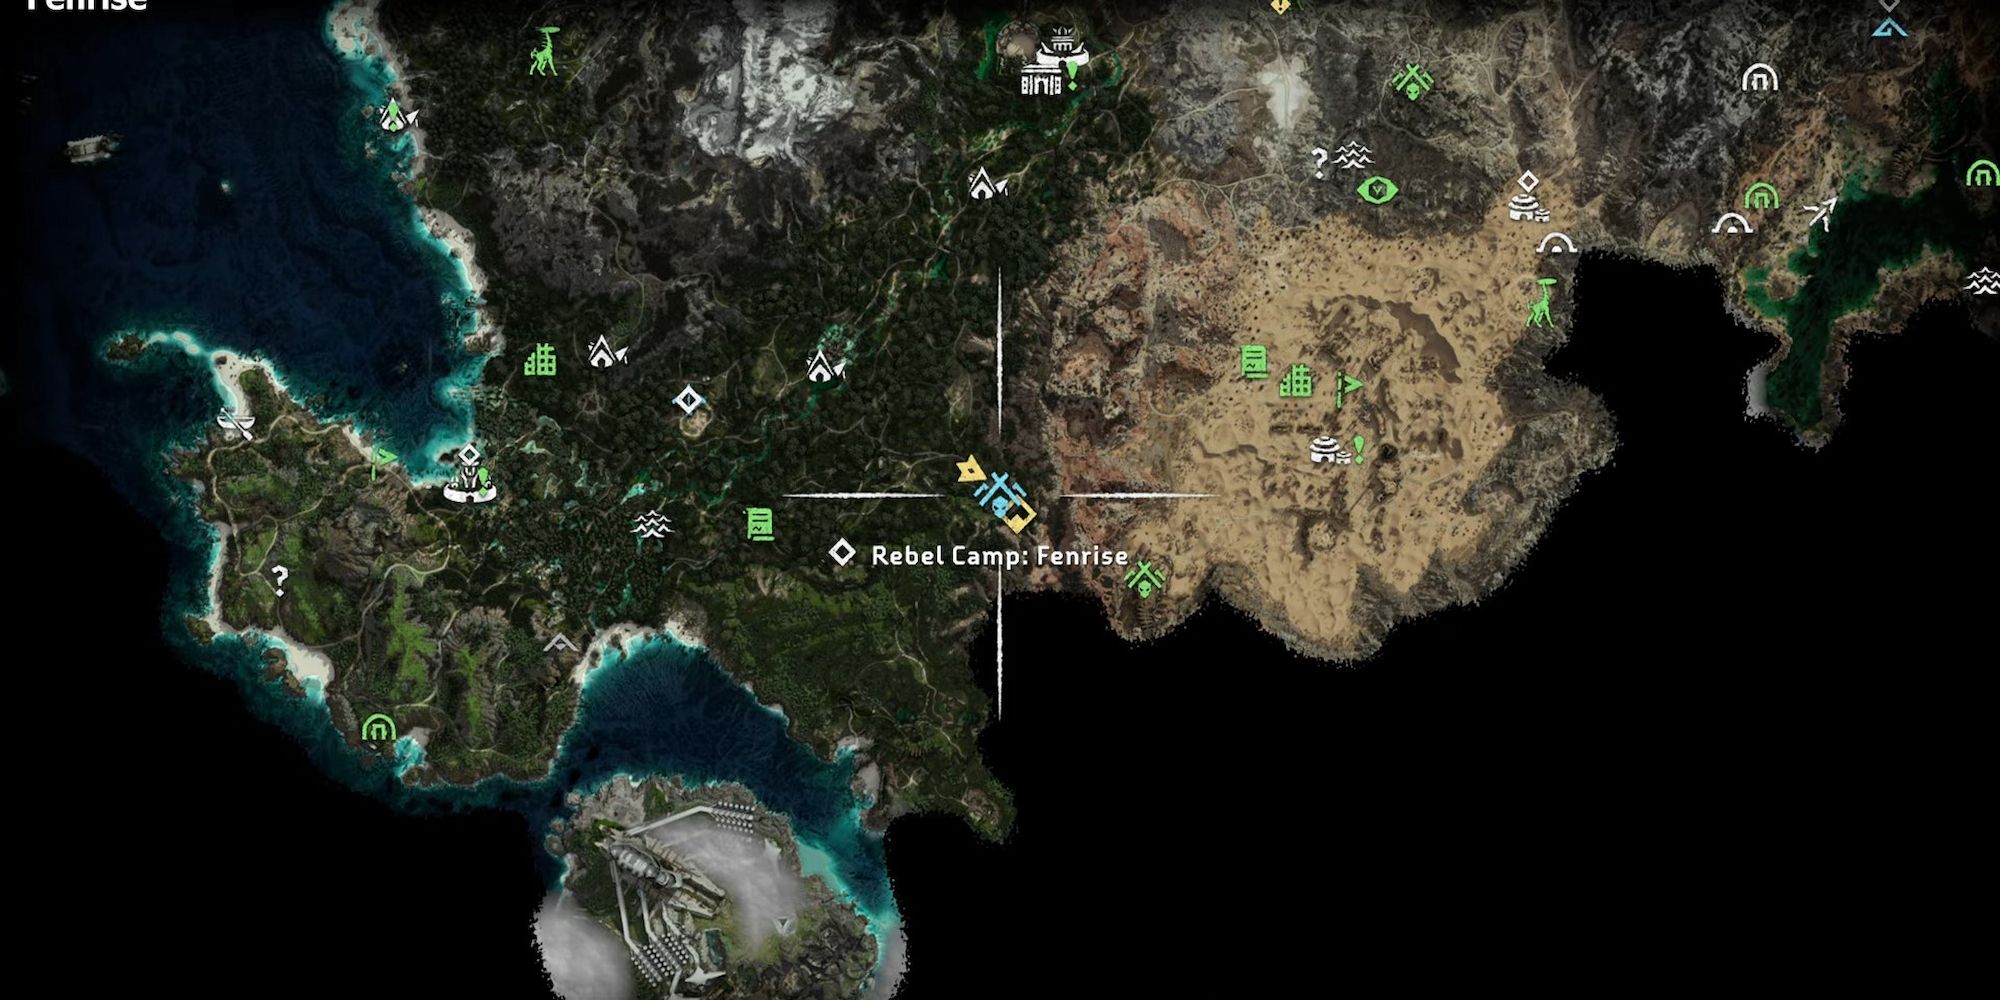
Fenrise – Raintrace
The Fenrise is a level 27 Rebel Camp situated just West of the Devil’s Grasp. It is heavily guarded by armored rebels wielding heavy weapons. However, you can use the tall grass to your advantage.
As usual, you need to find and kill the camp leader before searching the Command Center for more information about the Rebel’s activities. Lastly, you’ll face a final battle against some Rebels where allies will join you in the fight, and once the Rebels are defeated, it’s time to speak with the Squad Leader and wrap up the mission.
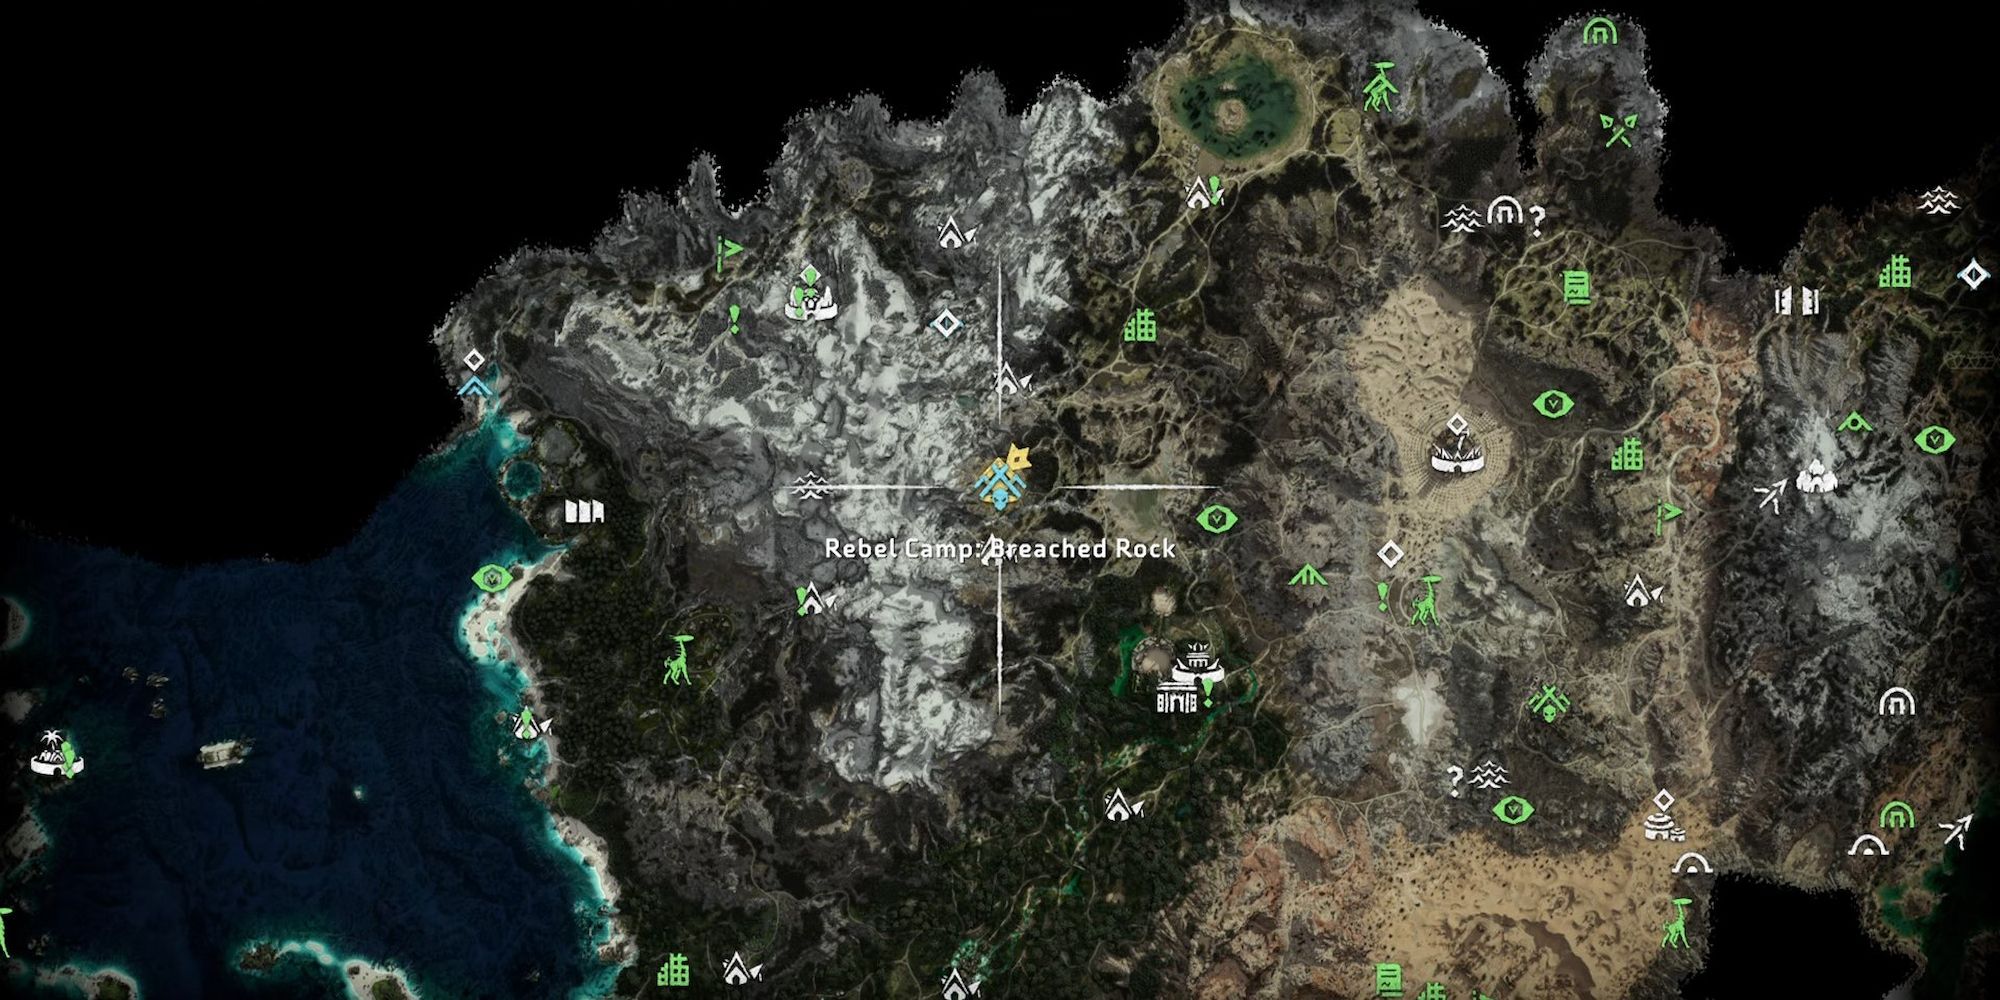
Breached Rock – Sheerside Mountains
The Breached Rock, a level 21 camp is situated south of Sheerside Climb and north of Sky’s Sentry. As with any other camp, caution is advised, and a stealthy approach is highly recommended to avoid detection by the rebellious group that occupies it.
Once inside, one must use your focus to locate the Rebel Champion, who holds the key to the bunker. The Champion must be eliminated to obtain the key for entry into the restricted zone on the west. Upon entry, the task at hand becomes even more challenging as the camp’s leader and two guards must be confronted.
Finally, the Command Center holds valuable clues that could provide insight into the Rebels’ plans. You must search the center and overload the Power Cell to clear the base. At this point, if you’ve also cleared the other four camps, you can proceed to the last Rebel Camp, First Forge.
First Forge – Sheerside Mountains
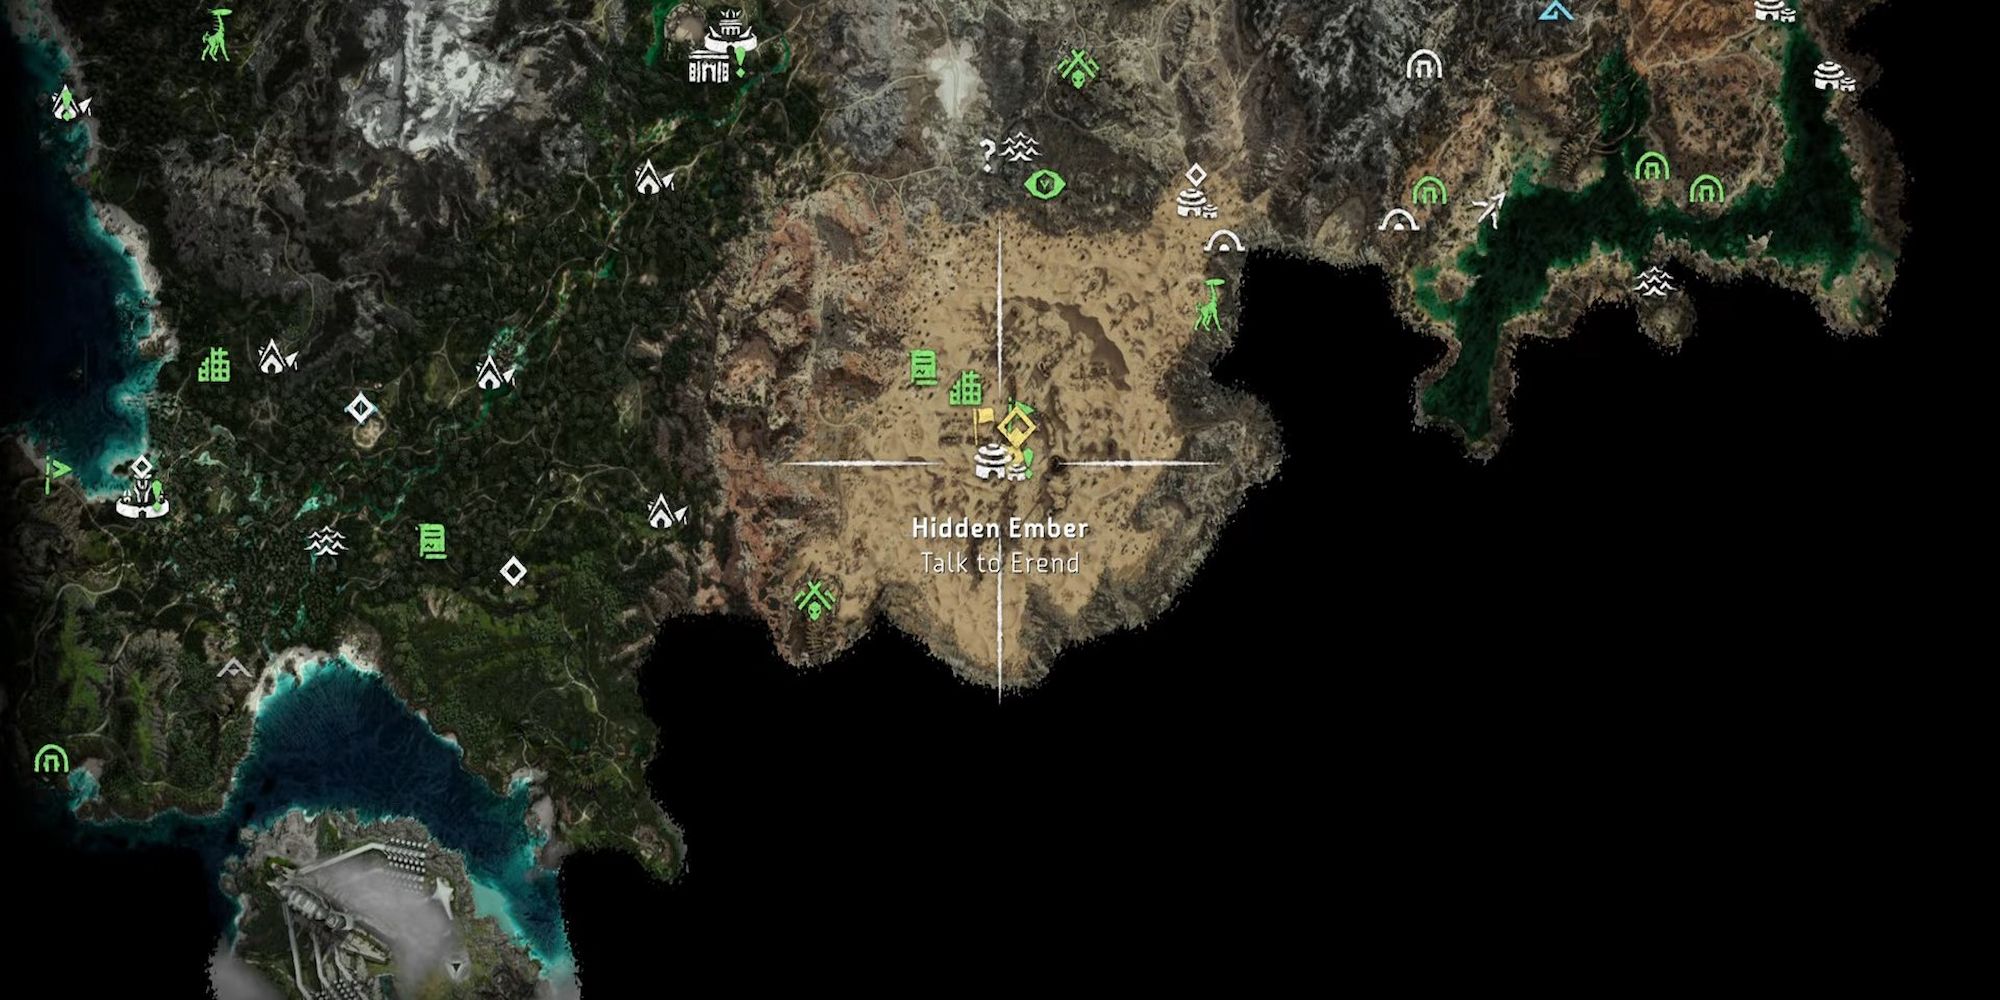
As you finish clearing the other five Rebel Camps, the final one, First Forge, will be your next destination. But before heading there, seek counsel from Erend back at your base to gain vital insights. Located on the Northwest side of the map, First Forge infiltration will start by interacting with the campfire and calling upon Erend for support in clearing the camp.
With your previous experience, taking down the heavily armed Rebels won’t be as intimidating. Once the base is cleared, head to the back door and follow the trail outside to face Asera. After defeating her, claim your prize, the coveted Sun Scourge Hunter Bow by looting her. Finally, talk to Erend to mark the end of this long mission.

