Haunted Hogsmeade Shop Quest Guide
After you’ve spent a dozen or so hours playing through the main story of Hogwarts Legacy, you will finally be able to access the most exciting quest in the game. The Haunted Hogsmeade Shop quest functions a lot like a dungeon, making it one of the most unique experiences you can have in the game.
To finish this Playstation Exclusive quest, you’ll need to muster the courage to make your way down the long stretching hallways full of ghastly bellows, solve countless puzzles in constantly shifting rooms, and survive the onslaught of mannequins hunting you down. I’m not scared, you’re scared. Here’s how to get through this quest without becoming a ghost yourself.
Quest Requirements
While you might be excited to tackle this quest right away, you’ll need to complete about half of the main story before you are able to do so. This means you’ll need to first find the Map Chamber and unlock the trials designed by the Keepers of ancient magic. After completing both Percival Rackham’s and Charles Rockwood’s trials, you’ll be able to finally start the Haunted Hogsmeade Shop quest.
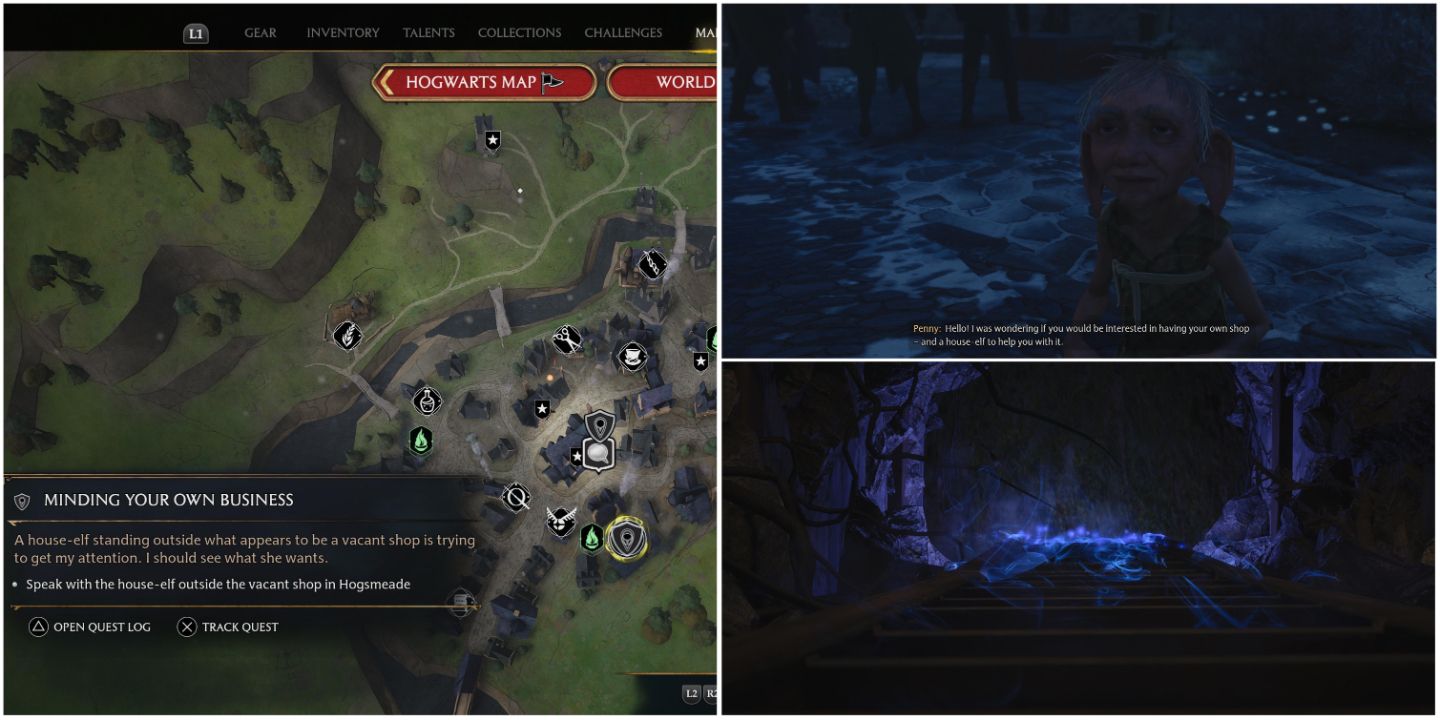
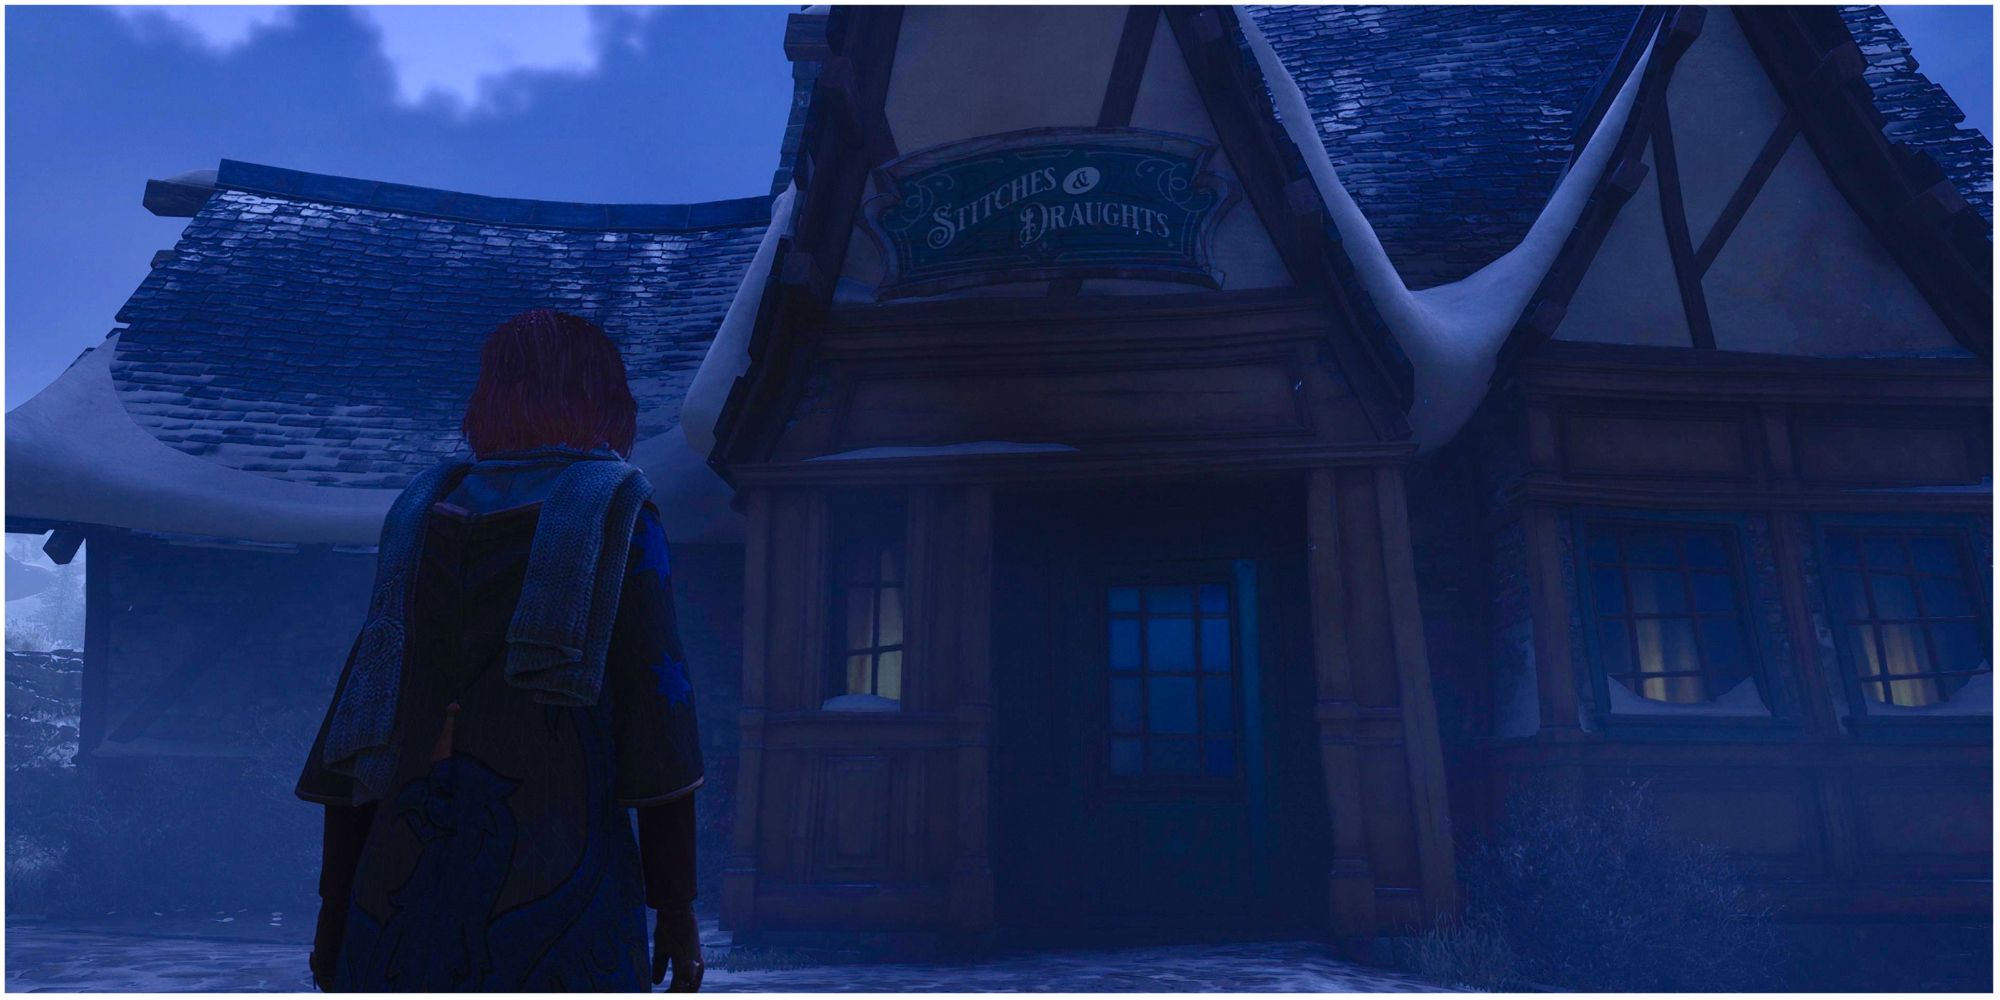
There won’t be a big announcement when the quest unlocks, so you’ll need to seek it out manually. To do so, head to Hogsmeade and make your way over to the house-elf, Penny, located in South Hogsmeade in front of the shop that is initially boarded up. After learning that the shop owner is looking to sell, you’ll speak with Cassandra Mason and purchase the shop for 1500 gold. The only catch is that if the shop is not successful, you’ll need to sell it back to her at a discount. Seems…suspicious.
Enter The Dungeon
After purchasing the shop and returning to Penny, you’ll clean up the front area and will be given a key to access the chest in the back. After opening the chest, you’ll see a ladder appear inside of it. Naturally, you decide to climb down the ladder into the darkness below. No sooner do your feet touch the ground does the ladder disappear, and the chest closes, trapping you inside.
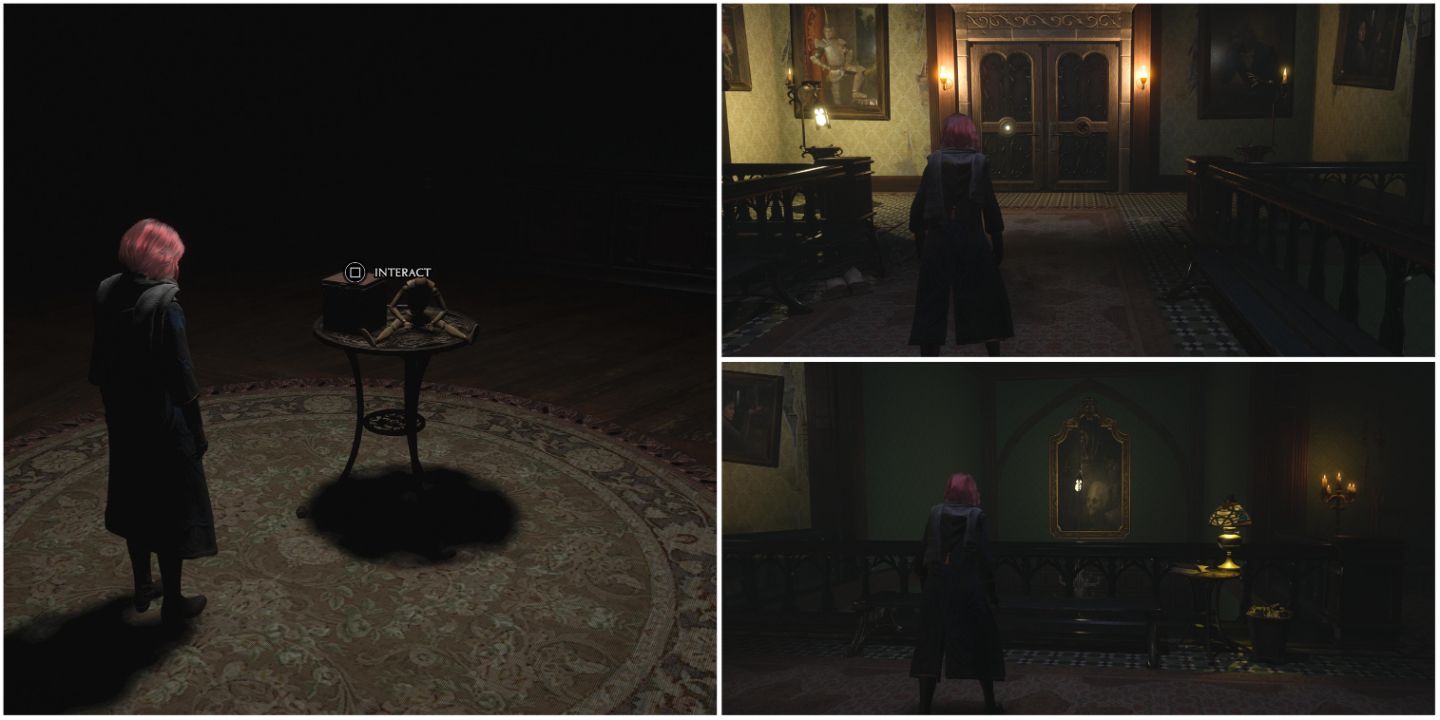
As you turn around, you find yourself surrounded by a room full of mannequins. Cast Lumos to find a door and head through it. Make your way down the hallway with many doors, and you’ll end up in a cellar. Inside, you’ll find a jack-in-the-box toy on a small table. Wind it up and the room will shift from a cellar to a dungeon. Run back to the toy to shift the room back to a cellar, this time with an open door.
In the next room, you’ll need to find the missing lantern to unlock the door. While facing the door, you’ll find the lantern floating in front of a painting to your right. Cast Accio and hold down the button to transition it to Wingardium Leviosa, then pull the lantern to you and place it on the hook. Make your way down a long stretching hallway to confront the ghost of Fastidio, the one putting you through this nightmare. You won’t be able to attack him, so just focus on dodging what he throws at you. After dodging everything, a door will open on your left and right. You will need to solve the puzzles in both areas to proceed further.
The Library Part One
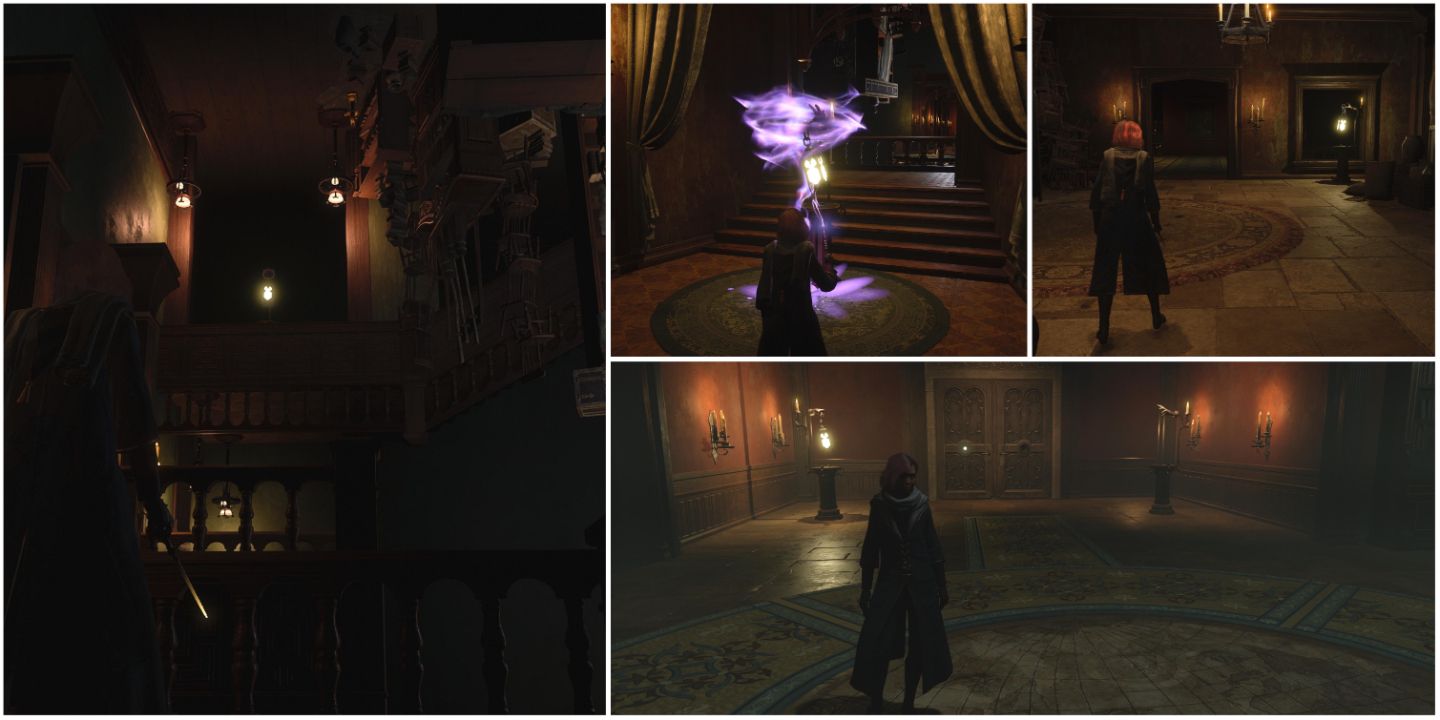
Taking the door on the left side of the Central Room will bring you into a library. Once inside, head left and run down a rotating hallway until you reach the upside-down room. Make your way downstairs so you are standing on the ceiling, and you’ll find the first lantern in the proceeding room. Grab the lantern with Accio which will open the door next to you. Bring the lantern through the door and place it on the hook to shift the upside-down room right-side-up.
Head back around into the room that just rotated, and make your way up the stairs on your right. This time, the next room will be different from what it was before. Continue down this path to find the next lantern, and place it on the hook. Move into the next room and pull the lantern through the window and place it on the new hook to rotate the room again. Head through the next door, grab the first Library Lantern and bring it to the hook by the double-locked door in the next room.
The Library Part Two
You have one more lantern to find to unlock the double doors and exit the library. From the doors, head around to your left to find a dining room, and continue forward until you are in the room with three doors. Each one will open when you get close to them, but only one will let you proceed forward.
Go through the middle door, and you will find that the next area continues to loop over and over. To escape the loop, turn around and return the way you came. Now you’ll need to prepare yourself for a couple of jump scares. As you continue to turn around, the room will close in on you from all sides. Once you are boxed in, you are dropped through the floor into a dark room full of mannequins. Cast Lumos and exit this room.
The next area is an open layout, full of many interconnected rooms, and a dozen mannequins waiting to attack you. You’ll need to defeat all the active mannequins to finish the room. Once the door opens, head through, grab the second Library Lantern, and place it on the hook by the double doors. Head through to the next room, where you’ll have to confront Fastidio again. This time, you need to dodge his spinning attacks at first. Then he’ll shift to dropping pillars of junk on you, which you can avoid by paying attention to the red tracks. Once you defeat him, head back the way you came, and you’ll find yourself back in the library. When you make it back to the Central Room, one of the bars on the main door will be removed.
The Greenhouse Part One
Head through the door on the right side of the Central Room to find a greenhouse covered in spiderwebs. On the far side of the room, you’ll find another door that requires two lanterns to unlock. There are also doors on the left and right sides of the room. Head through the left door first, where you’ll run into even more mannequins.
After making it through a couple more jump scares, make your way into the room that has a wall of doors. Use Accio to grab the first lantern and place it on the hook to open up one of the doors. After heading through that door, you’ll be in a room with two doors on your left. Go through the first door, grab the lantern on the far side, and bring it back through the door and around and through the second door to place it on the hook. This will build a path in front of you.
Head back to the middle of this large room, grab the first lantern off its hook, and place it on the center hook in the room to open the next door. Head through the door and prepare to fight more mannequins. Next, chase the door down the stretching hallway until it stops. Then turn around and enter the newly opened room. Make your way over to the first Greenhouse Lantern, grab it with Accio, and place it on the left hook in the greenhouse.
The Greenhouse Part Two
Head through the right door in the greenhouse. Grab the lantern that hangs over the balcony and place it on the hook. Then head into the newly opened room to find what appears to be a corridor inside Hogwarts. As you make your way down the hallway, you’ll find a giant Wizard’s Chess room.
Use Revelio to show all the spaces that are red. These spaces will fall through, so you’ll need to avoid them as you make your way across to the other side of the room. You can follow a couple of paths to do so and can jump over the red spaces as needed. Once you reach the other side, you’ll be led back around to the room where you found the first lantern. Grab it from its hook on the other side, and place it on the new hook. Head through the door to grab the second Greenhouse Lantern and place it on the hook by the greenhouse’s double doors.
After heading through the double doors, you’ll have to confront Fastidio again. This time, you’ll need to dodge the junk he throws at you while battling mannequins. After surviving the encounter, head back to the Central Room, where the main door will finally unlock.
Fastidio’s Monster
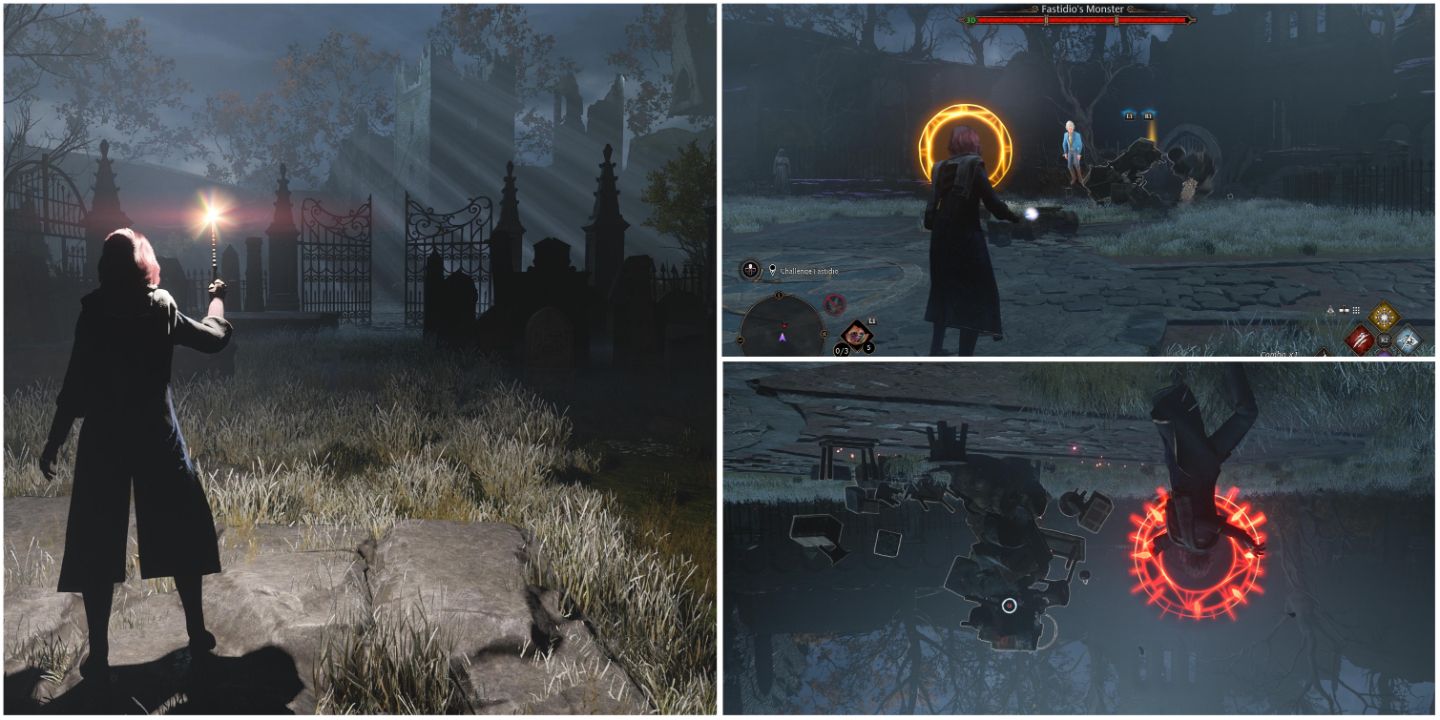
Once you head through the main door, you’ll find yourself in a graveyard. Make sure you equip your favorite spell combinations because you are in for a real boss fight ahead. We recommend equipping Bombarda and Confringo as they are the most helpful.
After a brief cutscene, Fastidio will summon a monster made of junk. The monster will have three phases, each marked by the health bar. We also recommend saving your ancient magic attacks for the last phase of the fight as that one is the most challenging, and the ancient magic will help you have a quick finish.
The first phase will require you to dodge its attacks and drain its health. The second phase will require you to do the same while also battling a bunch of mannequins. This is where Bombarda and Confringo really come in handy. In the third phase, Fastidio will flip your perspective upside down. This is very disorienting at first and will make it even harder to dodge the monster’s attacks. Unleash all of your ancient magic attacks on it, and you’ll be able to drain the final third of its health bar and finish the battle.
Confronting Cassandra
After defeating the monster, Fastidio will make a contract with you that ensures he won’t bother you or your customers, minus two days per month. Now, exit the dungeon and return to Penny. From here, you’ll report Cassandra to the authorities, and together you’ll confront Cassandra for knowingly selling this shop over and over, causing most of the previous owners to go insane.
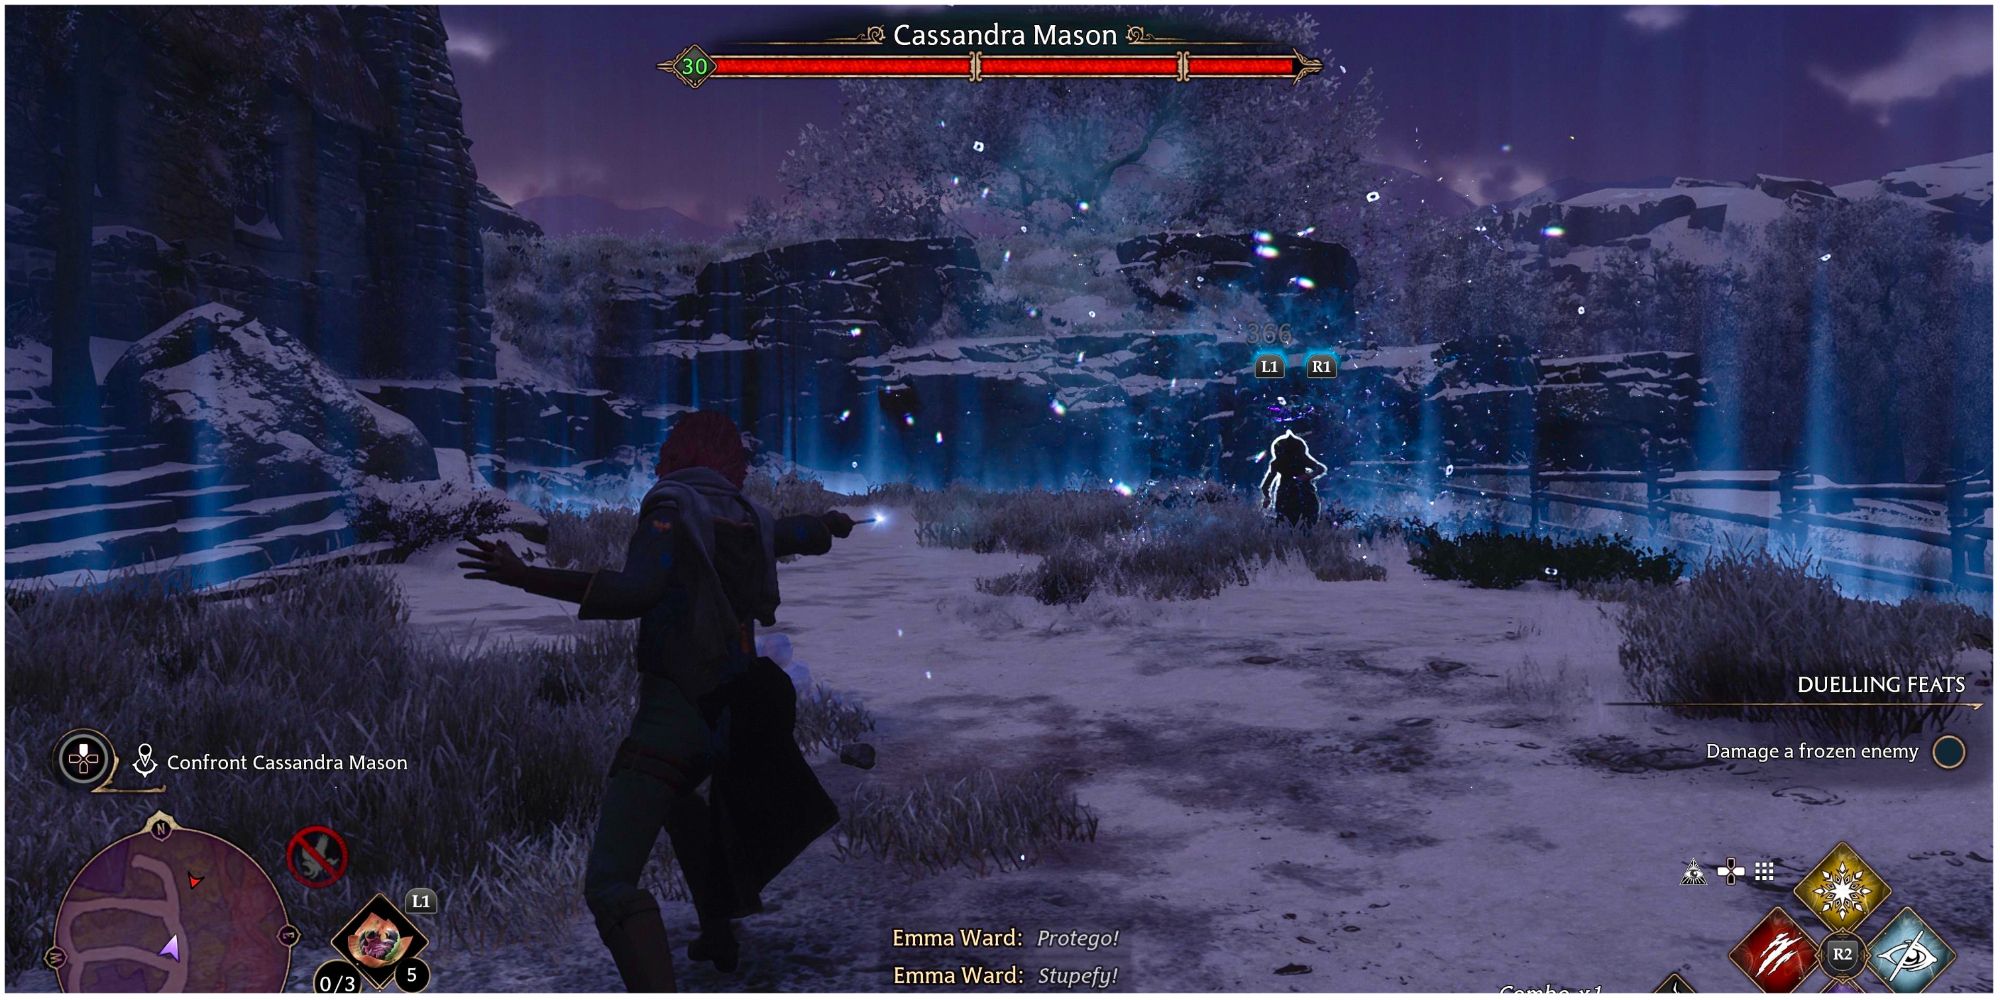
Upon your arrival, Cassandra will take out the police officer, leaving you to fight her alone. To defeat her, you’ll need to hit her with Stupify by parrying her attacks. She has a colorless shield around her, so only Stupify or ancient magic attacks will break it. She’ll also teleport around you often, which will make it tough to keep a lock on her. Just focus on the gold and red attack prompts to ensure you are countering and dodging appropriately, and you’ll take her down in no time.
A Shop To Call Your Own
After Cassandra is bound and shipped off to Azkaban, you’ll return to Penny to officially take over ownership of your shop. All that is left to do is choose your shop name, and decide whether you will free Penny.
After making your choices, you’ll now be able to use your shop to sell any items you want. There is also a floo flame right next to your shop, making it incredibly convenient for you to quickly clean up your gear slots and make some extra cash.

