Forspoken – Locked Labyrinth: Barrier Walkthrough
Forspoken’s Locked Labyrinth: Barrier can be a tough Labyrinth to complete, but this guide can help you make it through.
The Labyrinth Barrier is in The Guardian’s Way region and features a boss fight with the golem Lesser Gigas at the very end, in order to clear the dungeon.
The boss is beatable with your default spells in the magic tree, especially if they are upgraded.
Treasure Hunt
You’ll enter a red-hued room with a touchstone near the passageway, allowing you to already return to the entrance of the labyrinth. At the end of the hall you will reach a door with another touchstone. For this dungeon, you’ll want to priorize stocking Healing Draughts and putting mana into your offensive magic for the upcoming boss fight at the end of the labryinth.
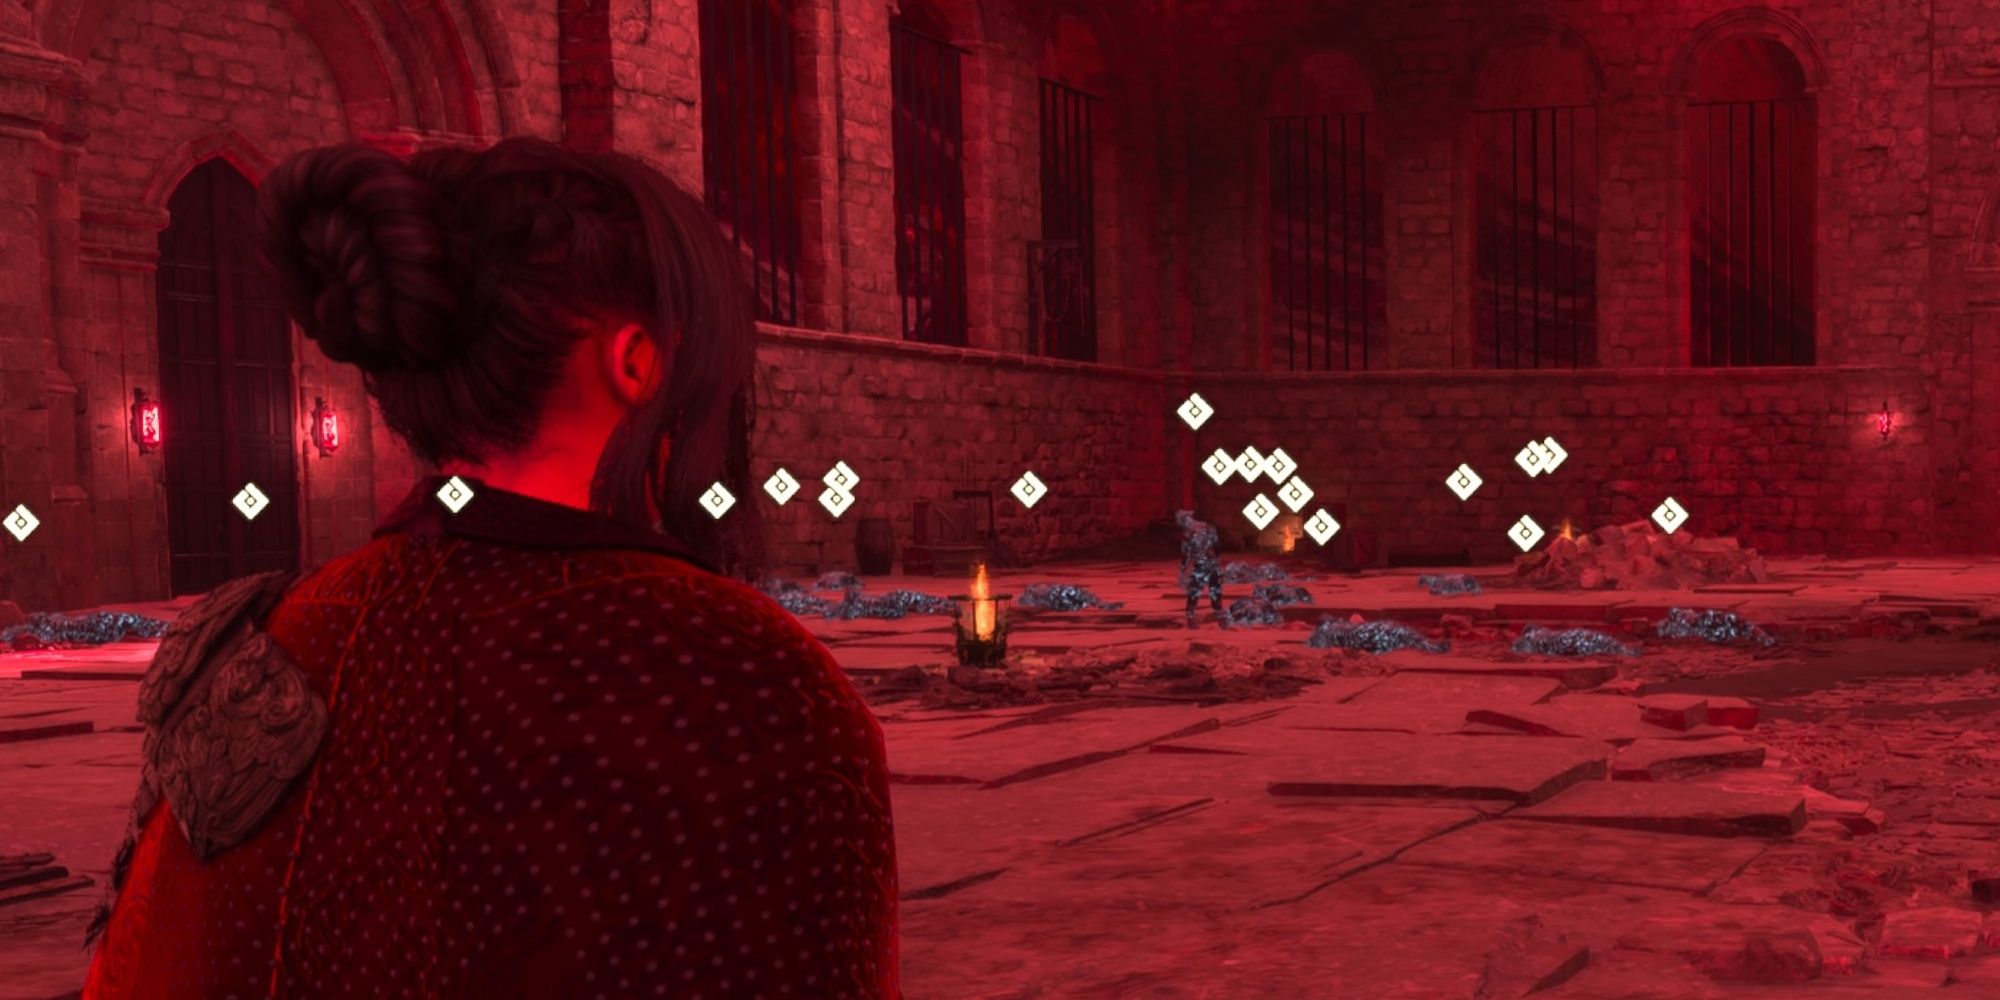
The next room is full of Abyssal Breakzombies, about ten. Take them out however you feel comfortable, combining Bind and Burstshot is recommended for ease. There are two Healing Draughts in the area, located in the far corners opposite of the entrance you came in.
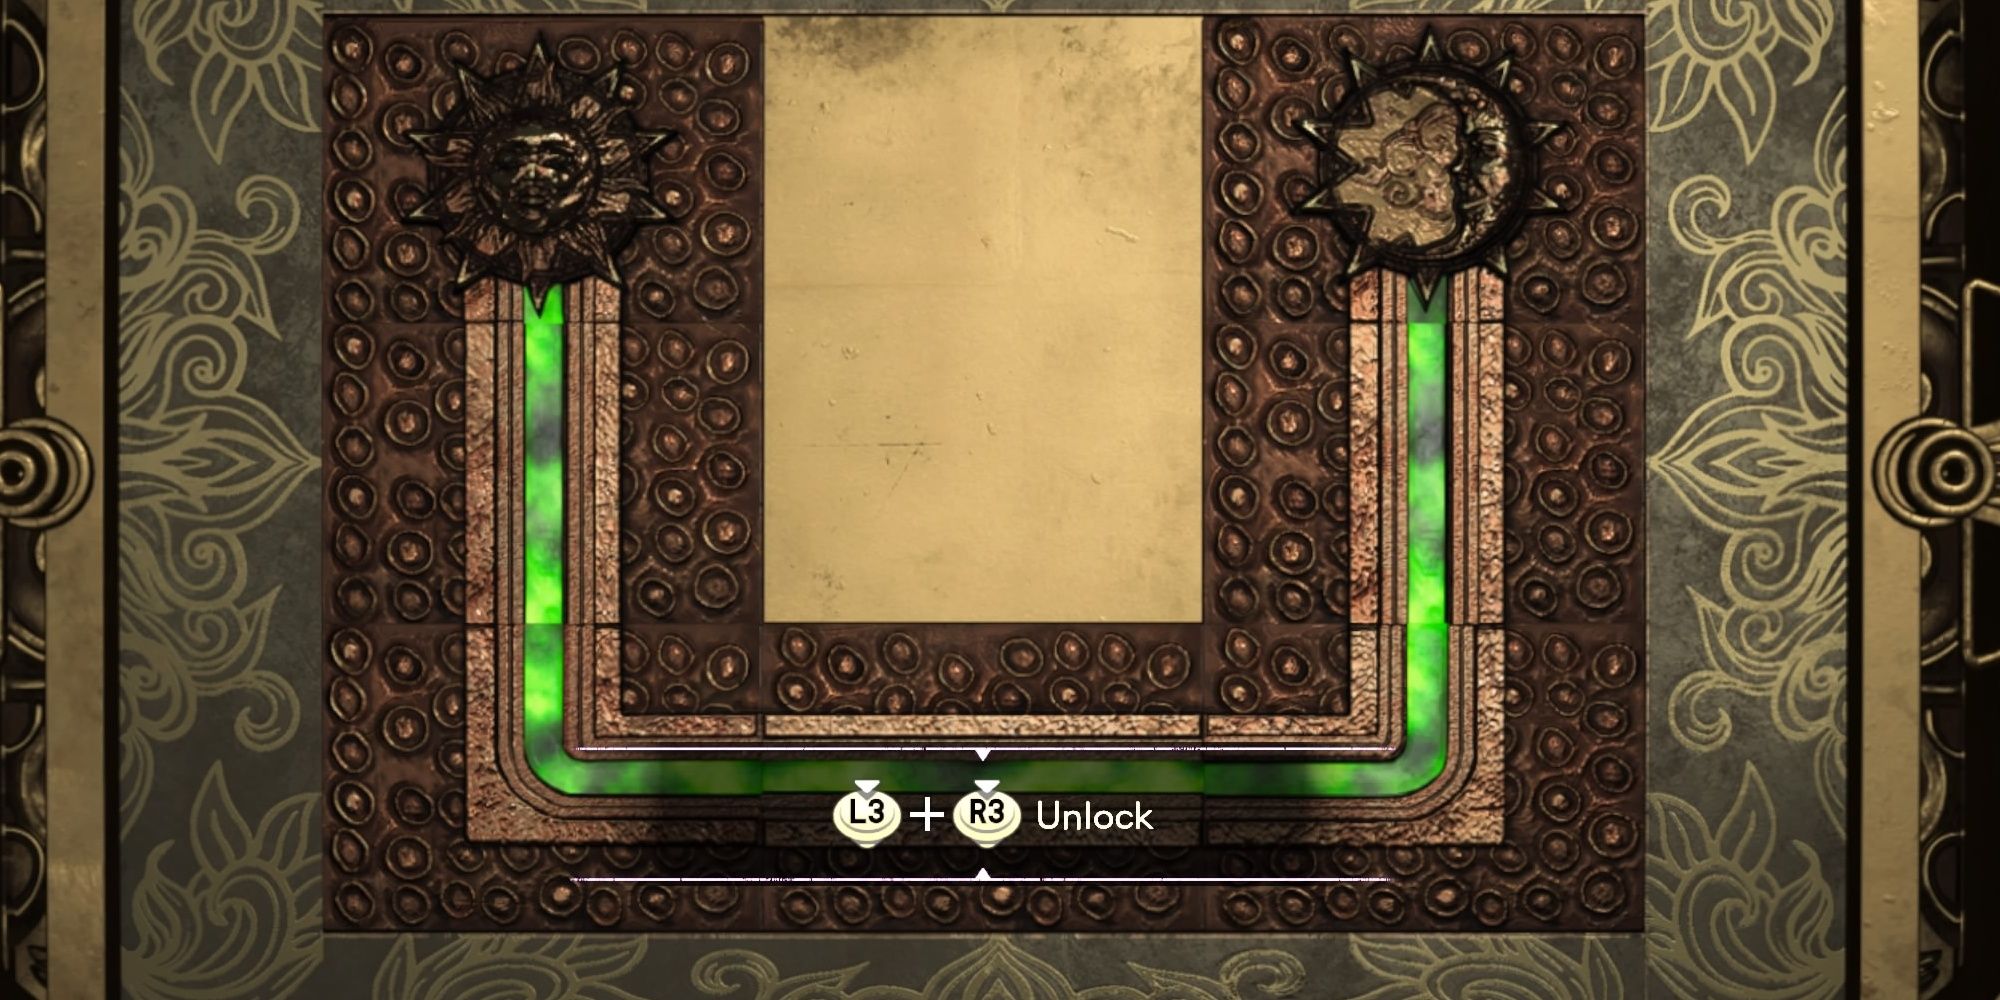
After you defeat the Breakzombies, enter the door opposite to your entrance, and come back to the door on the right later. The next hallway will feature several mana pillars for your taking. Use them to upgrade or customize the levels of some of your magic spells. The end of the hall will have a dead end with a puzzle chest treasure chest at the end.
Above is a picture of the completed puzzle, if you have trouble completing it. Remember you can always reset your progress to start from the beginning of puzzles, so you can aim for the optimal movement to solve it. Go back to the room you came from, and enter through the door to your left. You will encounter another touchstone after the hallway if you need to exit the labyrinth.
Zombie Swarm
The next room has about 40 sleeping Abyssal Breakzombies blocking the door to your left. Save your health here by using Tendril and stunning groups of enemies with Bind. Be careful to not get surrounded and crept up on by a zombie. Use your dodges to your advantage to fight against their slow and methodical movement. Their attacks have a sudden lunge to them.
There are two Healing Draughts for you in the far right-hand corner and right by the next doorway. Go through the doorway and through this hallway you’ll encounter another touchstone with a firewood pickup next to it. This next doorway is your boss fight with the Lesser Gigas after a short cutscene.
Boss Fight
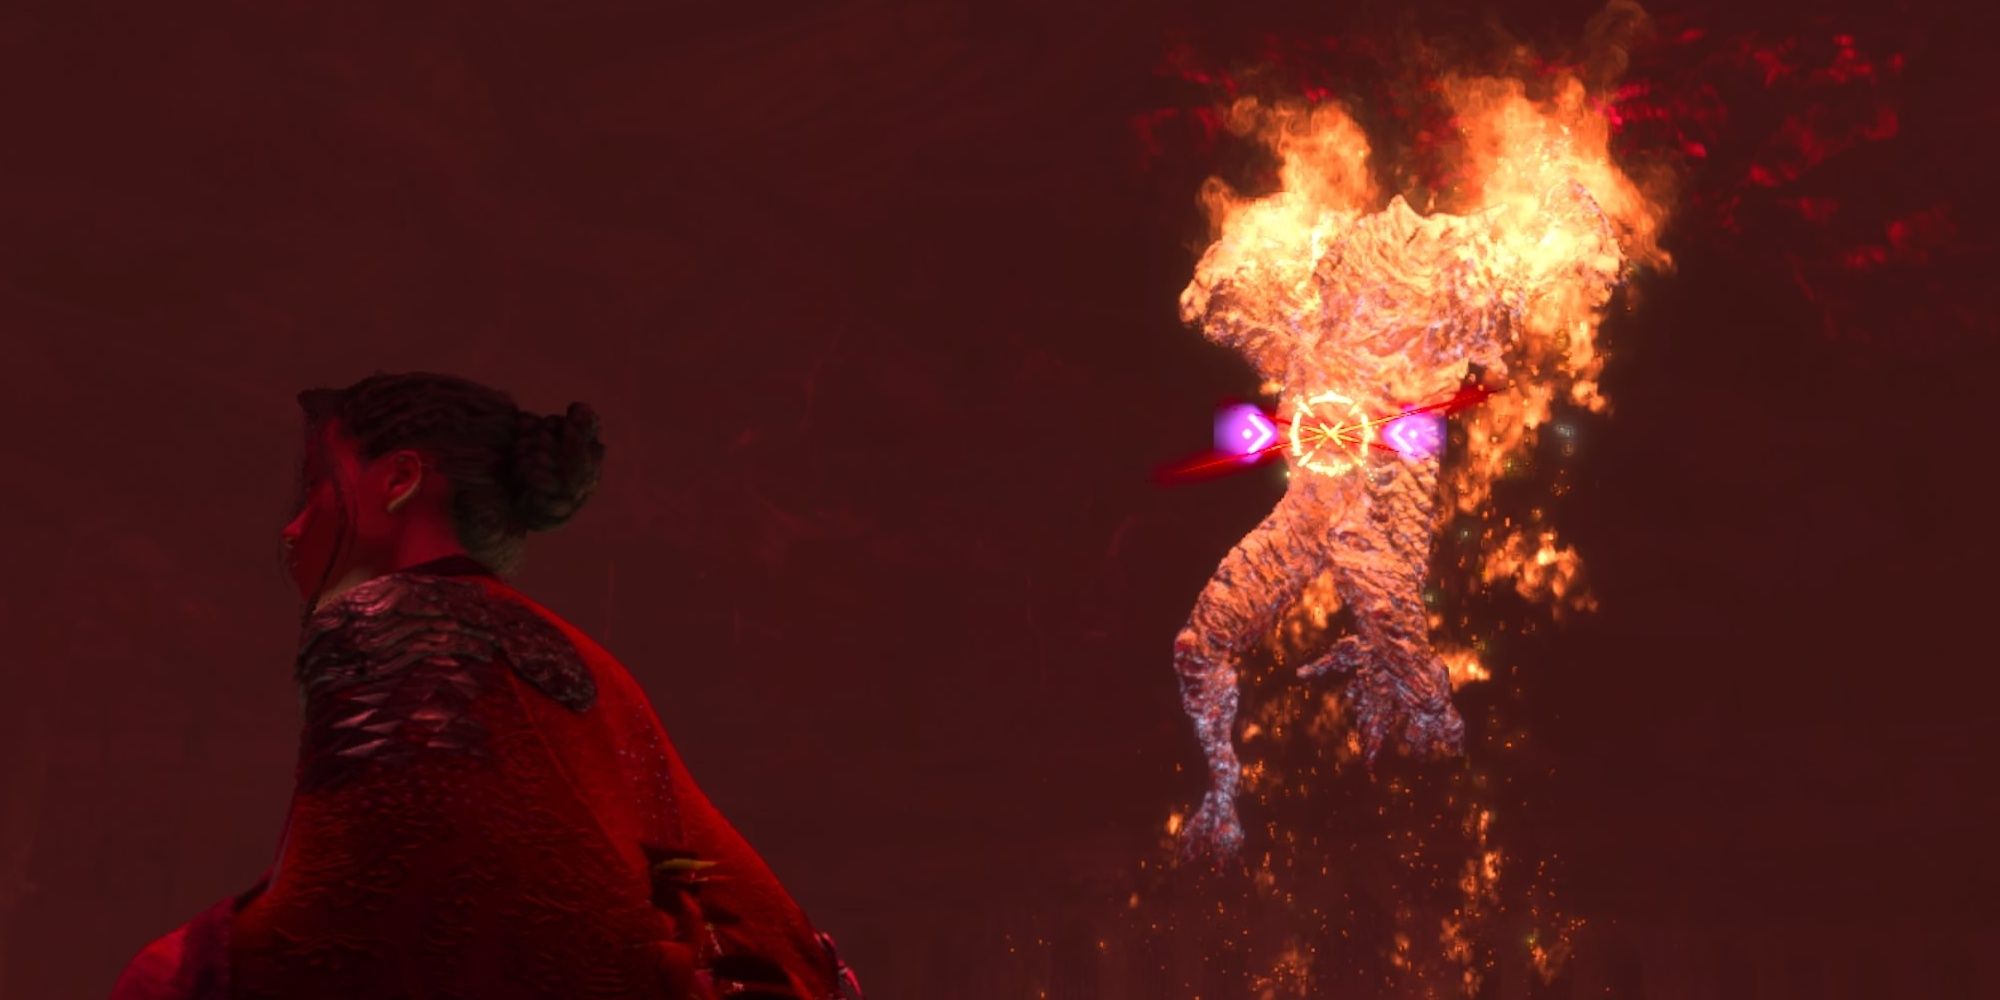
Lesser Gigas has a lunging ground-pound attack with his fists flaming that you’ll want to stay far away from. Dodge to the side to avoid it. If he lands the ground pound on you, try and maneuver through his legs or behind him, so you can get some critical hits on his back. He also has a two-hit combo with his fists that is kind of quick. Use Genesis as soon as you can to do some good damage and recharge the spell to cast it again sooner.
Use Frey/s Cuff-Scan to reveal a Healing Draught around your entrance. There’s another Healing Draught all the way to the far right corner you can seek with your scanning. There’s a third potion across the entire battleground for you as well.
After you’ve defeated the Lesser Gigas, you’ll gain the History of Athia Archive entry for Ancient Altar: Inscription 2. A touchstone is right next to you to quickly return to the entrance of the Barrier Labyrinth.
Rewards For Completion
The reward for completing the Labyrinth is the Lief Cloak. Its special effect is to halve poison damage when health is low.

