Crafting is back in Dragon’s Dogma 2, and that means there are a plethora of item combinations to uncover. That’s why we’ve compiled all of the ones we’ve found so far into this handy guide for your convenience.
All Crafting Combinations in Dragon’s Dogma 2
While not every item can be combined in Dragon’s Dogma 2, there are still dozens upon dozens of different combos to discover. Most all of them lead to the creation of highly beneficial items too, so it’s well worth discovering as many as you can as you make your way through the game.
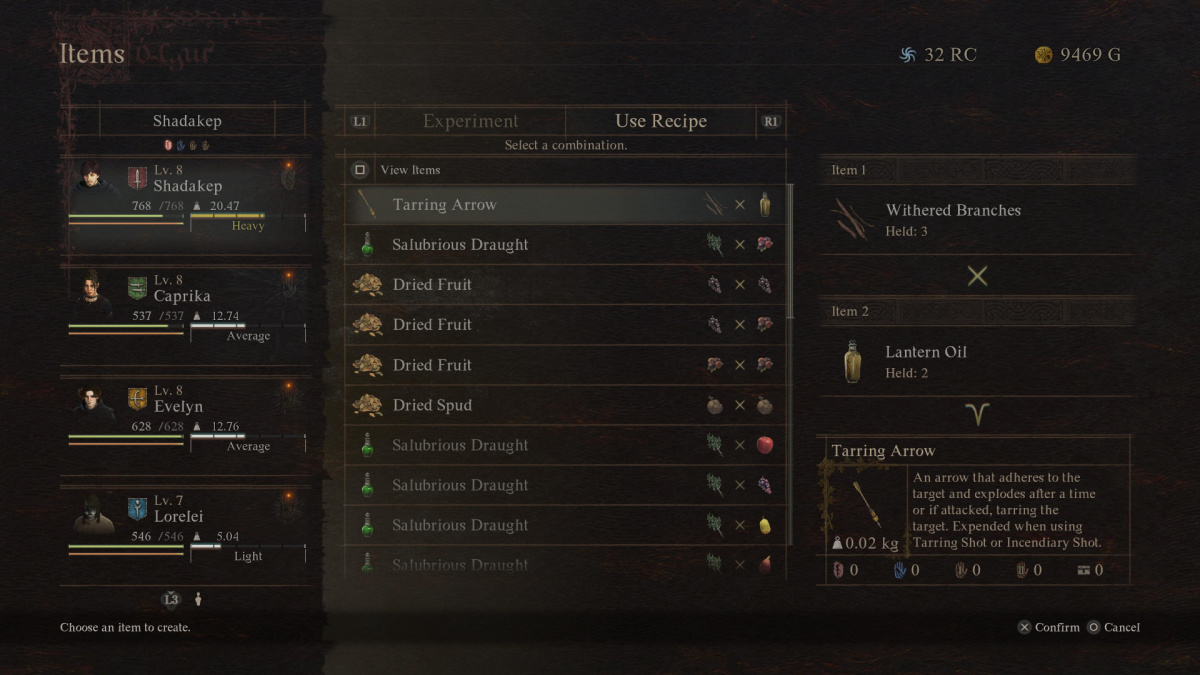
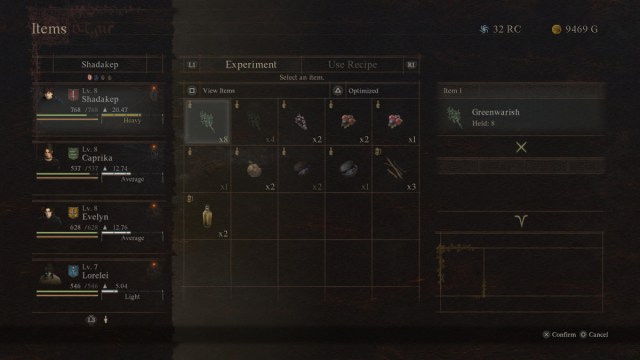
Doing so is easy too. First, open your main menu by pressing the Options or Menu button on PlayStation or Xbox respectively. Then, select the Items tab and press Square or X to open the Combine menu. You can then select up to two ingredients to combine into a new creation, and any successful creations are saved for your use at any time via the Use Recipe option.
Below you can find every combination we’ve managed to uncover during our time in the game. Bear in mind that this is a work in progress, and you can expect regular updates to our list until we’ve crossed off every possible recipe.
| First Ingredient | Second Ingredient | What it Makes |
|---|---|---|
| Dried Fruit (Restores a fair amount of Health) | Greenwarish (Restore a small amount of Health) | Fruit Roborant (Restores a Great Amount of Health) |
| Dried Fruit (Restores a fair amount of Health) | Morningtide (Draws out better healing properties) | Fruit Roborant (Restores a Great Amount of Health) |
| Ripened Grapes (Restore a small amount of Health) | Ripened Grapes (Restore a small amount of Health) | Dried Fruit (Restores a fair amount of Health) |
| Ripened Grapes (Restore a small amount of Health) | Ripened Cranberry (Restore a small amount of Health) | Dried Fruit (Restores a fair amount of Health) |
| Ripened Cranberry (Restore a small amount of Health) | Ripened Cranberry (Restore a small amount of Health) | Dried Fruit (Restores a fair amount of Health) |
| Greenwarish (Restore a small amount of Health) | Cranberry (Restores a bit of Health) | Salubrious Draught (Restores fair amount of Health) |
| Greenwarish (Restore a small amount of Health) | Apple (Restores a bit of Health) | Salubrious Draught (Restores fair amount of Health) |
| Greenwarish (Restore a small amount of Health) | Grapes (Restores a bit of Health) | Salubrious Draught (Restores fair amount of Health) |
| Greenwarish (Restore a small amount of Health) | Quince (Restores a bit of Health) | Salubrious Draught (Restores fair amount of Health) |
| Greenwarish (Restore a small amount of Health) | Fig (Restores a bit of Health) | Salubrious Draught (Restores fair amount of Health) |
| Greenwarish (Restore a small amount of Health) | Raspberry (Restores a bit of Health) | Salubrious Draught (Restores fair amount of Health) |
| Greenwarish (Restore a small amount of Health) | Blueberry (Restores a bit of Health) | Salubrious Draught (Restores fair amount of Health) |
| Greenwarish (Restore a small amount of Health) | Strawberry (Restores a bit of Health) | Salubrious Draught (Restores fair amount of Health) |
| Syrupwort Leaf (Restore a small amount of Health) | Cranberry (Restores a bit of Health) | Salubrious Draught (Restores fair amount of Health) |
| Syrupwort Leaf (Restore a small amount of Health) | Apple (Restores a bit of Health) | Salubrious Draught (Restores fair amount of Health) |
| Syrupwort Leaf (Restore a small amount of Health) | Grapes (Restores a bit of Health) | Salubrious Draught (Restores fair amount of Health) |
| Syrupwort Leaf (Restore a small amount of Health) | Quince (Restores a bit of Health) | Salubrious Draught (Restores fair amount of Health) |
| Syrupwort Leaf (Restore a small amount of Health) | Fig (Restores a bit of Health) | Salubrious Draught (Restores fair amount of Health) |
| Syrupwort Leaf (Restore a small amount of Health) | Raspberry (Restores a bit of Health) | Salubrious Draught (Heals fair amount of Health) |
| Syrupwort Leaf (Restore a small amount of Health) | Blueberry (Restores a bit of Health) | Salubrious Draught (Heals fair amount of Health) |
| Syrupwort Leaf (Restore a small amount of Health) | Strawberry (Restores a bit of Health) | Salubrious Draught (Heals fair amount of Health) |
| Pitywort (Draws out better healing properties) | Syrupwort Leaf (Restore a small amount of Health) | Detoxifying Decoction (Cures the Blighted affliction) |
| Withered Branches (Used for arrow crafting) | Lantern Oil (Combustible oil used to light lantern) | Tarring Arrow (Sticks to enemy and can be detonated for extra damage) |
How to Get Crafting Materials Fast in Dragon’s Dogma 2
Of course, all of these crafting combinations won’t do you much good if you don’t have any materials to work with in Dragon’s Dogma 2, and you might not be keen on wandering around the open world scavenging everything you can get your grubby mitts on. Fortunately, there are ways to circumvent this monotony.
The first lies in how you build out your party with Pawns hired from Riftstones. When you recruit Pawns for your party, you can prioritize those with the Simple inclination. These party members tend to go off and gather materials on their own, and you can then take said items for yourself to use in crafting and the creation of better items.
You may also want to tweak your own personal Pawn’s inclination to bolster the number of materials your party gathers on their own. This can be done via a bag of Simple Rift Incense, which can be purchased from the vendor next to the Riftstone located in Vernworth for 2,000 Rift Crystals.
You can also buy a decent number of materials from vendors in the game’s major cities. Though costly if you do so regularly, this does help to shave off a solid amount of time spent gathering items in the wild and can reserve your time for quest progression and adventuring.
Go with whichever method suits your playstyle best, and you’ll be well on your way to crafting every possible item in no time.
And with that, you’re all caught up on what all of the crafting combinations are in Dragon’s Dogma 2. There’s plenty more to discover in the game though, and our guides on Map Level Recommendations and the best starting Vocation can help to ensure your playthrough is optimal in every regard.
