Atomic Heart: Testing Ground 8 Walkthrough
The world of Atomic Heart is full of wondrous retro-futuristic technology that sometimes boggles the mind. Many of these inventions came out of Testing Grounds, secret scientific facilities that contain not just interesting bits of lore but also valuable weapon mod blueprints you can’t get anywhere else.
Testing Ground 8 is one of these facilities, and you can get your hands on no less than five mod blueprints by fully exploring it. You’ll stumble upon this place while following the main story, but the entrance is very easy to miss if you don’t know where to look.
How To Access Testing Ground 8
Testing Ground 8 is located east of the Monorail Station underneath the Sechenov Research Center. Getting inside the Research Center itself is a piece of cake once you get past the roaming bots since the door is literally wide open. If you’re entering through the front door (there’s also a back entrance), simply turn right and you’ll see the elevator leading down to Testing Ground 8. But, in typical video game fashion, the elevator is locked and you’ll need to interact with a few objects in order to open it.
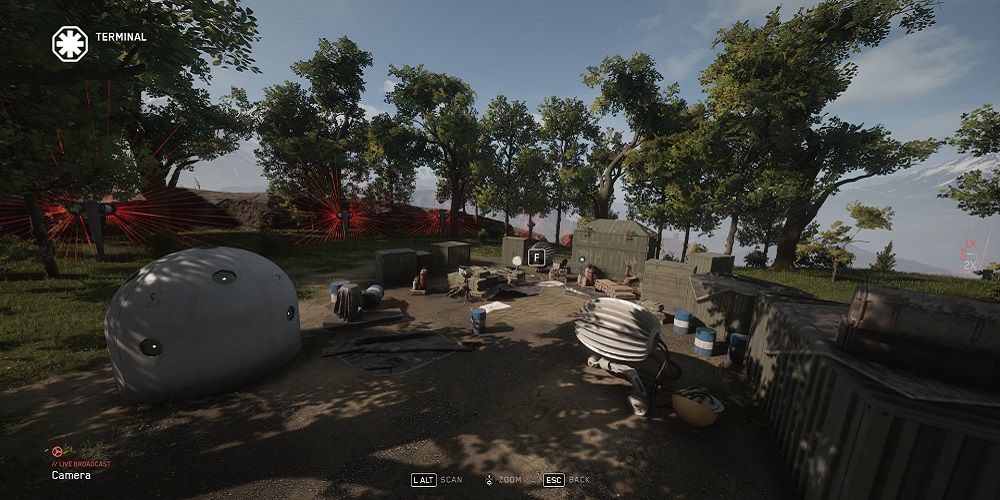
If you stand close to the elevator and use your scanner, you’ll notice three power cables connected to it. The cables lead to generators found around the complex and you’ll need to activate all three of them to power the elevator. However, there’s an additional issue. The generators don’t have switches that you can simply turn on or off. Instead, you’ll need to gain access to Terminals, use them to control Dandelions, and then use the cameras to activate the generators.
Activating the elevator sounds like a needlessly convoluted process, but it’s actually quite simple. You don’t need to follow the cables and interact with the generators; you only need to interact with the cameras via a Terminal. And, as it happens, one of the Terminals is conveniently located on top of the very building you’re standing in. Even more conveniently, there are some platforms right next to the entrance that will enable you to reach the roof. Coincidentally, you’ll need to go up there anyway to retrieve an item needed to progress the story.
There are a few different Terminals scattered around the Research Center, but you can activate all three generators using only the one found on the roof. Take control of each Dandelion and look around until you see the prompts that allow you to activate the generators. You’ll notice that the northeastern camera points to a small tower that controls the nearby Hawk. Due to the position of this particular camera, you’ll first get the prompts to open the tower before you’ll see the one that activates the generator.
The tower can be used to overload the Hawk’s relay and bring it down, but under no circumstances should you do that before first activating all the generators. Once the Hawk is down, communications in the area will be disrupted and you’ll no longer be able to activate any remaining generators and open the elevator. For now, stick to opening the tower so you can get the other prompt you need and, if you wish, return to it to overload the relay after opening the elevator.
Alternatively, there’s another Terminal closer to the third generator and you can use that one to activate it without having to touch the tower at all.
Testing Ground 8 Walkthrough
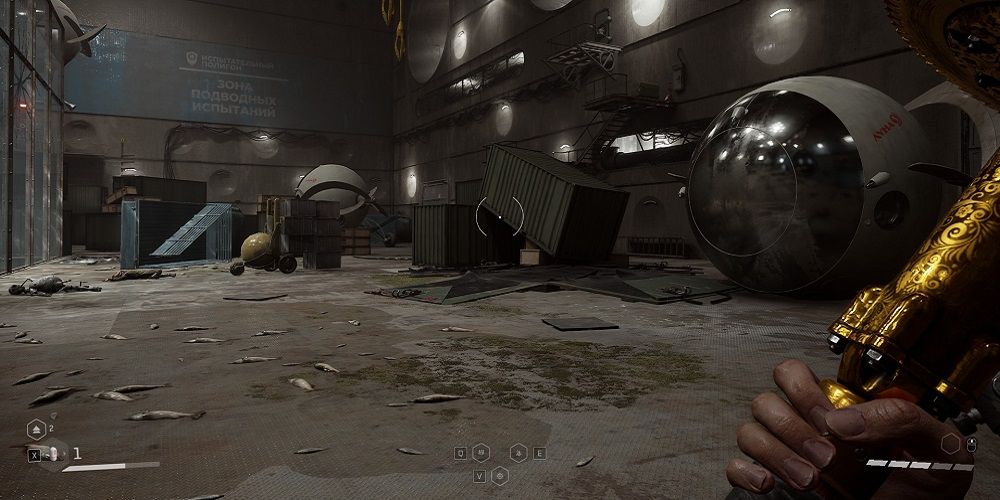
Testing Grounds puzzles usually revolve around some sort of theme, such as Candles in the case of Testing Grounds 9 or magnets in the case of Testing Ground 1. These ones are a bit all over the place. Start by looting the room in front of the elevator, then head back and follow the other corridor to find a Breakroom where you can save your progress. Past that, you’ll come across a junction. Turn left to find a small room with even more loot and then make your way down the other corridor to reach Testing Ground 8’s first puzzle.
This is a very basic puzzle so let’s keep things brief. Look up and hit the magnets on the ceiling with Shok to shift the platforms. Use the beams to make your way to the platform on the left side of the room and make sure to perform a dash-jump when you’re hanging from the first beam, otherwise, you won’t be able to reach the other side. From here, jump on the wall and make your way to the stationary platform on the right side of the room. The exit is just a couple more jumps from there.
As soon as you pass through the exit you’ll start hearing some music coming from a nearby room. Following the sound will lead you to a room with a bronze chest containing the Lower Blade With Reflex Booster mod blueprint for the Zvezdochka. As you leave the room, turn right and follow the corridor to find an office with a regular chest and a ton of cabinets you can loot. Backtrack toward the room with the puzzle and just before you reach it, turn left and head down the stairs to reach a junction. The left path leads to a Breakroom and a chest while the right one leads to the next area. There’s nothing of interest in front.
Shortly after you enter the next area you’ll be ambushed by a bunch of Vatrushka bots and Owl drones. Dispatch them and head over to the right side of the room to find a chest up on a platform that can be accessed by climbing over the nearby crates. From this new vantage point you should easily be able to spot the blue truck turned sideways just past the crates. There’s a doorway right next to it that leads to some more loot. Once you’re done looting the place, use the exit on the far side of the room and you’ll soon start hearing the same music as before. Follow the music to reach a room with a silver chest containing the Lightweight Titanium Blade mod blueprint for the Fox and the Vortex Transducer mod blueprint for the Dominator.
The corridor past the chest room leads to an open area where you can find a Breakroom to your right as soon as you enter it. There’s also a hole in the wall here that leads to a much larger open area where you can find some suspended platforms you can use to reach the other side. As soon as you enter the corridor on the other side you’ll reach a three-way junction. The left doorway leads to the next area while the right one leads to a chest. Loot the chest and make your way down the corridor and jump down to find another chest. Climb back up using the poll and turn left to find another corridor leading to a ledge and a third chest. You can’t jump down from this height without dying, so head back to the three-way junction and take the path that leads to the next area.
Once you’re in the next room, use the Polymer to get to the bottom without taking damage and then jump into the hole. Don’t worry, there’s more Polymer at the other end, so you won’t take any damage. You’ll see a closed door in front of you with five Candle stands above it and a room with a Terminal inside to your right. You only need to place one Candle to open the door via the Terminal, but you’ll need to place all five to keep it open long enough for you to get through. You can grab an extra Candle and throw it to the other side of the door as you’re leaving, but you won’t necessarily need it.
The puzzle in this next area involves some very annoying platforming, so we’re going to share a little shortcut with you that will make life a lot easier. As soon as you enter the room, head up the stairs in front of you to find an empty Candle stand at the top. Normally, you would want to place a Candle here to move the right platform and start making your way to the other side where you’ll find a chest. From there, you’ll need to backtrack and do some platforming to reach the opposite side of the room where the exit is.
If you don’t mind skipping that chest, jump on the stand and look to your left to find some scaffolding. You can use a dash-jump from here to reach the upper portion of it and then jump on the oversized Soviet emblem hanging from the ceiling. Finally, make another dash-jump to land on top of the nearby platform. Turn around and grab the Candle from the stand to activate the platform. Once the platform stops, look down while facing the exit and jump carefully to land on the plank of wood beneath. From there, you’re just a dash-jump away from the exit. Go through the doorway and you’ll immediately spot the third unique chest, this time a gold one. Open the chest to find the Revolver-Type Bolt Frame mod blueprint for the MP and the Polymeric Allow Extension mod blueprint for the Swede.
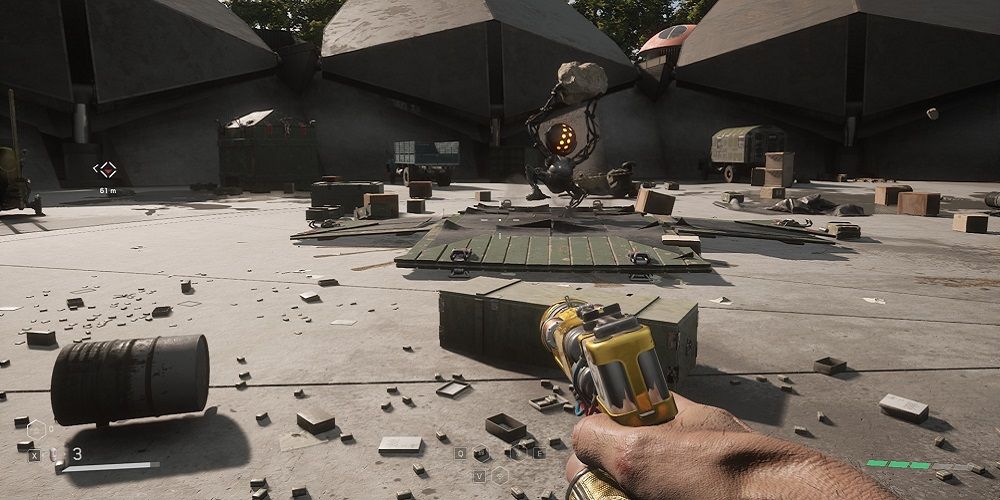
Just outside the chest room you’ll find a save station and past that another room with some loot. Once you’re done looting, go through the doorway next to the chest room to find an elevator that will take you back to the surface. Normally, you would be able to go about your business after fully exploring one of these facilities, however, that’s not the case when it comes to Testing Ground 8. As soon as you reach the surface you’ll be attacked by two Belyash robots, and these things mean business. The robots are resistant to fire, melee weapons, and ballistic weapons, however, they’re vulnerable to explosive damage. Hopefully, you have your Fat Boy on hand because this fight going to be rough without it.


